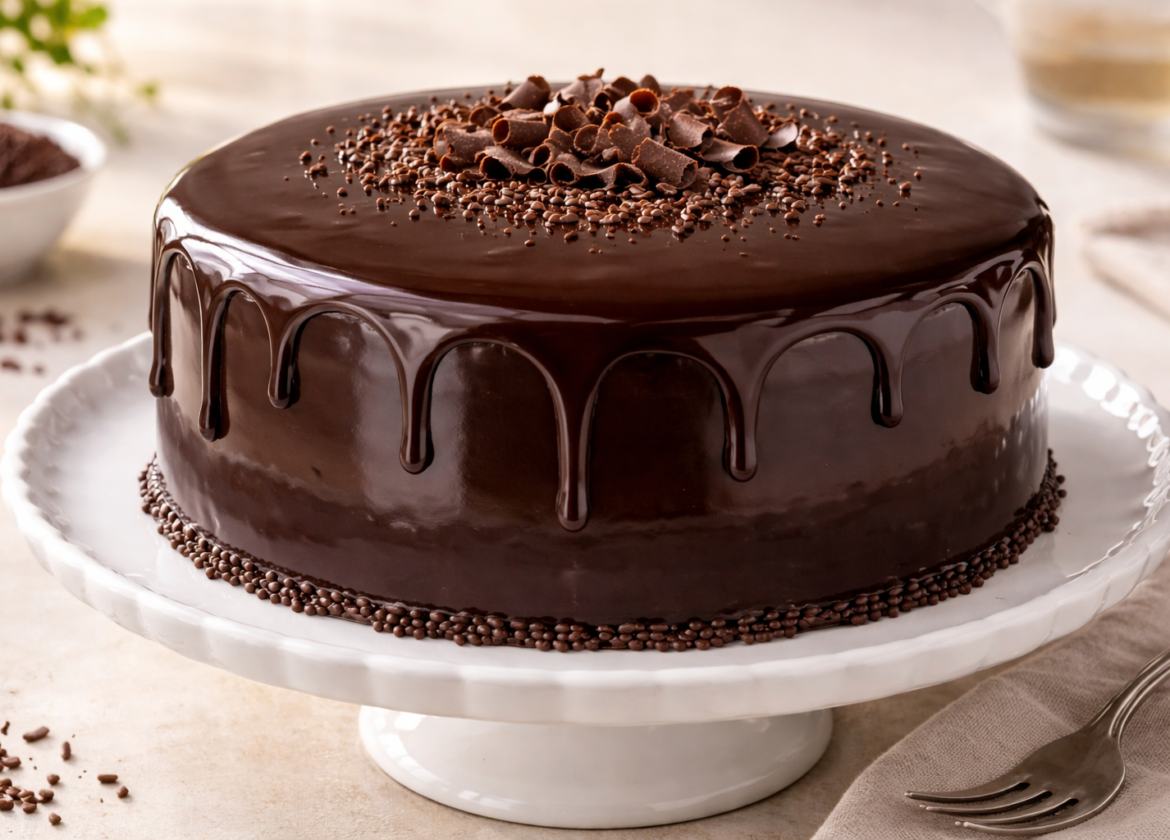
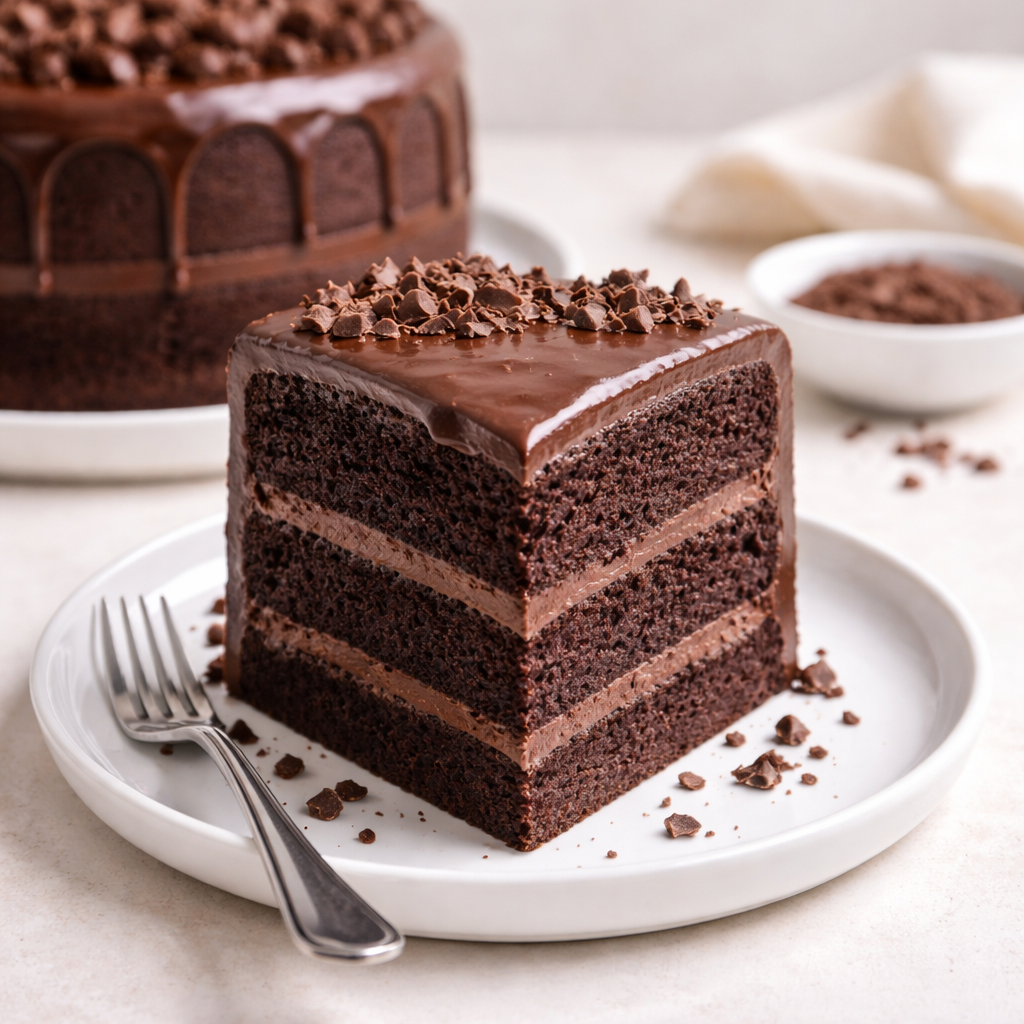
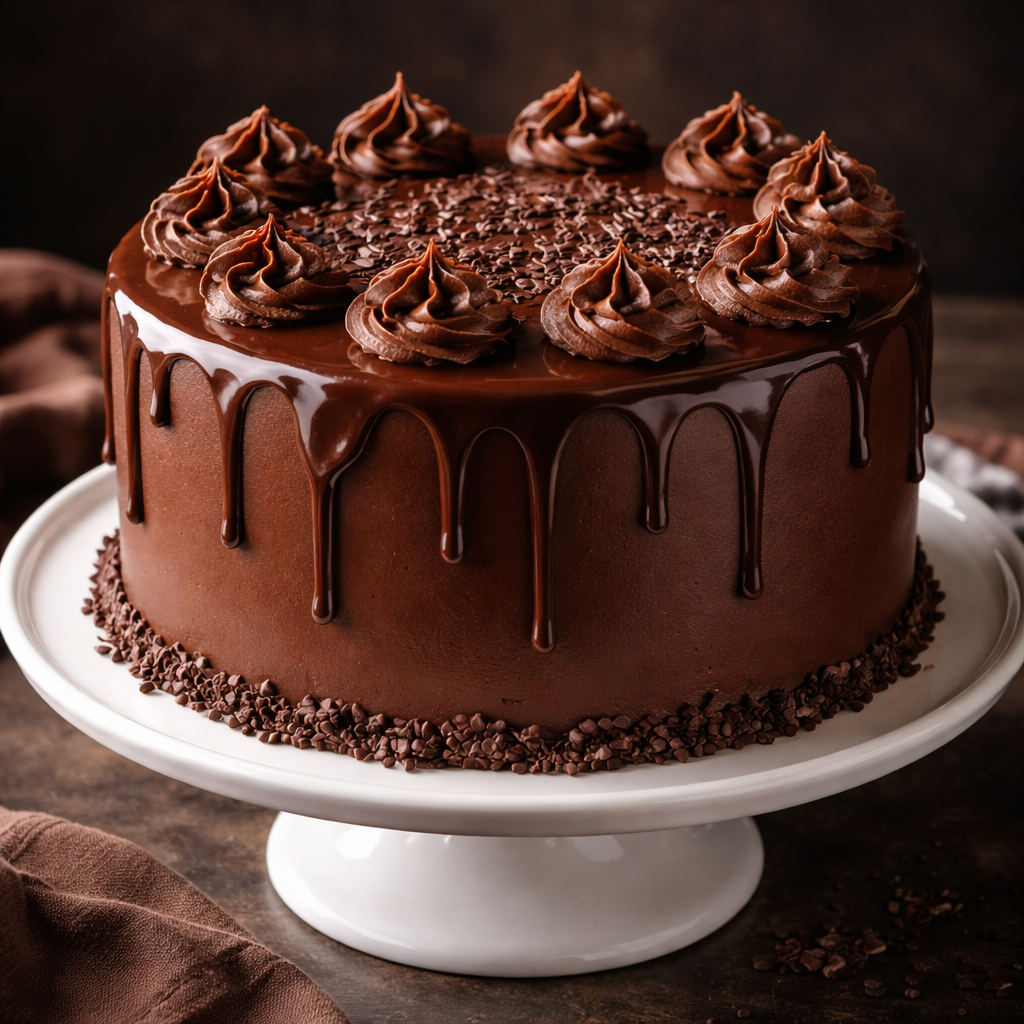
In the world of professional baking and home confectionery, few desserts hold as much universal appeal as a perfectly executed Chocolate Glazed Cake Recipe. While a standard frosted cake provides a heavy, often overly sweet experience, a glazed cake offers a sophisticated balance of textures. The contrast between a moist, tender crumb and a smooth, reflective chocolate coating creates a sensory experience that is both visually stunning and palate-cleansing.
For the home baker, mastering this recipe is an essential milestone. It teaches the fundamental principles of temperature control and emulsion. A high-quality chocolate glaze—often referred to as a ganache or a mirror glaze—serves as more than just a topping; it acts as a sealant, locking moisture into the cake and extending its shelf life. Whether you are preparing a dessert for a formal gathering or a simple afternoon tea, understanding the mechanics of this dish ensures a consistent, bakery-standard result every time.
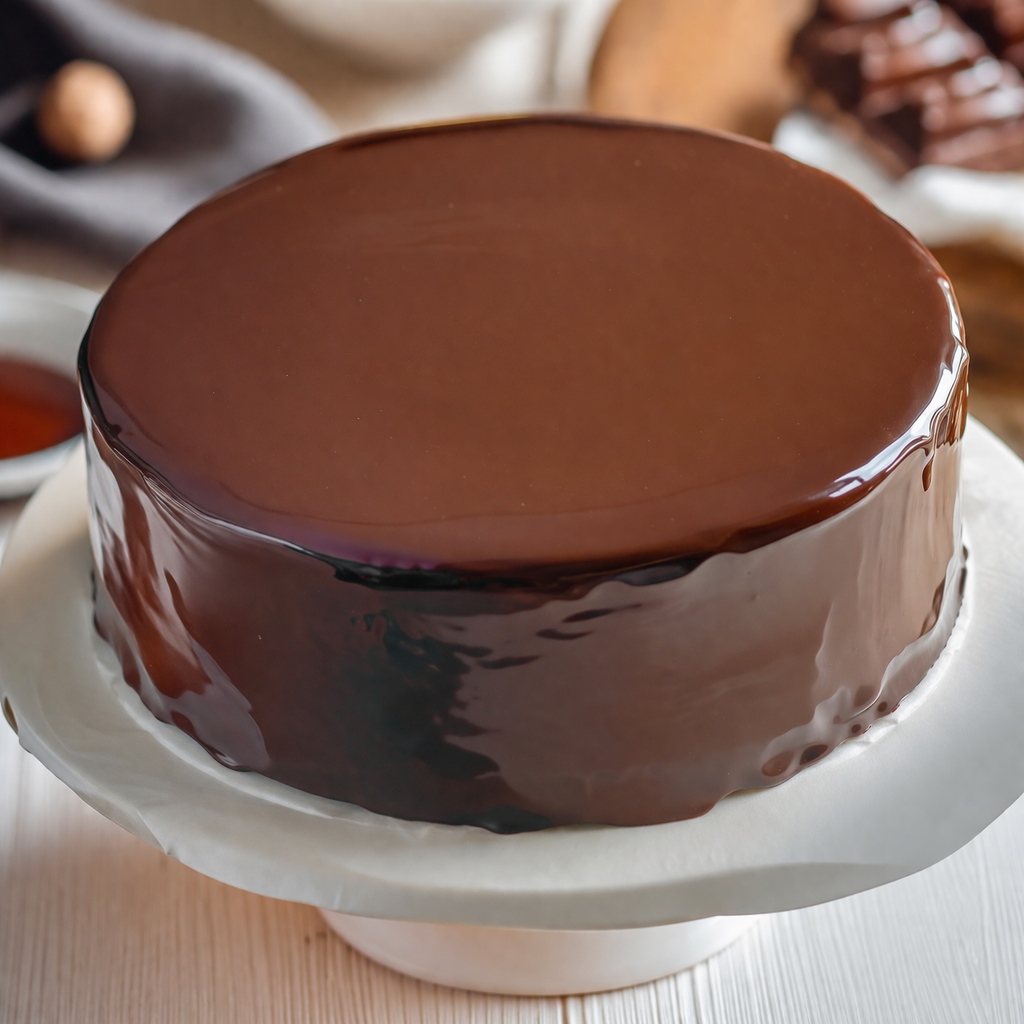
What Makes Chocolate Glazed Cake Different
To appreciate the nuances of a Chocolate Glazed Cake Recipe, one must distinguish it from its cousins: the frosted cake and the drizzled cake. The differences are found in the density of the batter and the viscosity of the topping.
- Texture and Density: Glazed cakes are typically more robust than sponge cakes. They often utilize oil or sour cream to ensure the crumb remains moist enough to stand up to the richness of the chocolate coating.
- The Pourable Finish: Unlike buttercream, which is applied with a spatula and contains a high volume of air, a glaze is pourable. This results in a sleek, professional finish that requires minimal manipulation, reducing the risk of crumbs mixing into the topping.
- Flavor Intensity: Because a glaze is thinner than frosting, it usually contains a higher concentration of cocoa solids or premium chocolate. This provides a deep, bittersweet counterpoint to the sweetness of the cake base.
- Temperature Sensitivity: The success of this recipe relies heavily on the “working temperature” of the glaze. It must be warm enough to flow but cool enough to set before sliding off the cake entirely.
Ingredient Preparation and Selection Tips
The quality of a Chocolate Glazed Cake Recipe is determined by the chemistry of its ingredients. Selecting high-grade components is the first step toward a successful bake.
For the Cake Base
- Dutch-Processed Cocoa Powder: This type of cocoa is treated with an alkalizing agent to reduce acidity. It provides a darker color and a smoother, more mellow chocolate flavor compared to natural cocoa powder.
- Fat Source: A combination of unsalted butter and a neutral vegetable oil is ideal. Butter provides flavor, while oil ensures the cake remains soft even when refrigerated.
- Room Temperature Liquids: Ensure your eggs, milk, and sour cream are at room temperature. This allows for a stable emulsion during the mixing process, preventing the batter from breaking.
For the Chocolate Glaze
- High-Quality Couverture Chocolate: For the glaze, avoid standard chocolate chips, which often contain stabilizers that prevent a smooth melt. Opt for chocolate with at least 60% cocoa solids.
- Heavy Cream: Use cream with a minimum of 36% milkfat. This provides the necessary lipids to create a stable, shiny ganache.
- Light Corn Syrup or Invert Sugar: Adding a single tablespoon to the glaze is a professional secret. It increases the “mirror” shine and prevents the glaze from cracking once it sets.
Tools Required for Chocolate Glazed Cake Recipe
Using the correct equipment allows for greater precision and a cleaner finish. Before beginning, organize the following tools:
- Circular Cooling Rack: This is essential for the glazing process. Placing the cake on a rack over a parchment-lined sheet pan allows excess glaze to drip away, preventing a “pool” at the base.
- Digital Kitchen Scale: Baking is a science of ratios. Measuring ingredients by weight rather than volume ensures a consistent crumb every time.
- Off-set Spatula: While the glaze is pourable, an off-set spatula helps guide the chocolate over the edges for total coverage.
- Instant-Read Thermometer: Used to verify that the glaze has cooled to the ideal working temperature (approximately 90°F to 95°F).
- Whisk and Sieve: To ensure the dry ingredients are aerated and the final glaze is free of air bubbles or undissolved chocolate.
From Prep to Finish: Cooking Flow
Efficiency in a Chocolate Glazed Cake Recipe is achieved by following a logical sequence. The cake must be entirely cool before the glaze is applied, making timing a critical factor.
- Preparation (15 Minutes): Preheating the oven and measuring ingredients.
- Baking (35–45 Minutes): The cake is baked and tested for doneness using the “toothpick method.”
- Cooling (1 Hour+): The cake must reach room temperature. A warm cake will melt the glaze, causing it to run off and appear translucent.
- Glaze Preparation (10 Minutes): Melting the chocolate and cream to create the ganache.
- The Pour (5 Minutes): The final application of the chocolate coating.
- Setting (30 Minutes): Allowing the glaze to firm up before slicing.
Step-by-Step Chocolate Glazed Cake Recipe Guide
1. Prepare the Batter
Preheat your oven to 350°F (175°C). Grease and flour a 9-inch round cake pan. In a large bowl, sift together your flour, cocoa powder, sugar, baking soda, and salt. In a separate vessel, whisk together the eggs, oil, sour cream, and vanilla. Gradually incorporate the wet ingredients into the dry, finishing with a half-cup of hot coffee or water to bloom the cocoa.
2. The Baking Process
Pour the batter into the prepared pan and bake for 35 to 40 minutes. Do not overbake; the cake is done when a few moist crumbs cling to a toothpick. Allow the cake to cool in the pan for 10 minutes before transferring it to a wire cooling rack.
3. Creating the Glaze
While the cake cools to room temperature, prepare the glaze. Place finely chopped chocolate in a heat-proof bowl. In a small saucepan, bring the heavy cream and corn syrup to a gentle simmer (do not boil). Pour the hot cream over the chocolate and let it sit undisturbed for 5 minutes.
4. Emulsifying the Ganache
Starting from the center, whisk the chocolate and cream in small circular motions. Gradually work your way outward until the mixture is glossy and homogeneous. Avoid vigorous whisking, as this introduces air bubbles that will ruin the sleek look of the glaze.
5. The Professional Pour
Ensure the cake is centered on the cooling rack over a tray. Once the glaze reaches 92°F, pour it slowly over the center of the cake. Allow the chocolate to flow naturally toward the edges. If necessary, use your spatula to gently nudge the glaze over the sides.
6. Setting and Serving
Allow the cake to sit at room temperature for at least 30 minutes to set. For the cleanest slices, dip a sharp knife in hot water and wipe it dry between each cut.
Common Questions and Practical Answers
How do I fix a glaze that is too thin?
If your glaze is too runny, it is likely too warm. Allow it to sit at room temperature, stirring occasionally, until it reaches a slightly thicker, “honey-like” consistency. If it remains thin after cooling, you may need to whisk in more melted chocolate.
Can I make the cake in advance?
Yes. The cake base can be baked, wrapped tightly in plastic wrap, and stored at room temperature for 24 hours or frozen for up to a month. However, for the best shine, the Chocolate Glazed Cake Recipe should be completed with the glaze on the day you intend to serve it.
Why did my glaze lose its shine?
A loss of shine is usually caused by refrigeration. The cold air dulls the fats in the chocolate. For the best presentation, store the glazed cake in a cool, dry place at room temperature. If you must refrigerate, allow the cake to come back to room temperature before serving to restore some of the luster.
FAQ: Chocolate Glazed Cake Recipe Explained
Q: Can I use milk chocolate instead of dark chocolate for the glaze? A: You can, but keep in mind that milk chocolate has a lower melting point and more sugar. You may need to reduce the amount of cream slightly to ensure the glaze sets firmly.
Q: Is it necessary to use coffee in the batter? A: While the coffee is not essential for the structure, it is highly recommended. It acts as a flavor enhancer for the cocoa, making the chocolate taste more intense without leaving a discernible coffee flavor.
Q: My glaze has air bubbles. How can I remove them? A: Before pouring, gently tap the bowl of glaze on the counter to bring bubbles to the surface. You can also pass the glaze through a fine-mesh sieve to remove any remaining air or unmelted bits.
Q: What is the best way to move the cake after glazing? A: Use two large spatulas or a cake lifter. Slide them under the cake once the glaze has stopped dripping and carefully transfer it to your serving platter.
By following this structured approach to the Chocolate Glazed Cake Recipe, you ensure a dessert that is as technically sound as it is delicious. Consistency, temperature, and ingredient quality remain the pillars of this classic confectionery feat.
Quick & Delicious Strawberry Poke Cake Recipe
Homemade Whiskey Cake Recipe – Perfect for Celebrations
The Best 7UP Pound Cake Recipe You’ll Ever Bake
Easy Oreo Mug Cake Recipe – Ready in 5 Minutes
Moist Blueberry Dump Cake Recipe Everyone Will Love
Easy Vanilla Pound Cake Recipe from Scratch
easy Oreo Dirt Cake Recipe – Simple & Delicious
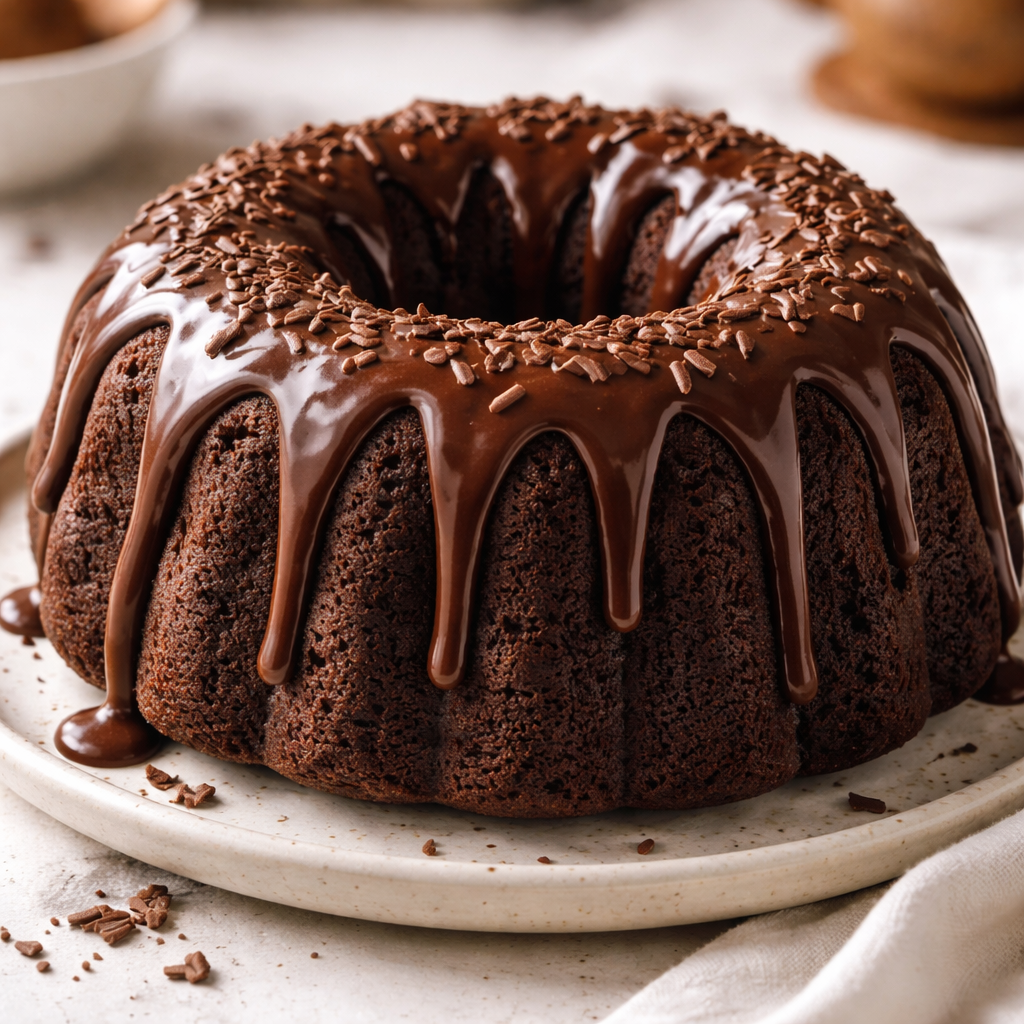
Moist & Delicious Mini Bundt Cake Recipes Made Simple