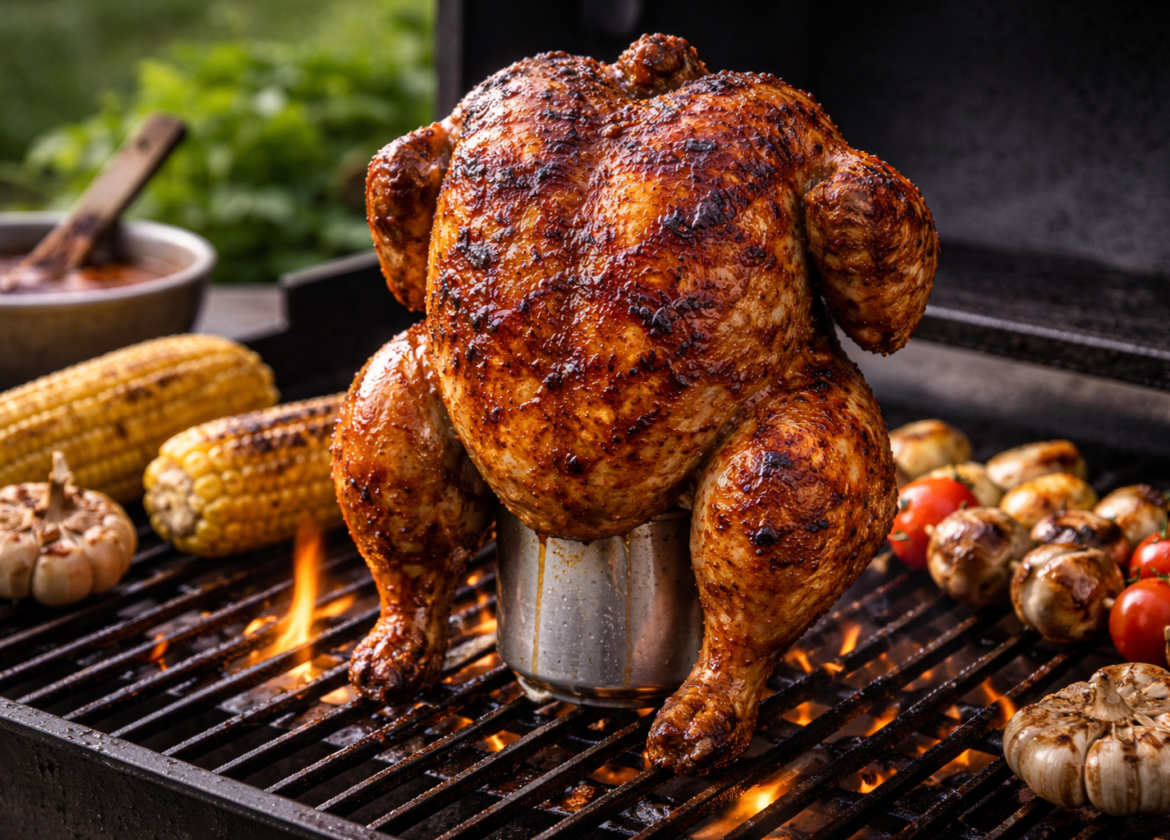
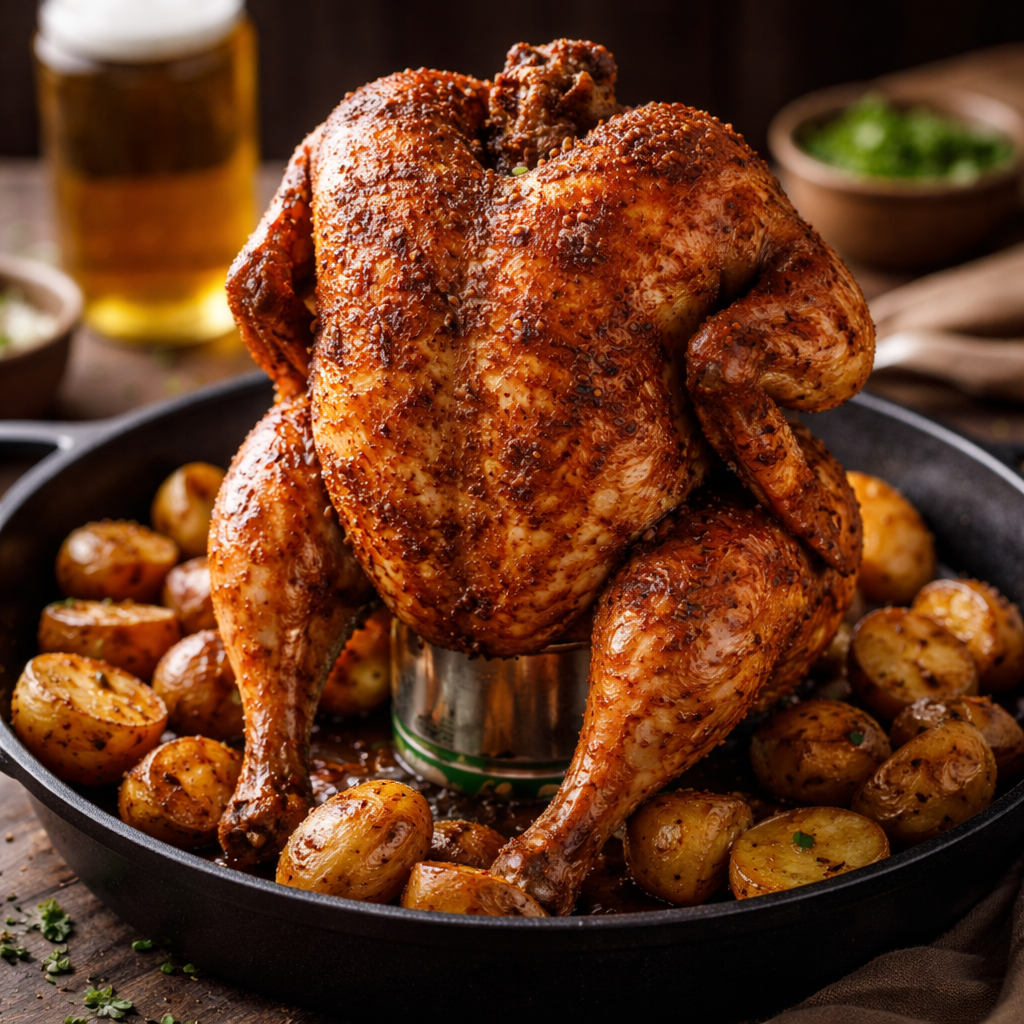
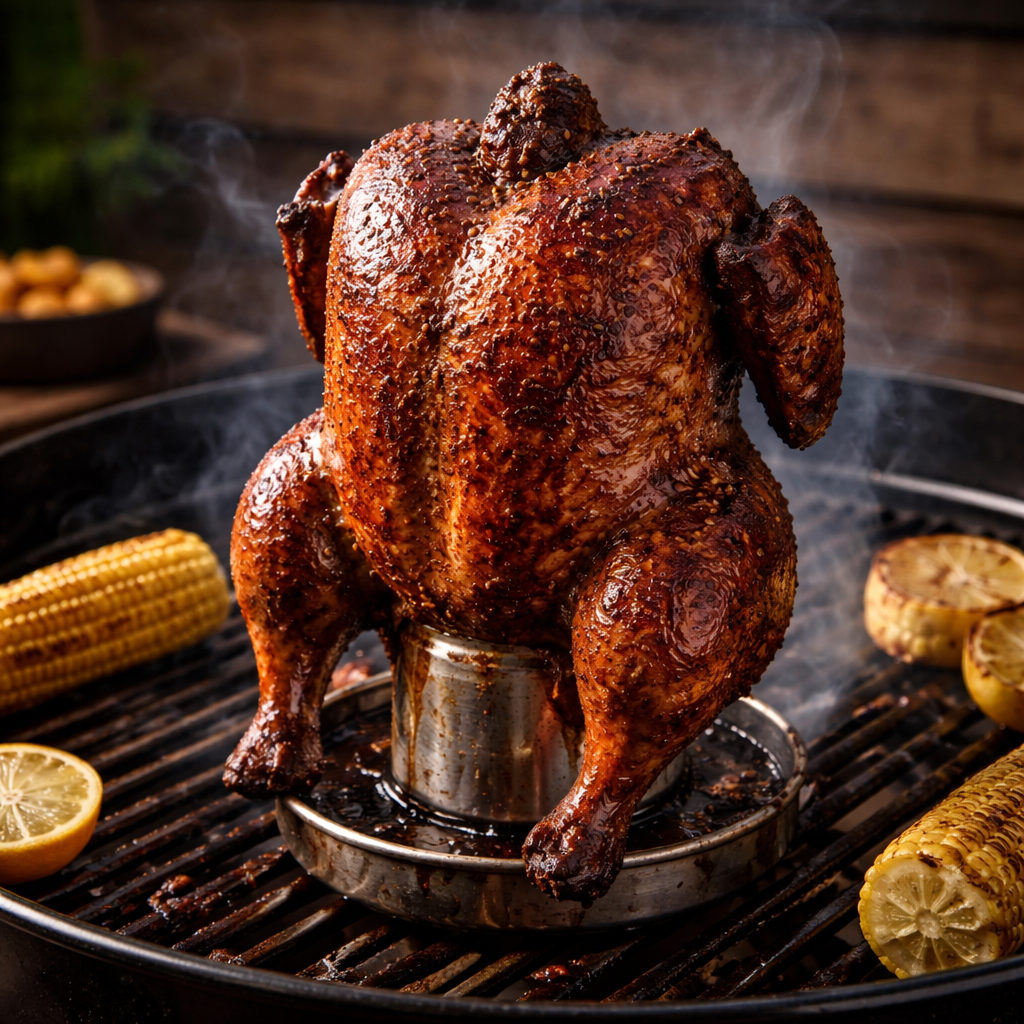
The Beer Butt Chicken Recipe, also commonly referred to as “Beer Can Chicken,” is a classic method of vertical poultry roasting that has gained legendary status among outdoor cooking enthusiasts. The premise involves placing a whole chicken over an open can of beer and cooking it using indirect heat on a grill or in an oven. This upright position serves a dual purpose: it allows the bird to cook evenly from all sides while the liquid inside the can evaporates, providing moisture to the interior cavity.
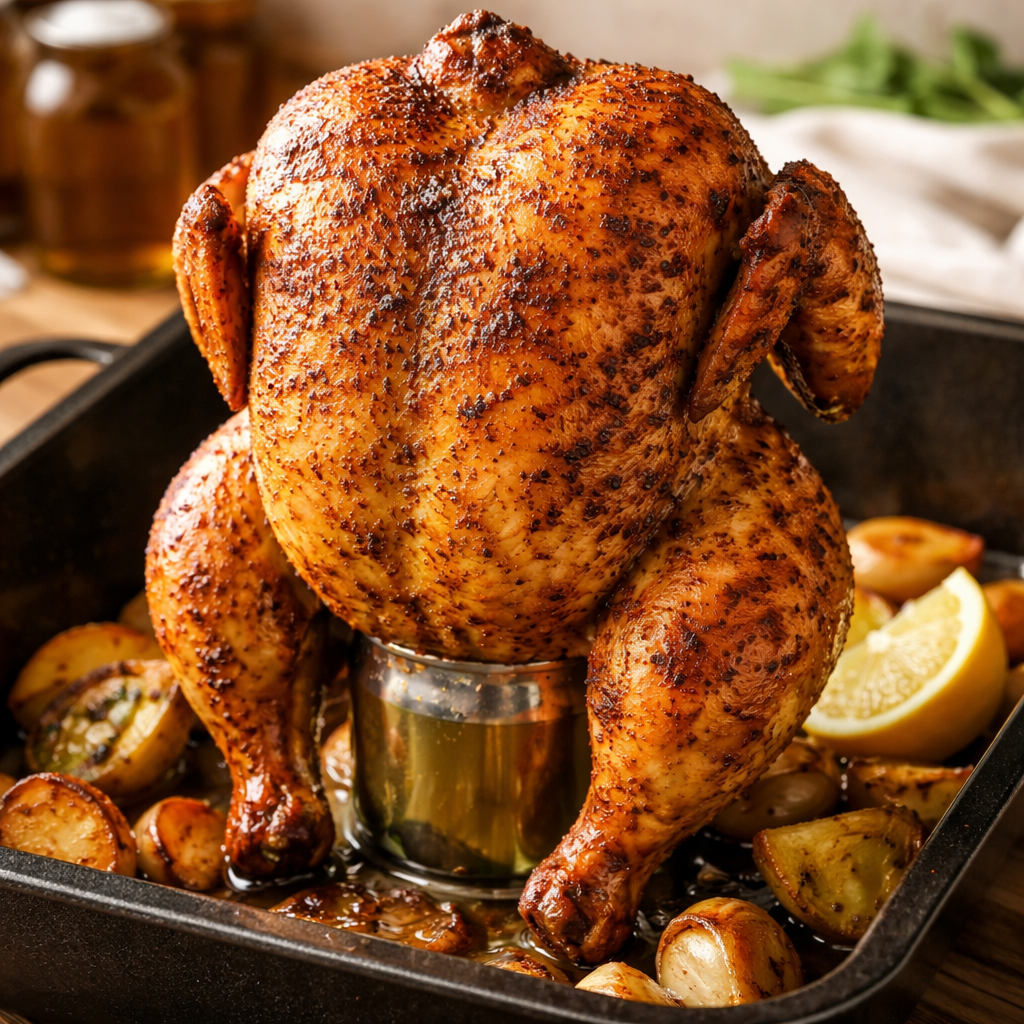
When you embark on a Beer Butt Chicken Recipe, you should expect a culinary process that prioritizes tenderness and skin crispness. Unlike traditional horizontal roasting, where the underside of the chicken can become soggy from sitting in its own rendered fat, the vertical orientation ensures that every square inch of the skin is exposed to dry, circulating heat. This results in a uniform, golden-brown finish that is as visually appealing as it is flavorful.
Final Texture and Flavor Explained
Understanding the science behind the Beer Butt Chicken Recipe helps explain its unique textural results. The vertical stance ensures that the fat renders out of the skin and bastes the meat as it trickles down, a process known as self-basting.
- The Exterior: Because the chicken is standing, the hot air circulates 360 degrees around the bird. This leads to an exceptionally crispy and thin skin, free from the “steamed” patches often found in roasting pans.
- The Interior: The moisture from the beer (or other liquids) helps to create a humid environment inside the cavity. While the beer itself provides a very subtle malty undertone, its primary role is to act as a heat sink and moisture generator, preventing the breast meat from drying out before the dark meat is fully cooked.
- Flavor Profile: The flavor is largely dictated by the dry rub used on the exterior. However, the gentle steaming from within ensures that the meat remains succulent, allowing the natural savory notes of the poultry to shine through without being masked by excessive dryness.
Ingredient Measurements and Preparation
For a successful Beer Butt Chicken Recipe, the quality of the bird and the composition of the rub are the most critical factors.
The Chicken
- Whole Chicken: 4 to 5 pounds. Ensure the giblets are removed and the bird is patted completely dry. A dry surface is the only way to achieve crispy skin.
The Liquid
- Beer: One 12-ounce can. Lagers or Pilsners are preferred as they have a neutral yet crisp profile. Avoid using heavily hopped IPAs, as the heat can cause the hop oils to become unpleasantly bitter.
The Signature Dry Rub
- Brown Sugar: 2 tablespoons (for caramelization).
- Smoked Paprika: 1 tablespoon (for color and depth).
- Kosher Salt: 1 tablespoon.
- Black Pepper: 1 teaspoon.
- Garlic Powder: 1 teaspoon.
- Onion Powder: 1 teaspoon.
- Cayenne Pepper: ½ teaspoon (optional, for mild heat).
The Binder
- Olive Oil or Melted Butter: 2 tablespoons. This helps the rub adhere to the skin and promotes browning.
Tools Needed for Consistent Results
While the Beer Butt Chicken Recipe is straightforward, having the right equipment ensures safety and consistency, especially when balancing a top-heavy bird.
- A Grill or Oven: If using a grill, it must have a lid for indirect convection cooking.
- A Beer Can Throne (Optional but Recommended): While you can balance the bird directly on the can, a stainless steel chicken roaster stand provides much better stability and prevents the bird from tipping over.
- Instant-Read Meat Thermometer: This is the only way to ensure the chicken is safe to eat without overcooking it.
- Long-Handled Tongs: Necessary for moving the hot chicken and can safely.
- Drip Pan: If cooking in an oven or on a grill without a dedicated grease management system, a drip pan is essential to prevent flare-ups and mess.
Cooking Phases and Time Management
Success with a Beer Butt Chicken Recipe requires patience and an understanding of indirect heat.
- Prep Time: 20 minutes (rub application and grill setup).
- Cook Time: 1 hour to 1 hour and 30 minutes.
- Resting Time: 15 minutes. Never skip the rest, as it allows the juices to redistribute through the meat.
- Target Temperature: 165°F (74°C) in the thickest part of the breast and 175°F in the thigh.
Temperature Control: You are aiming for a steady cooking environment of 350°F to 375°F (175°C to 190°C). If using a charcoal grill, this means arranging the coals on the sides and placing the chicken in the center where there is no direct flame.
Complete Beer Butt Chicken Cooking Process
1. Prepare the Bird
Remove the chicken from the refrigerator 30 minutes before cooking to take the chill off. Pat the skin dry with paper towels. Rub the entire surface of the chicken, including under the skin of the breast if possible, with olive oil. Apply the dry rub generously, ensuring every area is covered.
2. Prepare the Can
Open the beer can and discard (or drink) about one-quarter of the liquid. This prevents the beer from bubbling over and ensures there is enough headspace for steam to generate. You can add a few cloves of smashed garlic or a sprig of rosemary into the can for extra aromatics.
3. “Mount” the Chicken
Gently slide the chicken over the beer can so that the can is inside the cavity. The legs should be pointing down, acting like a tripod with the can to keep the bird upright. Ensure the chicken feels stable.
4. The Cooking Phase
Place the chicken on the cool side of the grill (indirect heat) or on a baking sheet in the oven. Close the lid. If you are using a grill, keep the vents partially open to maintain oxygen flow and temperature.
5. Monitor and Rotate
Check the chicken after 45 minutes. If one side is browning faster than the other, rotate the bird 180 degrees using tongs. Be careful not to spill the liquid inside the can.
6. The Finish
Once the instant-read thermometer reaches 160°F in the breast (it will rise to 165°F while resting), carefully remove the chicken and the can from the heat.
7. Resting and Carving
Let the chicken rest upright for 5 minutes, then carefully lift the chicken off the can using tongs. Be extremely cautious, as the liquid inside the can will be boiling hot. Let the chicken rest on a cutting board for another 10 minutes before carving.
Issues That Can Ruin the Outcome
Even a foolproof Beer Butt Chicken Recipe can meet with failure if certain technical details are ignored.
- Direct Heat Burnt Skin: If the chicken is placed directly over the flames, the sugar in the rub will burn, and the bottom of the chicken will be charred while the top remains raw. Always use indirect heat.
- Instability: A falling chicken can cause a fire or a significant mess. Ensure the “tripod” formed by the legs and the can is wide and secure.
- Rub Rubbing Off: If the chicken is not patted dry before the oil and rub are applied, the rub will slide off as the chicken heats up.
- Removing the Can Too Early: The steam inside the cavity is what keeps the chicken moist. Removing the can immediately after cooking can cause a sudden loss of moisture and carries a high risk of steam burns.
Frequently Asked Questions About Beer Butt Chicken
Does the beer actually flavor the meat?
While the malty aroma is present, the beer primarily serves to keep the internal cavity moist. The majority of the flavor in a Beer Butt Chicken Recipe comes from the quality of the poultry and the external spice rub.
Can I use a different liquid?
Yes. If you prefer not to use beer, you can use a soda (like ginger ale or cola), chicken broth, or even water with lemon and herbs inside an empty clean soda can. The physics of the steaming remain the same.
Is it safe to cook with the paint on the beer can?
Modern beer cans are lined with a plastic coating and have external paint that is not designed for high-heat cooking. While many people do this without issue, those with concerns should use a stainless steel vertical roaster stand that allows you to pour the beer into a dedicated, food-safe cup.
How do I prevent the wings from burning?
Because the wings are thin, they can cook faster than the rest of the bird. You can “tuck” the wing tips behind the back of the chicken or wrap the tips in a small piece of aluminum foil halfway through the cooking process.
Can I make this in a standard oven?
Absolutely. Follow the same temperature guidelines (375°F). Place the chicken and can in a cast-iron skillet or on a rimmed baking sheet to catch the drippings. Ensure your oven racks are positioned low enough to accommodate the height of the standing bird.
The Beer Butt Chicken Recipe remains a favorite because it delivers consistently juicy results with a spectacular presentation. By following these professional guidelines, you ensure that your next backyard barbecue or Sunday dinner features perfectly cooked, succulent poultry.
Rotisserie Chicken Recipes – Easy, Juicy & Flavorful
Stuffed Chicken Recipes – Easy, Delicious & Flavorful
Healthy Chicken Breast Recipes – Easy, Nutritious & Delicious
Chick fil a Kale Salad Recipe – Fresh, Healthy & Easy
Homemade Chicken Pozole Recipe – Delicious & Simple