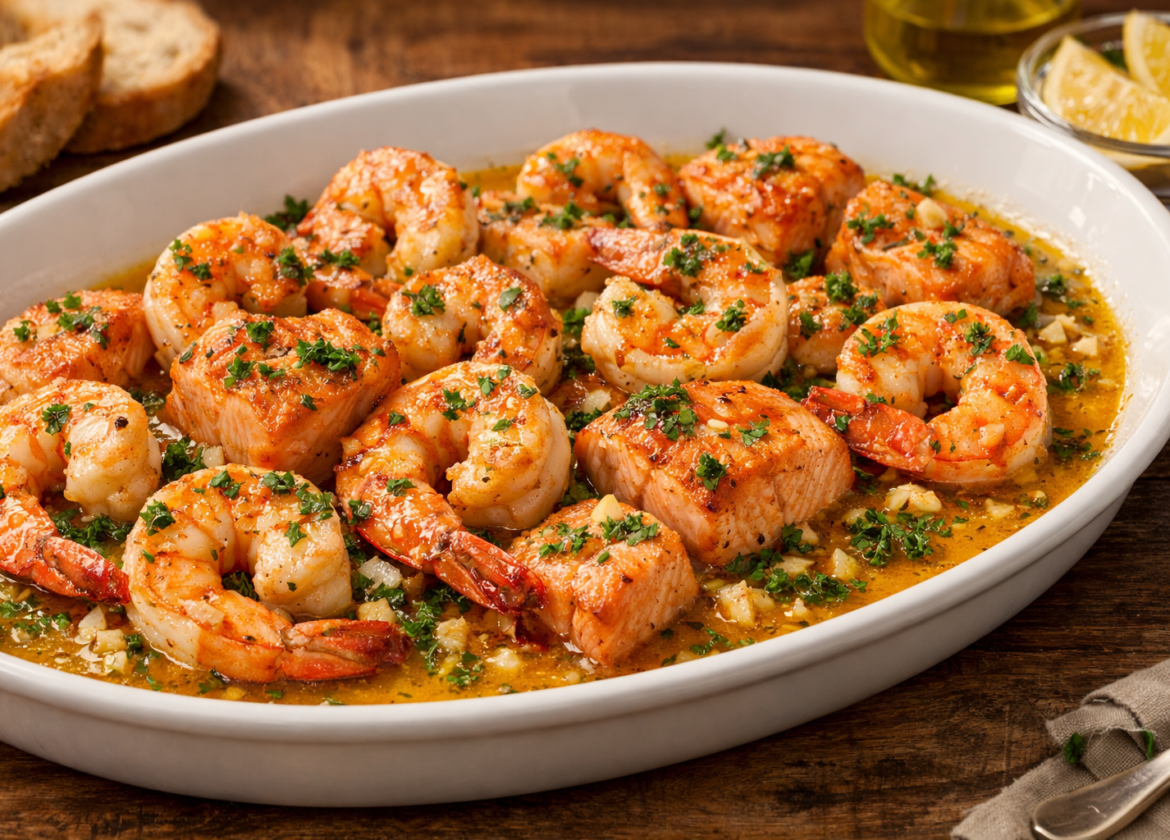
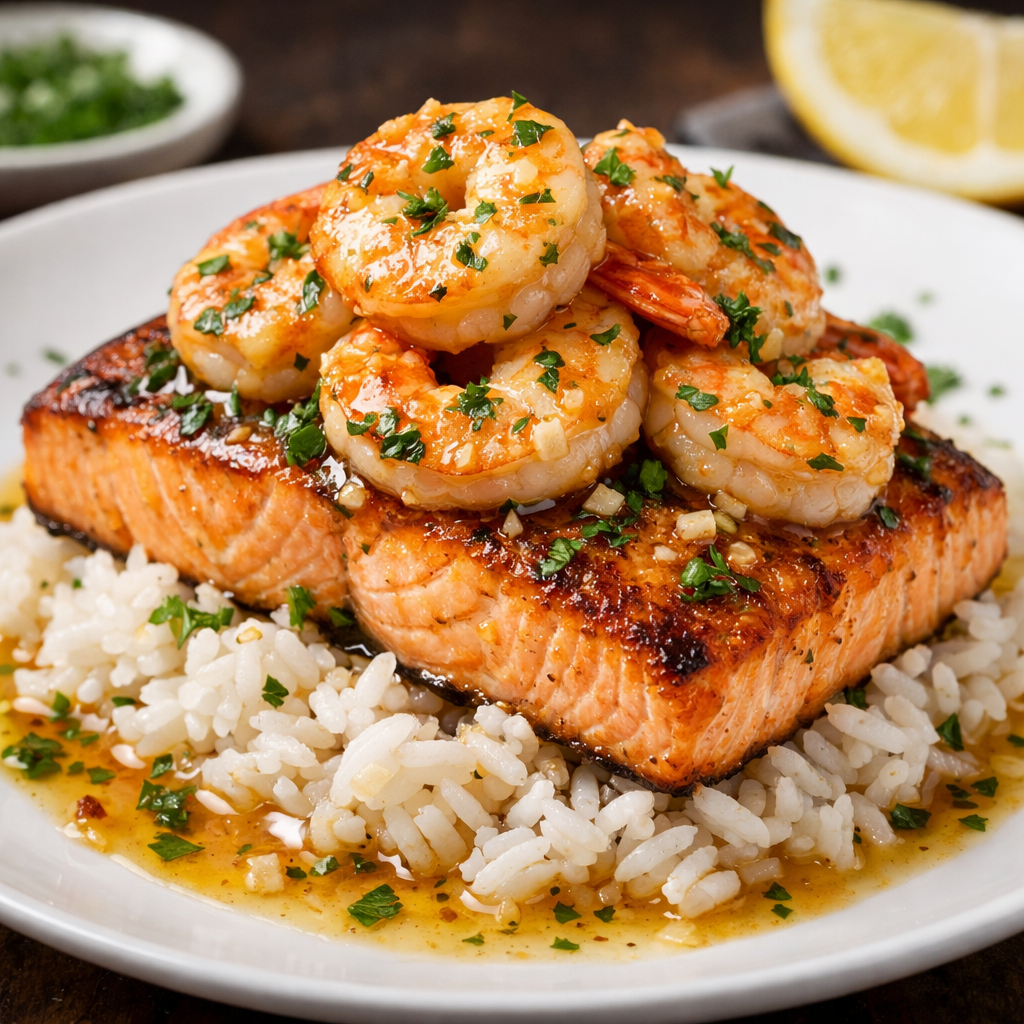
Combining two of the most popular proteins from the sea into a single dish requires more than just high heat and a skillet. A truly successful Salmon Shrimp Recipe is a study in contrasting textures: the flaky, buttery richness of a well-seared salmon fillet paired with the firm, snappy bite of perfectly cooked shrimp. For many home cooks, the challenge lies in the fact that these two ingredients have very different physiological structures and heat tolerances.
The goal of this editorial guide is to move beyond basic preparation and focus on the technical harmony required to cook salmon and shrimp simultaneously. When executed correctly, the natural fats from the salmon render down, providing a savory base that helps baste the leaner shrimp. Whether you are aiming for a Mediterranean lemon-herb finish or a robust garlic-butter glaze, the foundational approach outlined here ensures that neither protein is sacrificed for the sake of the other.
What Makes This Method Worth Using
There are several ways to approach a Salmon Shrimp Recipe, but the most reliable method utilizes a “staged searing” technique. This involves starting the salmon first to develop a crust and then introducing the shrimp at a specific thermal window.
- Flavor Layering: By using the same pan, you capture the “fond”—those browned bits of protein left on the surface—which serves as the concentrated flavor base for a pan sauce.
- Thermal Efficiency: Shrimp cook significantly faster than salmon. This method accounts for that discrepancy, ensuring the shrimp reach their opaque, curled state exactly as the salmon hits its target internal temperature.
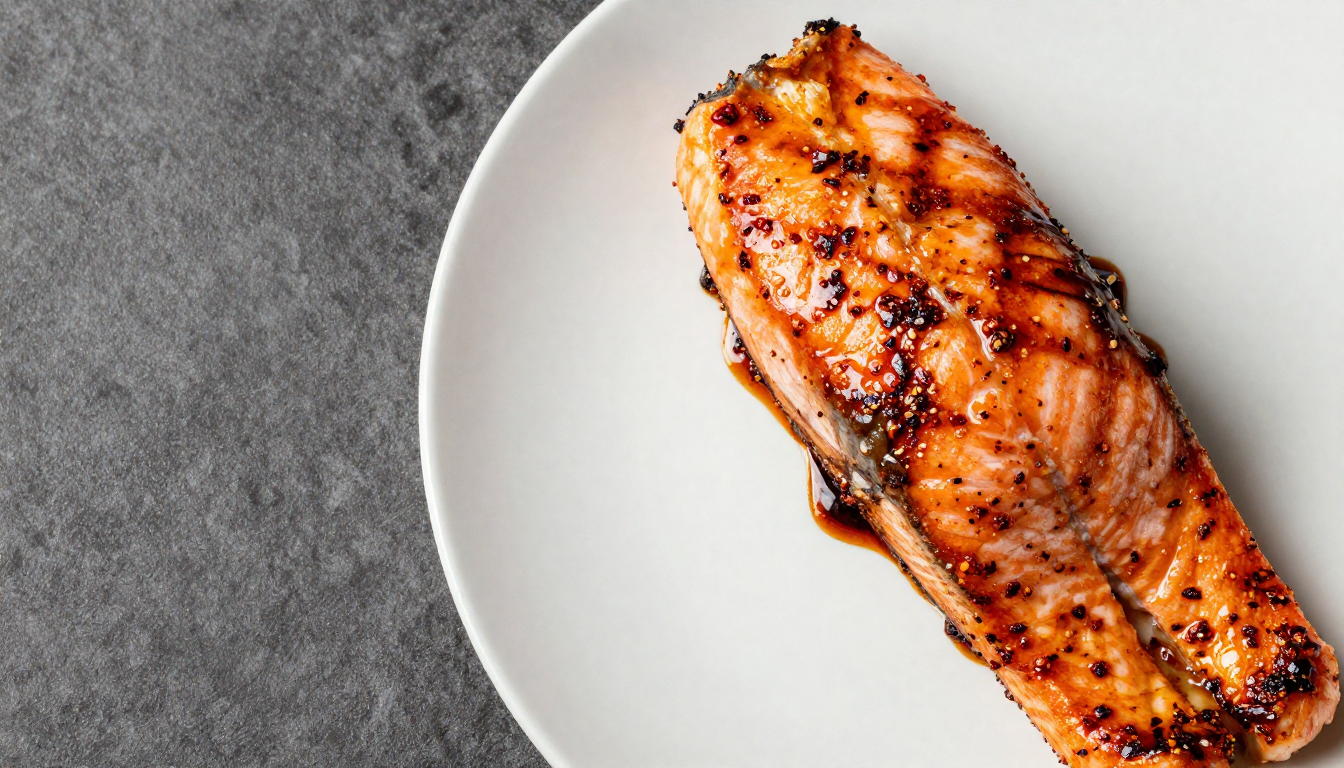
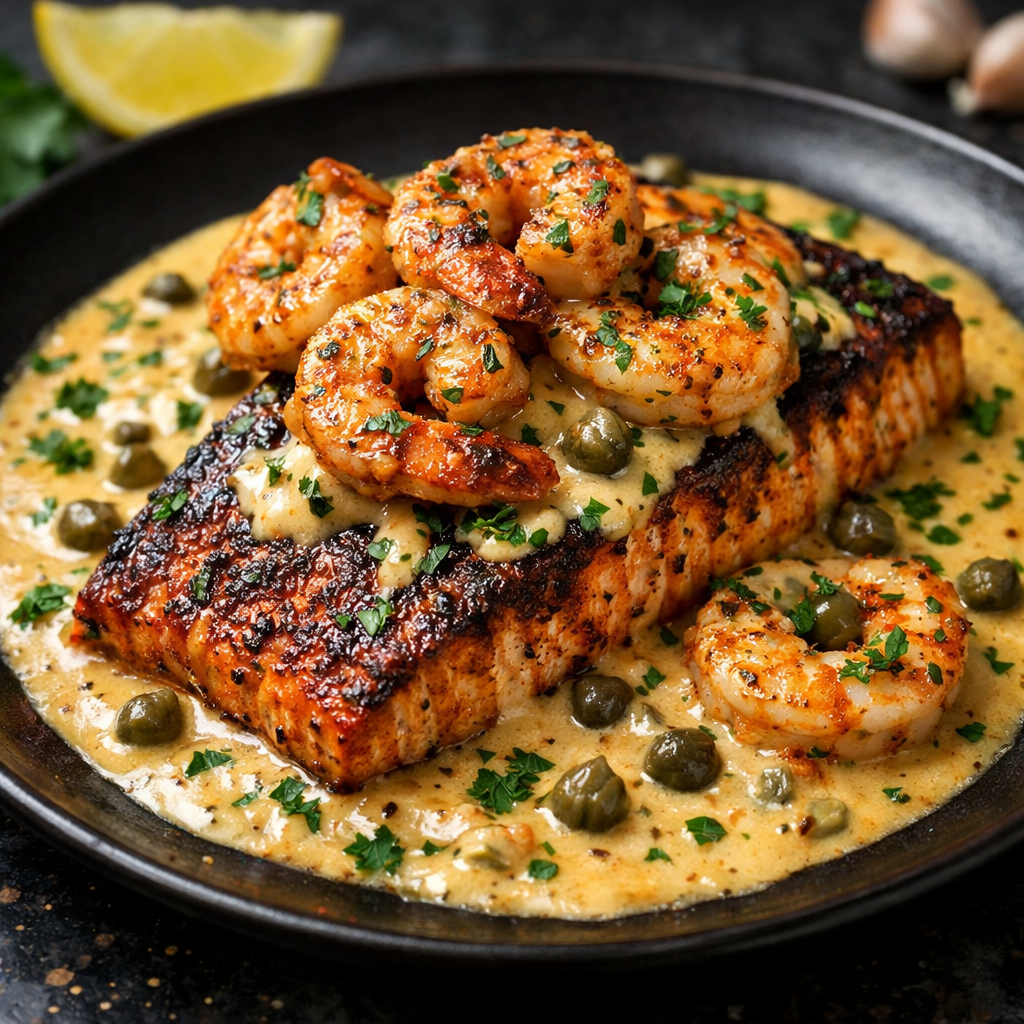
- Textural Contrast: High-heat searing allows the salmon skin to become crisp while the interior remains medium-rare to medium, providing a professional-grade mouthfeel that is often lost in baking-only methods.
Ingredient Choices That Improve Results
The quality of your raw materials is the primary variable in any seafood dish. For a Salmon Shrimp Recipe, specific selections will dictate the success of the sear and the depth of the flavor.
The Salmon
Center-cut fillets are the gold standard for this dish. They are uniform in thickness, which is essential for consistent cooking. Whenever possible, choose skin-on salmon. Even if you do not intend to eat the skin, it acts as a thermal buffer, protecting the delicate flesh from the direct heat of the pan and preventing the fish from drying out.
The Shrimp
For the best visual appeal and texture, use large or jumbo shrimp (16/20 count). Smaller shrimp cook too rapidly and are easily overwhelmed by the heat required to sear the salmon. Ensure they are peeled and deveined, but consider leaving the tails on; they provide an aesthetic finish and contain sugars that caramelize beautifully in the pan.
The Cooking Fat
Avoid using only butter at the start of the recipe. Butter has a low smoke point and the solids will burn before the salmon is properly seared. A combination of high-smoke-point oil (like avocado or grapeseed) and a finishing pat of butter provides the best of both worlds: high heat for the crust and rich flavor for the finish.
Tools That Support Consistent Cooking
Seafood is unforgiving. Having the right equipment prepared ensures that you aren’t fighting your tools while the delicate proteins are overcooking.
- Stainless Steel or Cast Iron Skillet: Non-stick pans are convenient but often fail to produce the Maillard reaction (browning) necessary for a top-tier Salmon Shrimp Recipe. A heavy-bottomed skillet retains heat better when the cold fish is added.
- Flexible Fish Spatula: A thin, metal offset spatula is required to slide under the salmon skin without tearing it.
- Digital Instant-Read Thermometer: This is the most important tool in the kitchen for seafood. It removes the guesswork and prevents the “chalky” texture of overcooked salmon.
- Kitchen Paper Towels: You cannot achieve a sear on wet fish. Thoroughly drying the protein is a mandatory step.
Timing Strategy for Best Texture
Timing is the most common point of failure in a Salmon Shrimp Recipe. To manage this, follow a 6-3-2 minute strategy:
- Minutes 1–6: The salmon sears undisturbed on its skin side. This develops the crust and does about 70% of the internal cooking.
- Minutes 7–9: The salmon is flipped, and the shrimp are added to the perimeter of the pan.
- Minutes 10–11: The shrimp are flipped, aromatics (garlic/herbs) are added, and the pan is basted with butter.
Step-by-Step Salmon Shrimp Recipe (Naturally Written)
1. Preparation and Drying
Start by taking your salmon and shrimp out of the refrigerator about 15 minutes before cooking to take the chill off. Use paper towels to pat every surface of the fish and shrimp bone-dry. Season both sides liberally with kosher salt and black pepper.
2. The Initial Salmon Sear
Heat two tablespoons of oil in your skillet over medium-high heat until it shimmers. Place the salmon fillets in the pan, skin-side down. Press down gently with your spatula for 10 seconds to ensure the skin makes full contact. Leave it alone for about 5 to 6 minutes. You will see the opaque color of the cooked fish slowly climbing up the sides of the fillet.
3. Introducing the Shrimp
Once the salmon skin is crispy and releases easily from the pan, flip the fillets. Immediately move the salmon to one side of the pan and add your shrimp to the empty space. Ensure the shrimp are in a single layer.
4. Aromatics and Basting
After about 2 minutes, the shrimp will be pink on the bottom. Flip the shrimp. Now, add two tablespoons of butter, three crushed garlic cloves, and a sprig of fresh thyme or rosemary to the center of the pan. As the butter melts and foams, use a large spoon to pour that flavored fat over the salmon and shrimp repeatedly.
5. The Finish
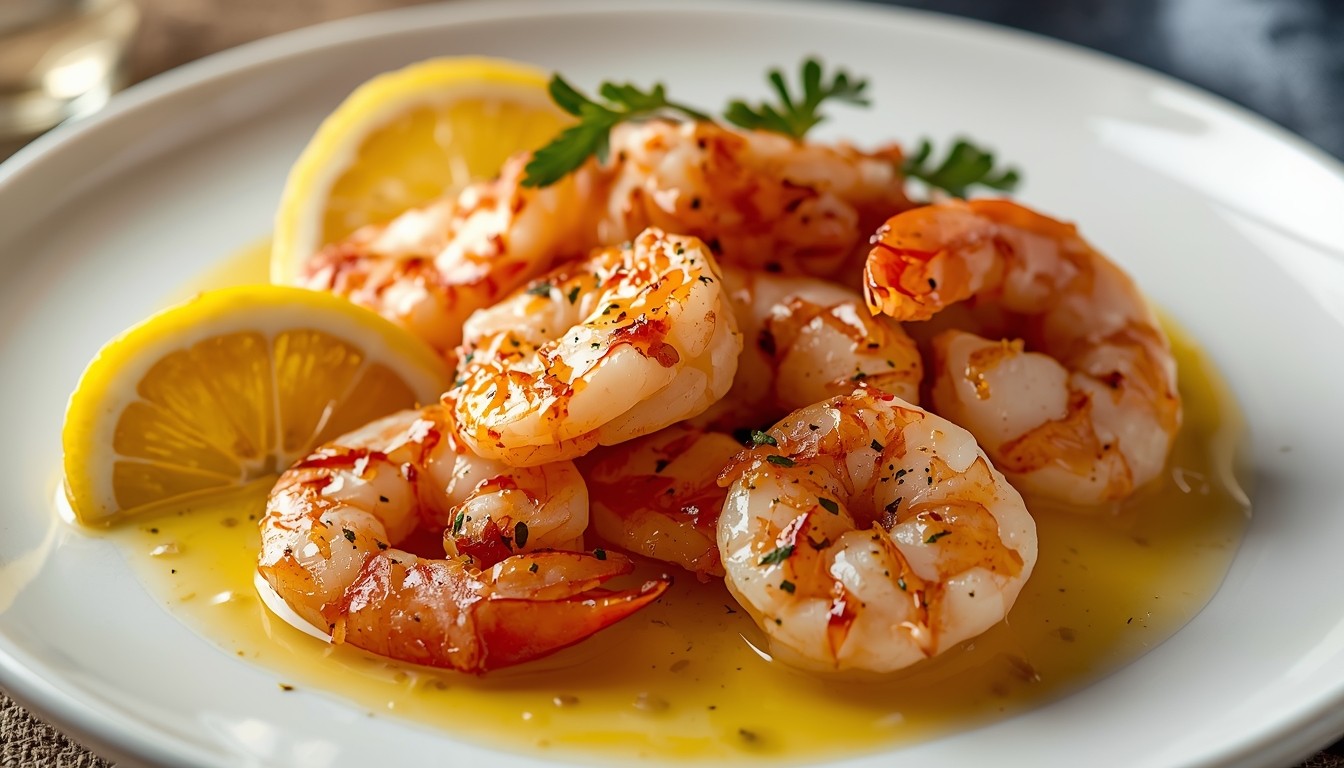
Check the internal temperature of the salmon. For a perfect medium, pull it at 125°F to 130°F. The shrimp should be opaque and curled into a “C” shape (if they curl into an “O,” they are overcooked). Remove everything from the pan immediately to stop the cooking. Squeeze fresh lemon juice over the top to brighten the fats.
Common Cooking Problems and Solutions
Even experienced cooks can encounter issues with a Salmon Shrimp Recipe due to the volatile nature of seafood.
- The Salmon Skin is Sticking: This usually happens for two reasons: the pan wasn’t hot enough, or the skin was still damp. The Fix: Don’t force the flip. The fish will naturally “release” from the pan once the proteins have browned sufficiently.
- The Shrimp are Rubbery: This is a classic sign of overcooking. The Fix: Remember that shrimp continue to cook for a minute after being removed from the heat. Pull them the second they lose their translucency.
- A White Substance is Oozing from the Salmon: This is albumin, a protein that is pushed out when the muscle fibers contract too quickly. The Fix: It is perfectly safe to eat, but to prevent it, cook the salmon more gently on the skin side and avoid aggressive overcooking.
- The Garlic is Burnt: If you add minced garlic at the beginning, it will turn black and bitter. The Fix: Always add garlic during the final two minutes of the Salmon Shrimp Recipe when you are basting with butter.
FAQ Based on Real User Questions
Can I use frozen salmon and shrimp?
Yes, but they must be completely thawed. Frozen seafood often releases a high amount of moisture; if you don’t dry it thoroughly after thawing, you will end up steaming the fish rather than searing it.
Is it better to bake or pan-sear this recipe?
While baking is easier for large crowds, pan-searing is superior for flavor. The direct contact with the pan creates a crust and depth of flavor that a conventional oven cannot replicate.
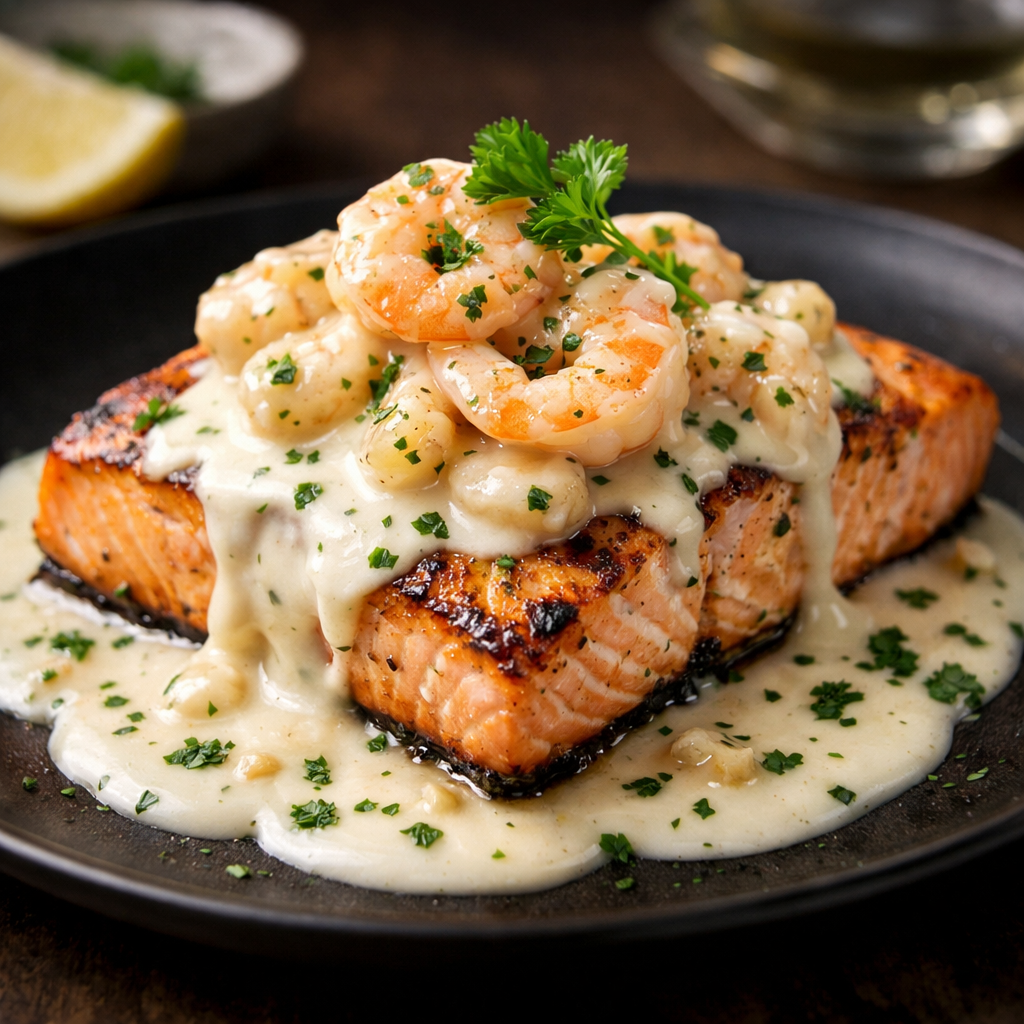
What sauce goes best with a Salmon Shrimp Recipe?
A simple lemon butter garlic sauce (beurre blanc style) is the most popular choice. However, a light pesto drizzle or a white wine reduction also complements the natural sweetness of the shrimp.
Should I leave the shells on the shrimp?
In a quick-sear Salmon Shrimp Recipe, it is better to use peeled shrimp so they can pick up the flavors of the butter and aromatics. Shell-on shrimp are better suited for boiling or long-term grilling.
How do I store leftovers?
Seafood is best enjoyed fresh, but leftovers can be kept in an airtight container for up to two days. Reheat gently in a pan over low heat with a splash of water or broth to prevent the protein from becoming “rubbery” in the microwave.
Sockeye Salmon Recipe – Fresh, Tender & Delicious
Homemade Teriyaki Salmon Recipe with Sticky Glaz
How to Make Salmon Crudo recipe at Home – Simple & Fresh
Fresh & Flavorful Salmon Lomi Lomi Recipe at Home
The Best Blackstone Salmon Recipe for Weeknight Dinners