Approaching a Chicken and Salsa Recipe requires a fundamental understanding of moisture management and flavor extraction. While it is often marketed as a “dump-and-go” meal, the most successful versions of this dish are the result of intentional layering. As a cook, your mindset should shift from simply heating ingredients to managing the interaction between the acidity of the salsa and the protein structure of the chicken.
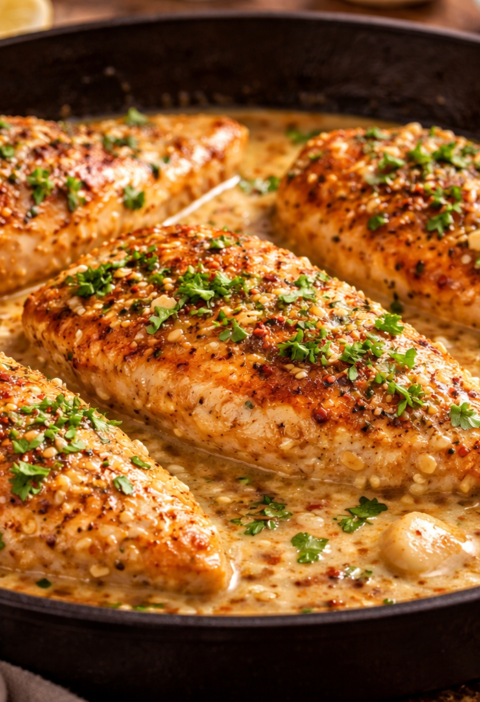
When you prepare a Chicken and Salsa Recipe, you are essentially performing a braise. The chicken is cooked in a liquid medium—the salsa—which serves as both the cooking liquid and the final sauce. To achieve a result that is succulent rather than stringy, you must respect the thermal properties of the poultry. Whether you are using a slow cooker, a pressure cooker, or a standard oven, the goal is to allow the chicken to absorb the aromatics of the salsa while maintaining its internal moisture.
Understanding the Cooking Environment
The vessel you choose for your Chicken and Salsa Recipe dictates the final texture of the sauce. In a closed environment like a slow cooker or an Instant Pot, moisture is trapped. This is excellent for tenderizing the meat, but it can lead to a watery sauce because the water from the chicken has nowhere to evaporate.
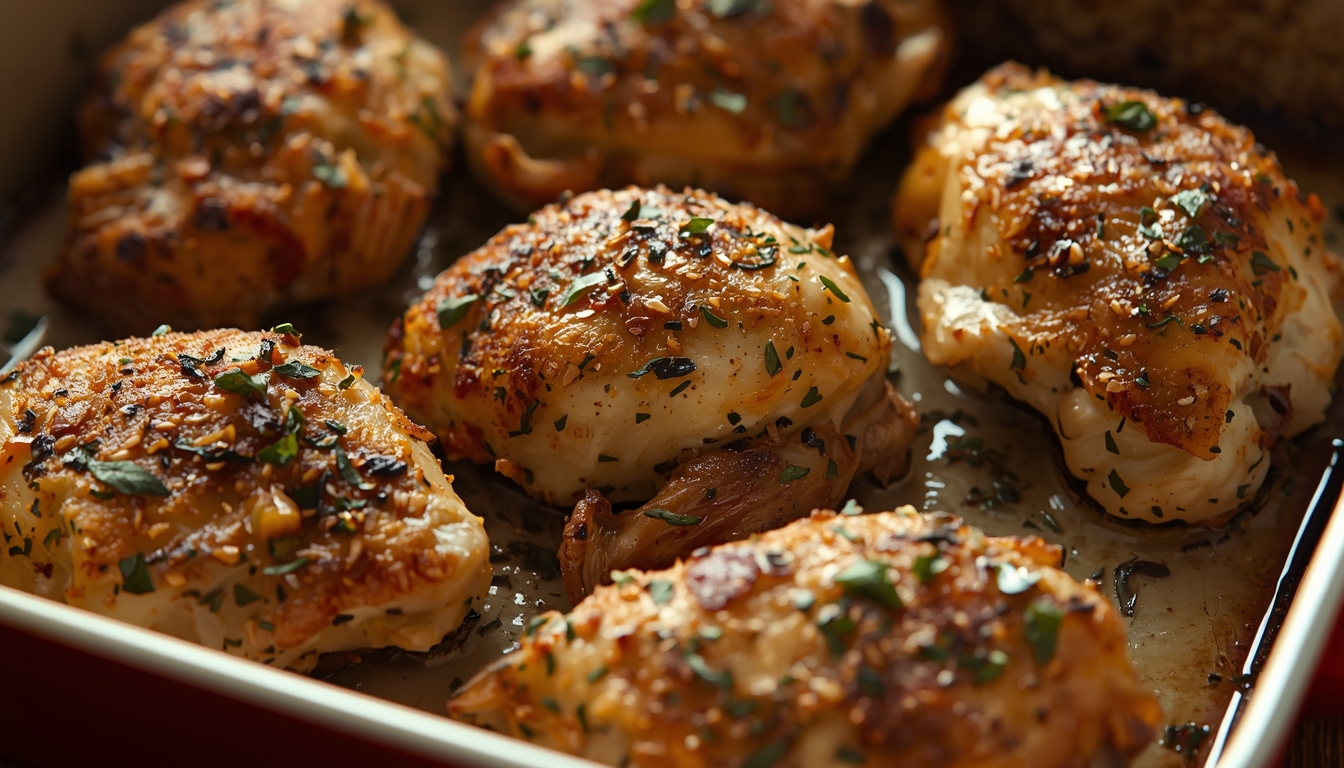
In contrast, baking a Chicken and Salsa Recipe in an open or loosely covered dish allows for reduction. As the water content in the salsa evaporates, the sugars and spices concentrate, creating a thicker, more glaze-like consistency. Understanding this environment allows you to make adjustments; for instance, if you prefer a thicker sauce in a slow cooker, you may need to finish the dish with the lid off or add a small amount of thickener at the end.
Preparing Ingredients With Purpose
The simplicity of a Chicken and Salsa Recipe means that every single ingredient carries a significant burden of flavor. There is no place for low-quality components to hide.
The Chicken Selection
For a recipe that involves long simmering or high pressure, chicken thighs are the superior choice. The higher fat content and connective tissue in thighs prevent them from drying out. If you choose chicken breasts, you must be much more precise with your timing, as they can quickly transition from tender to rubbery once they pass $74^{\circ}C$ (165°F).
The Salsa Profile
Not all salsas are created equal for cooking. A fresh pico de gallo has too much raw water and will lose its texture. For a Chicken and Salsa Recipe, a chunky, roasted tomato salsa or a salsa verde provides the best results. The pre-cooked nature of bottled or jarred salsa means the flavors are already integrated and stable under heat.
Supplemental Aromatics
Even if your salsa is flavorful, adding fresh aromatics like sliced onions, minced garlic, or a squeeze of lime can brighten the “processed” taste of jarred salsa. Bold Tip: Adding a pinch of cumin or smoked paprika to the chicken before adding the salsa creates a deeper flavor bridge between the meat and the sauce.
Equipment Readiness and Setup
To ensure a smooth workflow, your equipment must be calibrated to the specific cooking method you’ve selected for your Chicken and Salsa Recipe.
- High-Sided Baking Dish or Slow Cooker: You need a vessel that allows the chicken to be at least half-submerged in the salsa. This ensures the top of the chicken doesn’t dry out while the bottom cooks.
- Meat Thermometer: This is the only way to ensure the chicken is safe to eat without overcooking it. In a Chicken and Salsa Recipe, visual cues can be deceptive because the red or green tint of the salsa can mask the color of the meat.
- Tongs or a Meat Shredder: If the intent is to shred the chicken for tacos or bowls, having sturdy tongs is essential for handling the hot protein immediately after cooking.
- Aluminum Foil: If baking, foil is used to manage the evaporation rate, keeping the chicken moist during the first half of the cooking cycle.
Timing Decisions Before Cooking
Before you apply heat, you must decide on the texture you want for your Chicken and Salsa Recipe.
- The Sliced Approach (Short Time): If you want to serve whole fillets, you should cook the chicken just until it reaches 165°F. This usually takes 25–30 minutes in a standard oven at $190^{\circ}C$ (375°F).
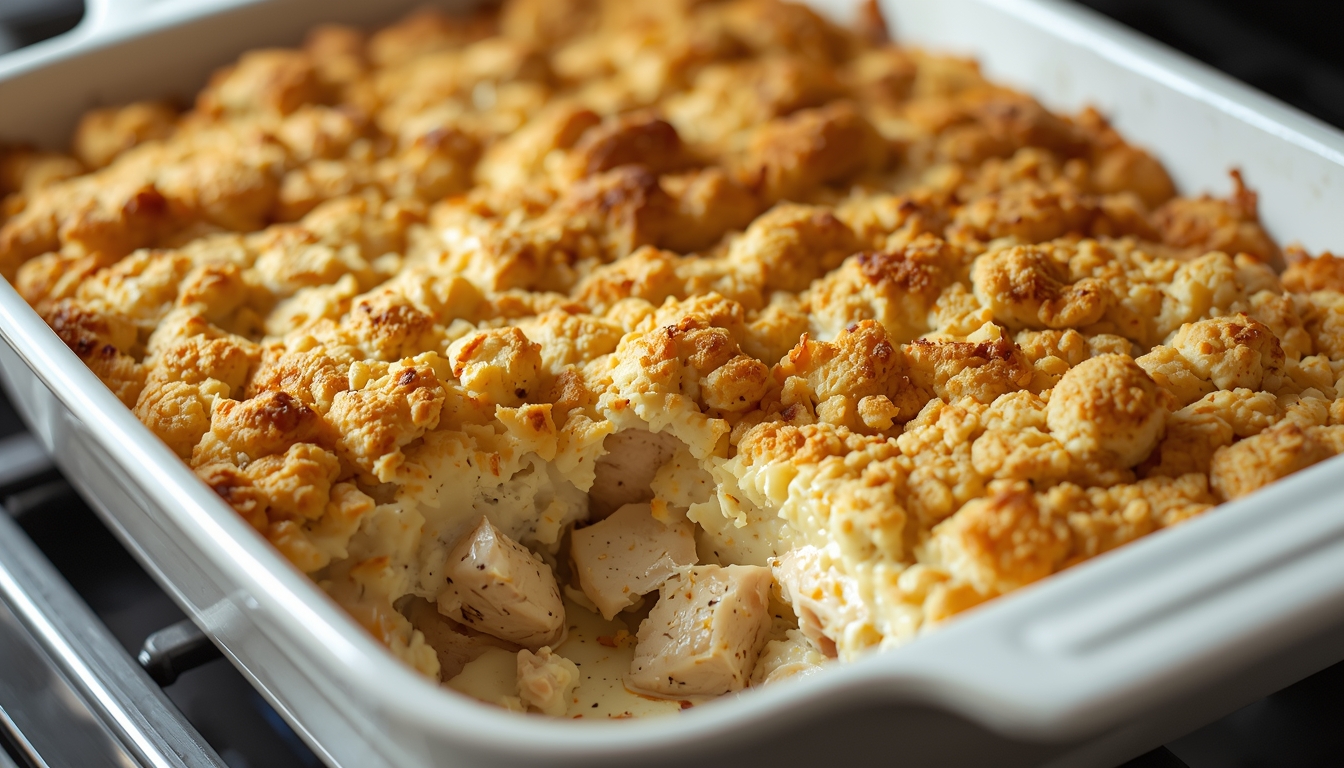
- The Shredded Approach (Long Time): If you want “pulled” chicken, the meat needs to reach a higher internal temperature—around $95^{\circ}C$ (203°F). At this point, the collagen has fully broken down. This is best achieved over 4 hours on high in a slow cooker or 20 minutes in a pressure cooker.
Planning these windows prevents the frustration of trying to shred “tough” chicken that hasn’t quite reached the breakdown point.
Cooking Through the Chicken and Salsa Recipe
1. The Foundation
Place your chicken in the bottom of your chosen cooking vessel. Ensure the pieces are in a single layer. If you overlap them significantly, the centers will cook slower than the edges, leading to an uneven Chicken and Salsa Recipe outcome.
2. Seasoning the Protein
Even though the salsa has salt, you should lightly salt the chicken itself. This ensures the seasoning penetrates the muscle fibers. Add your dry aromatics—onion powder, chili powder, or cumin—directly onto the meat.
3. The Salsa Pour
Pour enough salsa over the chicken to cover it almost completely. For four large breasts or six thighs, roughly 16 to 24 ounces of salsa is standard. Tip: Do not add extra water. The chicken will release its own juices, and adding water will lead to a diluted, flavorless sauce.
4. The Heat Application
- In the Oven: Cover with foil and bake at 375°F for 20 minutes. Remove the foil and bake for another 10 minutes to allow the sauce to bubble and thicken.
- In the Slow Cooker: Set to “Low” for 6–8 hours or “High” for 3–4 hours.
- In the Instant Pot: Set to “High Pressure” for 10–12 minutes with a 5-minute natural release.
5. The Rest and Shred
Once the timer is up, remove the chicken from the liquid and place it on a clean board or plate. Let it rest for 5 minutes. This allows the fibers to relax and reabsorb moisture. If shredding, use two forks to pull the meat apart.
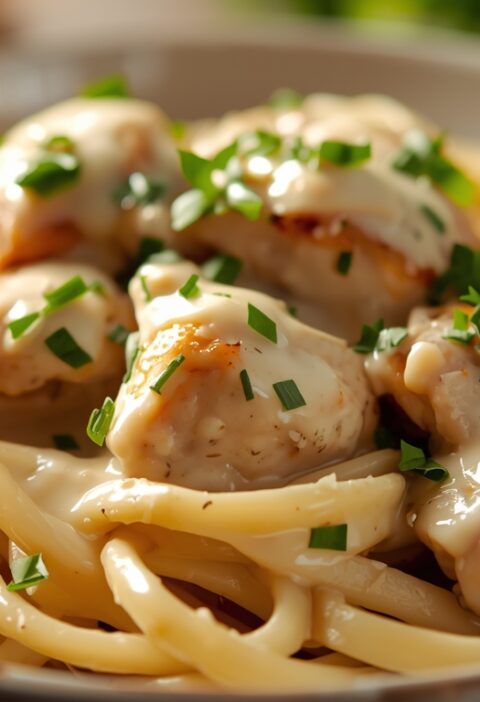
6. Recombining
Return the shredded or sliced meat to the vessel and toss it with the concentrated salsa juices. This final “toss” is what ensures every bite of your Chicken and Salsa Recipe is packed with flavor.
Signs Something Is Going Wrong
Even with a simple Chicken and Salsa Recipe, things can go off-track. Identifying these signs early can help you save the meal.
- The Sauce is Too Thin: If you open your slow cooker and the chicken is swimming in a watery soup, don’t panic. Remove the chicken, pour the liquid into a saucepan, and boil it on the stove for 5–10 minutes to reduce it. Alternatively, stir in a teaspoon of cornstarch mixed with cold water.
- The Chicken is Tough: If the chicken won’t shred, it usually means it hasn’t cooked long enough. It has passed the “done” stage but hasn’t yet reached the “shreddable” stage. Put it back in for another 30 minutes.
- The Salsa is Burning: If you are baking and the edges of the salsa are turning dark black, your oven is too hot or the pan is too large for the amount of liquid. Add a splash of broth and cover the pan with foil immediately.
- The Flavor is Flat: If the dish tastes “boring,” it is likely lacking acidity or salt. A fresh squeeze of lime juice or a handful of chopped cilantro can usually fix this at the final stage.
FAQ for First-Time Users
Can I use frozen chicken?
You can use frozen chicken in a slow cooker or pressure cooker, but never in the oven for a Chicken and Salsa Recipe, as it won’t spend enough time in the “danger zone” to be food-safe. Note that frozen chicken releases much more water, so your sauce will definitely be thinner.
What is the best salsa to use?
A medium-heat, roasted tomato salsa provides the most “restaurant-style” flavor. Avoid “fruit salsas” (like mango or peach) for the primary cooking liquid unless you are specifically looking for a very sweet profile, as the sugars can burn easily.
Is this recipe healthy?
Yes. A Chicken and Salsa Recipe is naturally low in fat and high in protein. To keep it as healthy as possible, look for salsas with no added sugar and low sodium content.
How do I store leftovers?
This dish stores exceptionally well. The flavors actually improve the next day as the spices continue to permeate the meat. Store in an airtight container in the refrigerator for up to 4 days or freeze for up to 3 months.
What should I serve with this chicken?
The versatility of the Chicken and Salsa Recipe allows it to be served over cauliflower rice, inside corn tortillas, or mixed with black beans and corn for a burrito bowl. Because the dish has a significant amount of sauce, it pairs best with a starch that can absorb the liquid.
Simple Breaded Chicken Recipes You’ll Make Again
Homemade Chicken Mole Recipe Step by Step
Healthy Baked Chicken Recipes You’ll Love
Classic Grilled Chicken Sandwich Recipe Everyone Loves
Healthy White Chicken Chili Recipe Made Simple
Classic Chicken Salad Recipe with Grapes Everyone Loves