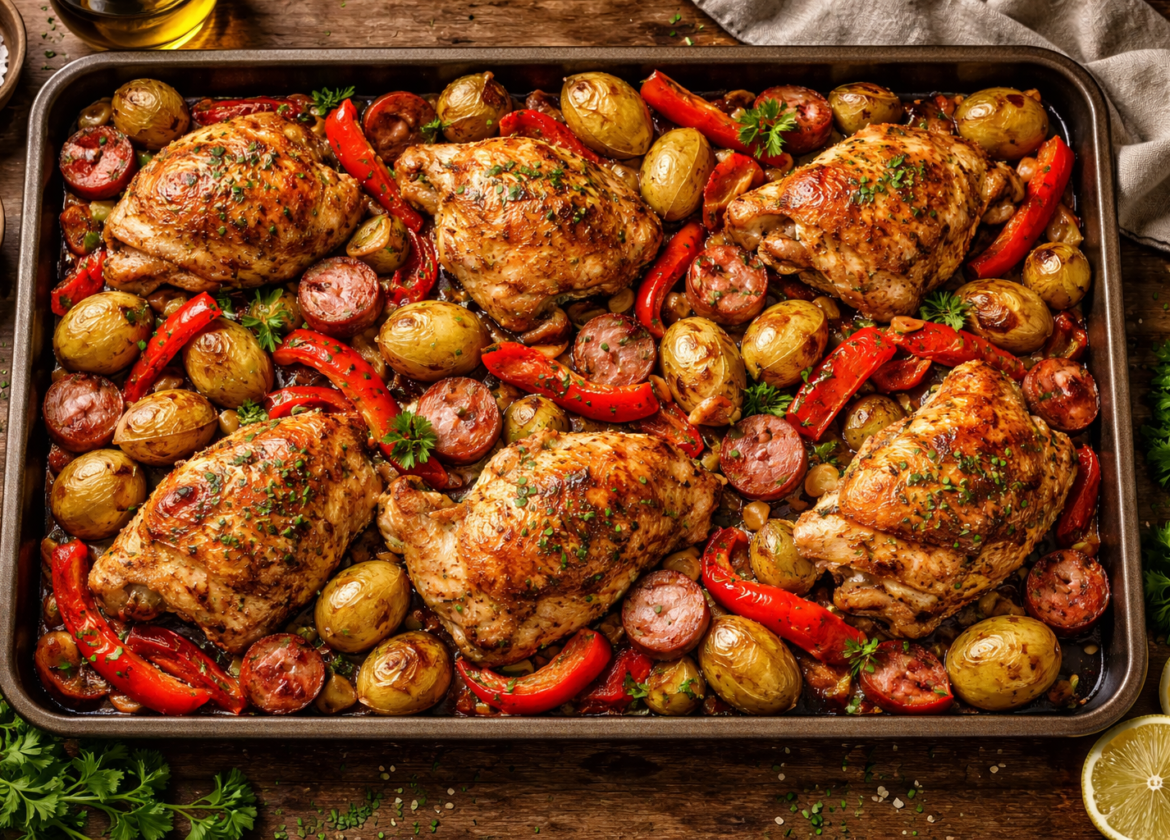
Mastering a Chicken Bell Pepper Recipe is an essential milestone for any cook looking to balance lean protein with vibrant, high-fiber vegetables. At its core, this dish is a lesson in managing textures and sugar caramelization. Because bell peppers have a high water content and natural sugars, they behave very differently than the chicken they are paired with. The goal is to reach a point where the chicken is fully cooked and succulent, while the peppers retain a “tender-crisp” bite rather than becoming a soft, flavorless mush.
When we look at the chemistry of this recipe, we are focusing on the Maillard reaction—the browning of the meat—and the light caramelization of the peppers. In a teaching context, this dish is the perfect vehicle to learn about pan management. If the pan is too crowded, the ingredients will steam in their own juices; if the heat is too high, the delicate skins of the peppers will char before the chicken is safe to eat. Learning to balance these two elements is what elevates a basic stir-fry into a professional-grade meal.
Building Confidence With the Method
The most reliable method for a Chicken Bell Pepper Recipe is the “staged searing” technique. Instead of throwing everything into the pan at once, we treat each component with individual respect. This builds your confidence as a cook because it removes the guesswork. When you cook the chicken first, you can focus entirely on its internal temperature. When you cook the peppers afterward, you can focus entirely on their color and snap.
By the time you recombine the ingredients at the end, the flavors have had a chance to develop independently. The residual juices from the chicken will deglaze the pan as the peppers cook, creating a natural sauce that binds the dish together. This method ensures that the chicken doesn’t become overcooked and “rubbery” while you wait for the peppers to soften. As you practice this, you will start to recognize the visual cues—the opacity of the meat and the brightening of the pepper skins—that signal the perfect moment to move to the next step.
Ingredient Preparation Step by Step
Preparation is where the quality of your Chicken Bell Pepper Recipe is truly determined. Consistency in your knife work leads to consistency in your cooking.
- The Chicken: I recommend using boneless, skinless chicken thighs for beginners. They are more forgiving under heat. Slice the chicken into uniform strips, roughly 1/2 inch thick. Bold Tip: Slicing across the grain of the meat ensures that the fibers are short, resulting in a much more tender bite.
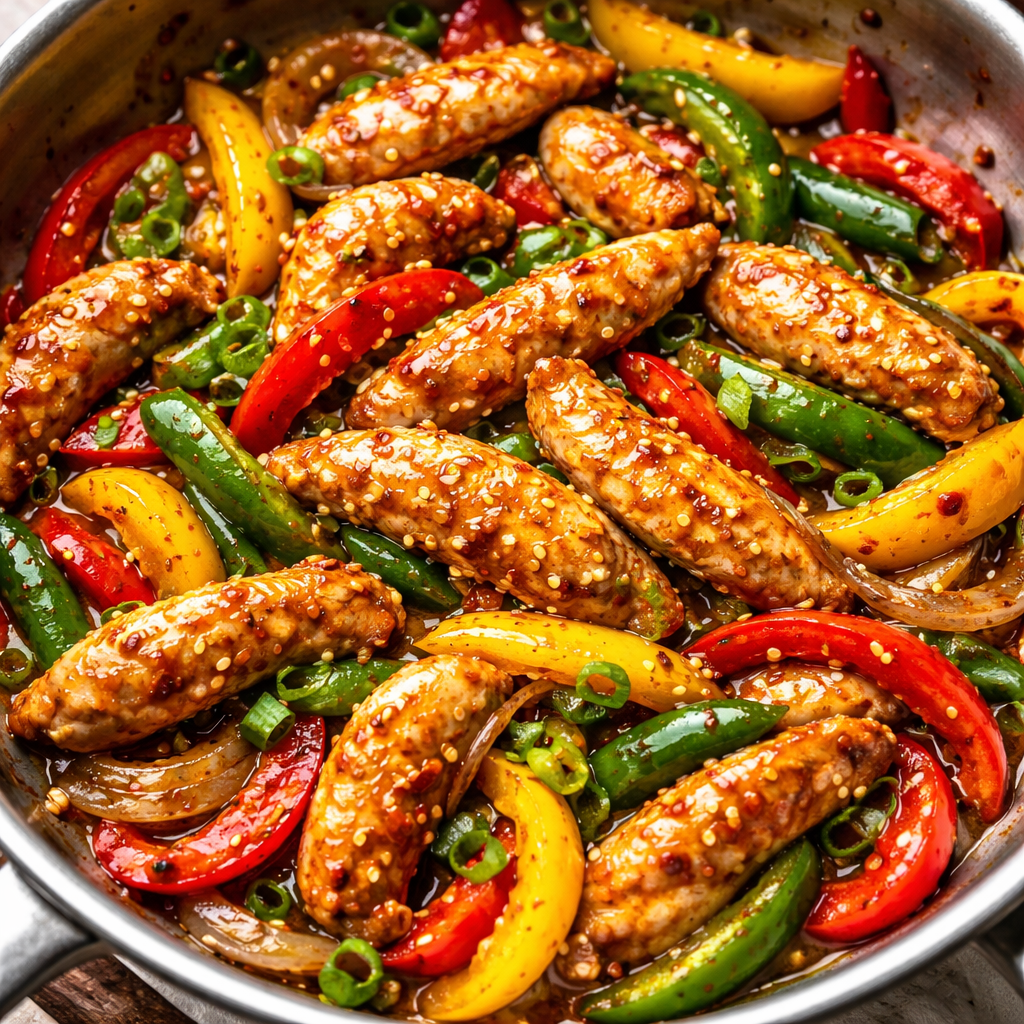
- The Bell Peppers: Use a variety of colors (red, yellow, and orange) to provide different levels of sweetness. Slice them into strips that match the size of the chicken. This “symmetry of ingredients” ensures that every forkful has a balanced ratio of meat to vegetable.
- The Aromatics: Fresh garlic and ginger are the backbone of the flavor profile. Rather than mincing them into tiny bits that might burn, try slicing the garlic into thin “chips” and grating the ginger into a paste.
- The Seasoning Base: A simple blend of soy sauce, a touch of honey for caramelization, and a splash of rice vinegar for acidity will provide a professional finish without overcomplicating the process.
Understanding Your Cooking Tools
In a Chicken Bell Pepper Recipe, your tools act as the conductors of heat. Using the wrong equipment can lead to uneven cooking and sticking.
- Stainless Steel or Cast Iron Skillet: Avoid non-stick pans if you want a true sear. Stainless steel allows for the development of “fond”—the browned bits on the bottom of the pan—which is essential for building a deep, savory sauce.
- High-Heat Cooking Oil: Use an oil with a high smoke point, such as avocado, peanut, or grapeseed oil. Extra virgin olive oil or butter will smoke and turn bitter at the temperatures required for a proper sear.
- A Wide Spatula: A flat-edged wooden or metal spatula allows you to scrape the bottom of the pan effectively, ensuring the flavor is redistributed and the garlic doesn’t stick in the corners.
- A Large Mixing Bowl: Use this to toss the chicken in a light coating of cornstarch or seasoning before it hits the pan. This creates a protective barrier that helps the meat brown quickly without drying out.
Planning the Cooking Process
A successful teaching rhythm involves knowing the timeline before you turn on the stove. For this Chicken Bell Pepper Recipe, the workflow should look like this:
- Marination (15 Minutes): Let the chicken sit with a little salt and oil. This helps the seasoning penetrate the muscle.
- The Meat Phase (6-8 Minutes): Searing the chicken until golden but not quite finished in the center.
- The Vegetable Phase (4-5 Minutes): Searing the peppers and aromatics in the same pan.
- The Integration Phase (2 Minutes): Bringing the chicken back into the pan with the sauce to finish cooking.
- The Rest (2 Minutes): Allowing the dish to sit off the heat so the juices can thicken.
Applying the Chicken Bell Pepper Recipe
1. The High-Heat Sear
Heat your skillet until a drop of water dances on the surface. Add a tablespoon of oil and swirl to coat. Lay the chicken strips in a single layer. Do not move them for at least two minutes. This patience is what creates the golden crust. Once browned, flip them, cook for another minute, and then remove the chicken to a clean plate.
2. Sautéing the Peppers
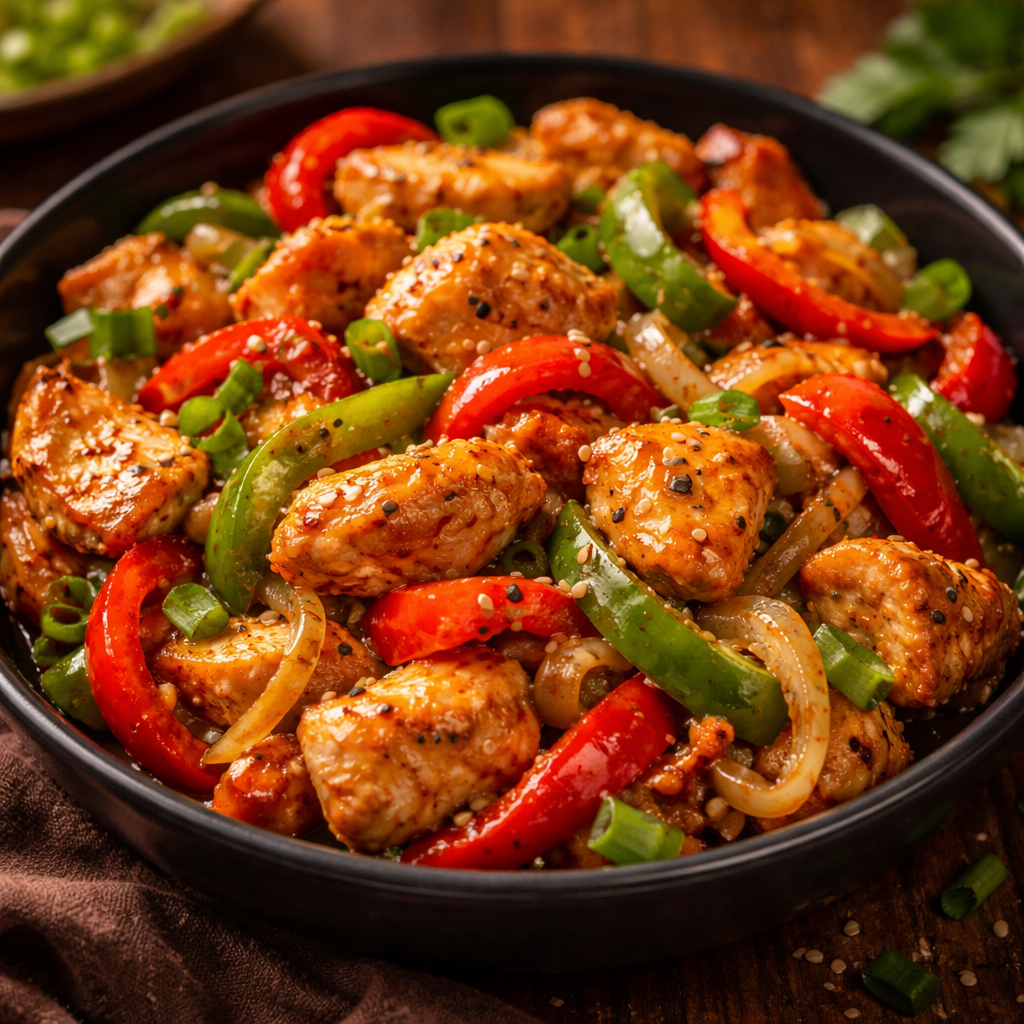
Add another teaspoon of oil if the pan looks dry. Toss in your bell peppers. You want to hear a loud sizzle. Stir-fry them over high heat until they turn a vibrant color and the edges show a few charred spots.
3. Adding the Aromatics
Push the peppers to the edges of the pan and add your garlic and ginger to the center. Let them fragrant for 30 seconds. This prevents the delicate garlic from burning against the high heat of the pan surface.
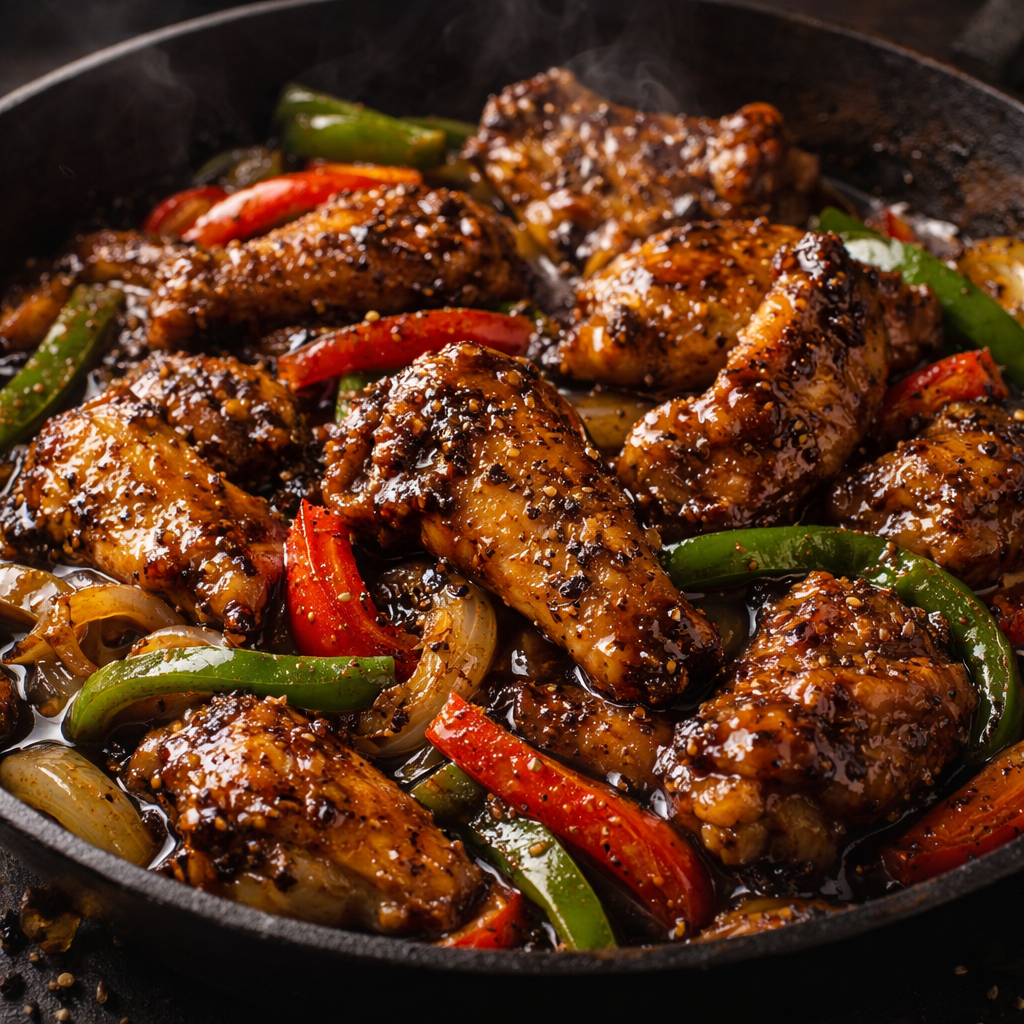
4. The Deglaze and Finish
Return the chicken and its juices to the pan. Pour in your sauce mixture (soy sauce, honey, vinegar). The liquid will bubble and steam instantly. Use your spatula to scrape up all the browned bits from the bottom.
5. Final Thickening
Toss everything together for 60 seconds. The sugars in the sauce and the starches from the chicken will create a glossy glaze that clings to the peppers and meat. Serve immediately while the colors are at their peak.
Learning From Common Setbacks
Every cook encounters hurdles when learning a Chicken Bell Pepper Recipe. Here is how to handle them:
- The Peppers are Soggy: This usually happens because the pan was too cold or there was too much liquid. The Fix: Next time, cook in smaller batches to maintain high heat.
- The Chicken is Dry: You likely kept the chicken in the pan the entire time. The Fix: Remember to remove the chicken while you cook the peppers. It will finish cooking in the final two-minute integration.
- The Garlic is Burnt: Garlic burns very quickly. The Fix: Never add garlic at the beginning with the meat. Always add it at the very end of the vegetable phase.
- The Sauce is Too Thin: If the sauce doesn’t cling, it hasn’t reduced enough. The Fix: Let it simmer for an extra minute, or add a tiny cornstarch slurry (1 tsp cornstarch mixed with 1 tsp water) to the pan.
FAQ for Skill Improvement
Can I use different types of peppers?
Absolutely. While bell peppers are standard for their sweetness, you can add a sliced jalapeño or poblano for a mild heat. This teaches you how to balance different capsaicin levels in a single Chicken Bell Pepper Recipe.
What is the best way to reheat leftovers?
To maintain the texture of the peppers, reheat in a skillet over medium heat with a splash of water. Avoid the microwave if possible, as it will steam the peppers further and make them very soft.
Should I peel the peppers?
No. The skin of the bell pepper provides the structural “snap” that defines the dish. It also contains many of the vitamins that make this recipe a healthy choice.
Can I add other vegetables?
Yes. Onions, snap peas, or broccoli work well. Just remember that different vegetables have different cook times; add the hardiest vegetables (like broccoli) first and the softest (like peppers) last.
By focusing on the timing of your ingredients and the temperature of your pan, you can turn a simple Chicken Bell Pepper Recipe into a sophisticated, healthy staple that demonstrates your growing skills as a confident home cook.
Quick Hibachi Chicken Recipe Made at Home
Homemade Chicken Gravy Recipe Ready in Minutes
The Best Butter Chicken Recipe Made at Home
The Best Chicken Fried Steak Recipe for Family Dinners
Delicious Shredded Chicken Recipes Your Family Will Love