When you are looking for a meal that balances high protein with nutrient-dense greens, the decision to go with Shrimp Spinach Recipes is usually driven by a need for speed and lightness. Unlike heavy meat-based braises that take hours to tenderize, shrimp and spinach both react to heat in a matter of minutes. This makes it a primary choice for weeknight cooking where the goal is a sophisticated result without the labor of long-term simmering.
From a culinary standpoint, deciding to pair these two ingredients is about managing “water release.” Spinach is nearly 90% water, and shrimp can become rubbery if they are steamed in that moisture rather than seared. Therefore, the decision-making process involves a “dry-to-wet” transition. You aren’t just making a salad; you are creating a quick-fire emulsion where the juices from the greens and the sear from the shellfish create a light, natural sauce.
Expected Results From This Cooking Method
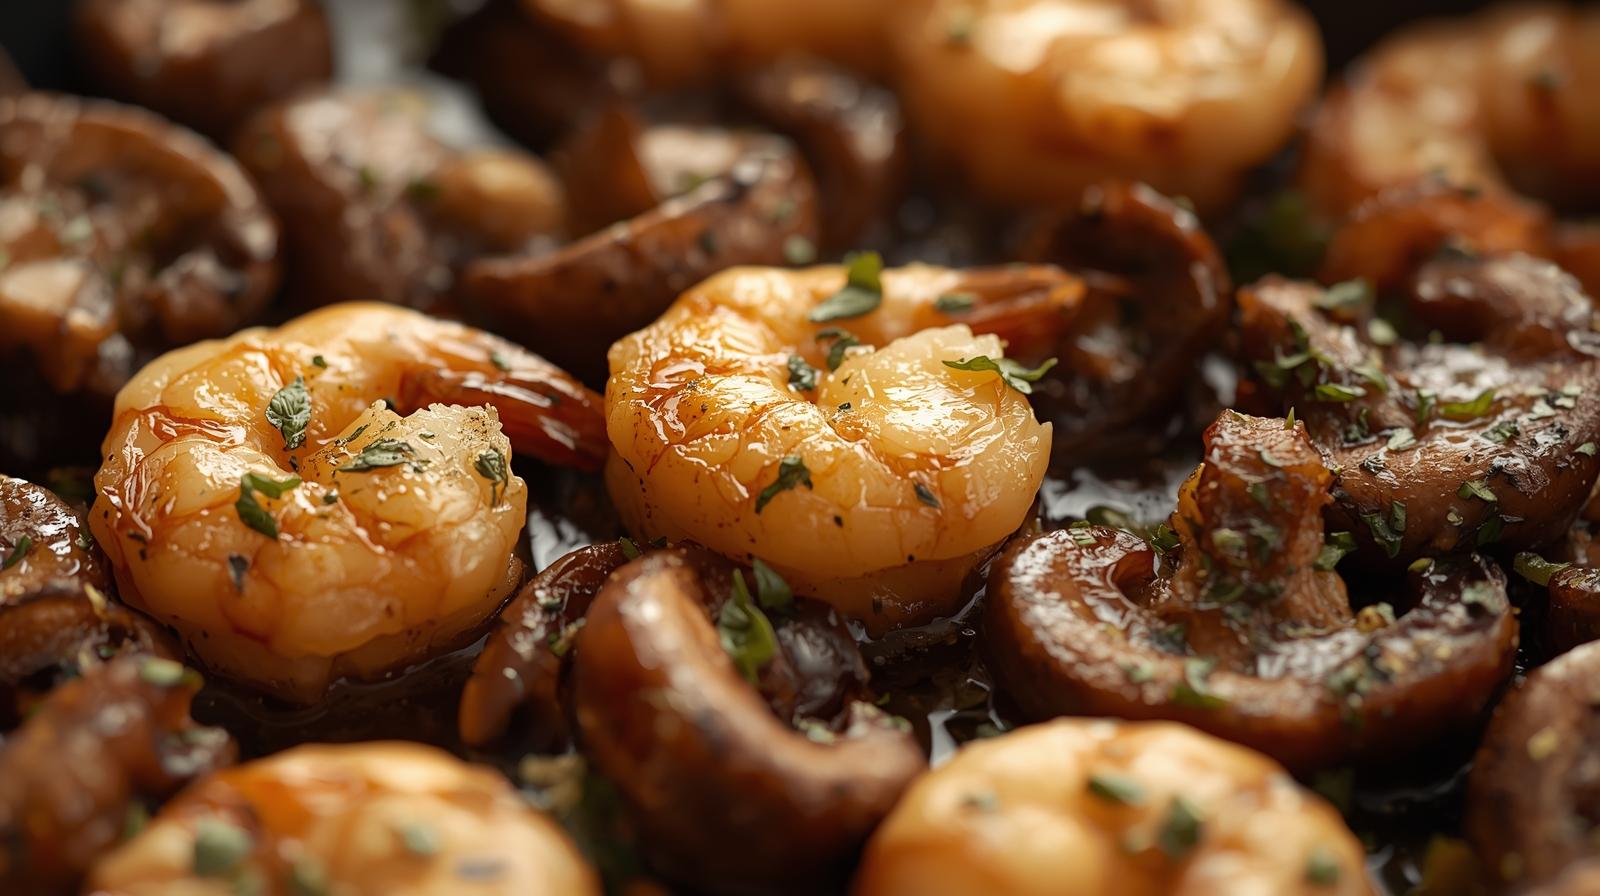
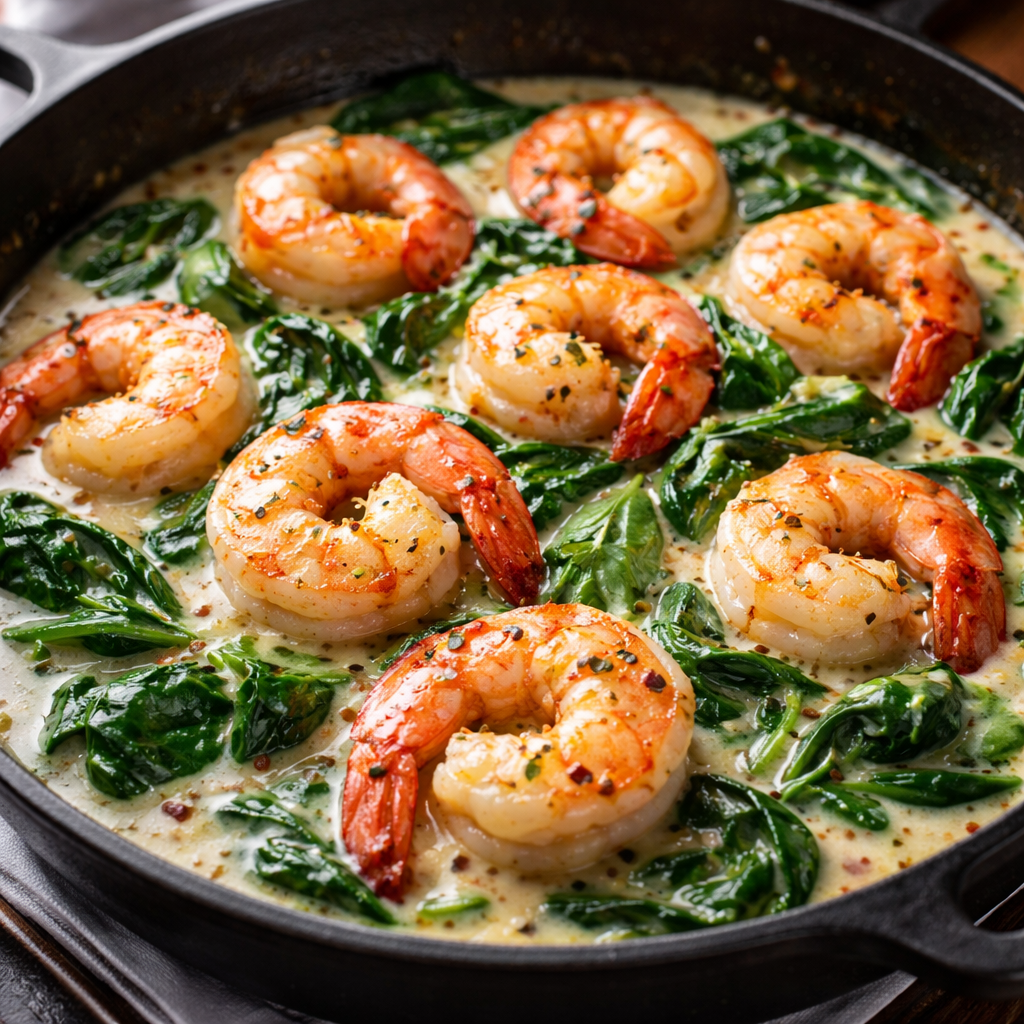
When executing Shrimp Spinach Recipes using a high-heat sauté method, the expected result is a contrast in textures. The shrimp should have a slight snap on the outside with a tender, translucent center. The spinach should be “wilted” but not “melted.” You want the leaves to be coated in whatever fat you choose—be it olive oil or butter—while retaining their vibrant green color.
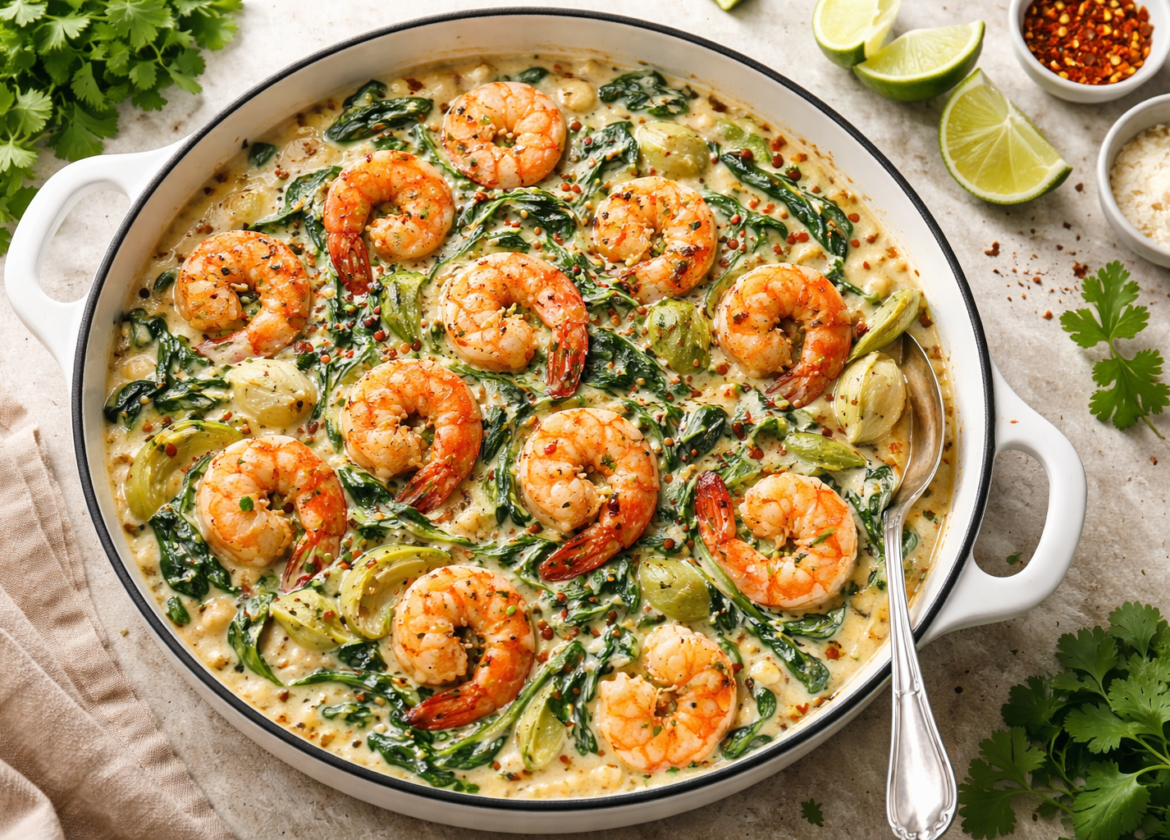
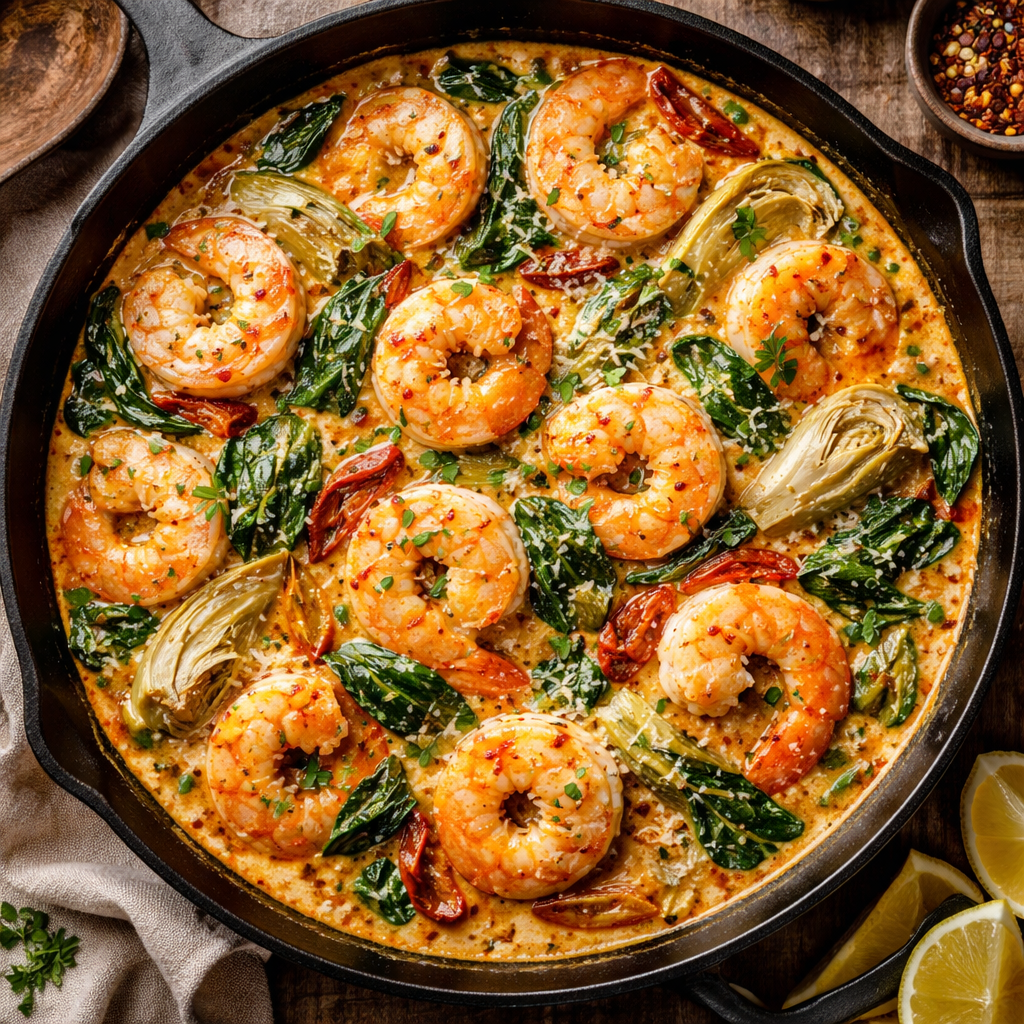
If you choose a creamy approach, such as adding a splash of heavy cream or coconut milk, the result shifts toward a more decadent, velvety finish. However, for most home cooks, the baseline expectation is a clean, garlic-forward flavor profile that feels light on the palate. The “visual win” of this dish is the bright pink of the shrimp against the deep emerald of the spinach, which signals freshness and proper temperature control.
Ingredient Decisions That Affect Flavor
The choices you make at the grocery store will dictate the success of your Shrimp Spinach Recipes far more than your stove settings will.
- Shrimp Size and Prep: I recommend Jumbo (16/20 count) or Large (21/25 count) shrimp. Smaller shrimp cook too fast and will turn into “corks” before the spinach has even hit the pan. Always peel and devein them, but consider leaving the tails on for a better presentation and deeper flavor infusion during the sear.
- Fresh vs. Frozen Spinach: For a sauté, fresh baby spinach is the only logical decision. Frozen spinach is blanched and squeezed dry, which removes the structural integrity of the leaf. Baby spinach is tender enough that the stems don’t need to be removed, saving you significant prep time.
- The Acid Component: Because both ingredients are relatively mild, a “bright” ingredient is necessary. Deciding between lemon juice or a splash of dry white wine changes the dish’s character. Lemon is sharper and more casual, while wine adds a fermented depth suitable for a dinner party.
- The Fat: Butter provides a classic, nutty finish that pairs perfectly with garlic, while extra virgin olive oil keeps the dish in the Mediterranean, “heart-healthy” category.
Choosing the Right Equipment Setup
To ensure your Shrimp Spinach Recipes don’t end up as a soggy mess, your equipment must be able to handle rapid heat recovery.
- Wide Stainless Steel or Cast Iron Skillet: Avoid deep pots. You need surface area. A wide pan allows moisture to evaporate instantly. If the pan is too deep, the steam stays trapped, and you end up “boiling” your shrimp.
- Tongs: A spatula is less effective here. Tongs allow you to flip each individual shrimp precisely and to “toss” the voluminous spinach leaves without bruising them.
- Microplane or Grater: For the garlic and lemon zest. In a 5-minute dish, you don’t want chunks of raw garlic; you want a paste that melts into the oil.
Planning the Cooking Window
The “cooking window” for most Shrimp Spinach Recipes is remarkably short—typically under 10 minutes. However, the preparation must be 100% complete before you turn on the burner.
- Prep Window (10 Minutes): Patting the shrimp dry (essential for a sear) and washing the spinach.
- The Searing Phase (4 Minutes): Cooking the shrimp.
- The Wilting Phase (2 Minutes): Adding the greens and aromatics.
- The Finish (1 Minute): Emulsifying the sauce with acid and fat.
Bold Tip: If you are serving this over pasta or rice, ensure the starch is already cooked and resting before you start the shrimp. The shrimp will not wait for the pasta to boil.
Shrimp Spinach Recipes Explained Clearly
1. The Prep
Ensure your shrimp are bone-dry. Use a paper towel to press out any moisture. Season them lightly with salt, pepper, and a pinch of red pepper flakes.
2. The Initial Sear
Heat 2 tablespoons of oil in your skillet over medium-high heat. Once the oil shimmers, add the shrimp in a single layer. Do not move them for 2 minutes. You want that golden-brown crust. Flip them and cook for only 1 more minute, then remove them to a plate. They should be about 90% cooked.
3. The Aromatics
In the same pan (don’t wash it!), add a tablespoon of butter and 3 cloves of minced garlic. Stir for 30 seconds until fragrant.
4. The Spinach Drop
Add 5 to 6 cups of fresh baby spinach to the pan. It will look like too much, but it will shrink by 75%. Toss with tongs for 60 seconds.
5. Integration and Deglaze
Add a splash of white wine or lemon juice. As the liquid bubbles, scrape the bottom of the pan to release the shrimp bits. Return the shrimp to the pan.
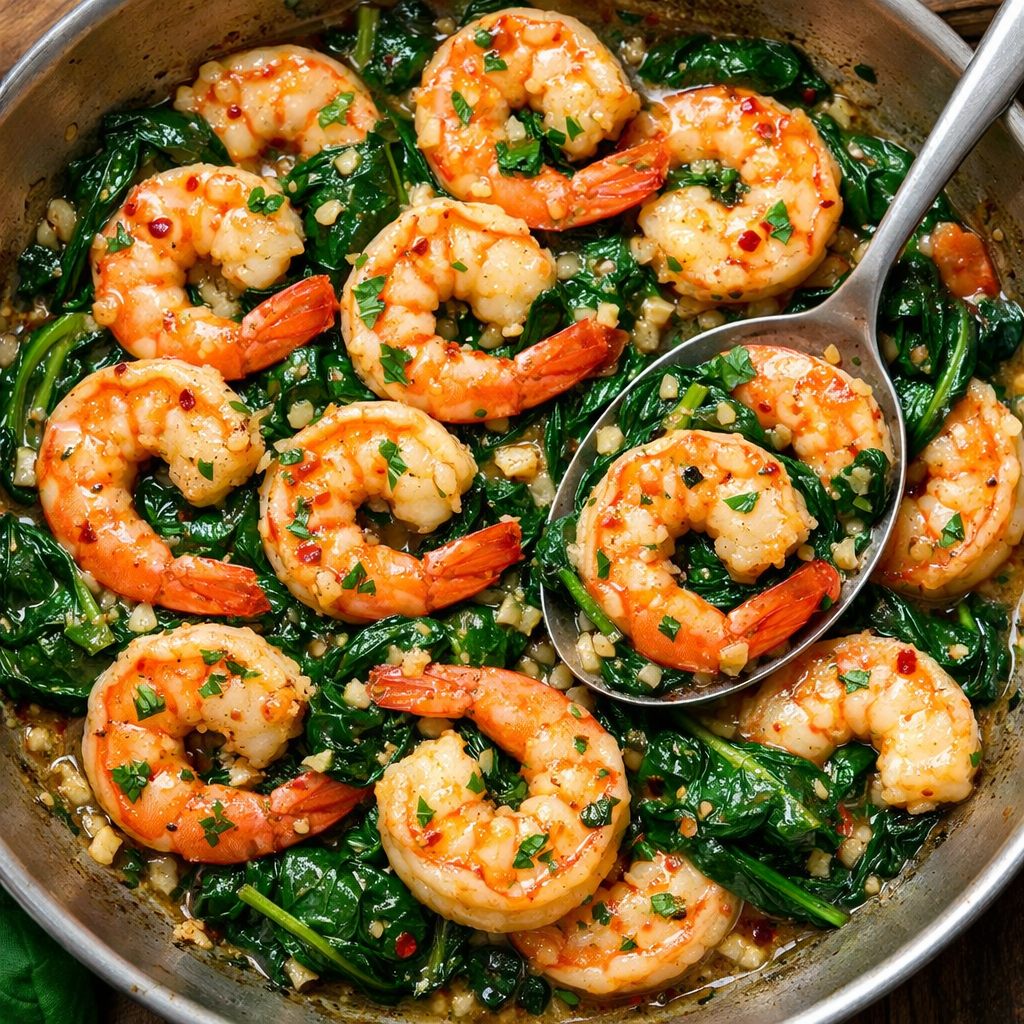
6. The Final Toss
Toss everything together for one final minute. The juices from the spinach and the lemon will create a light glaze. Serve immediately.
Result-Based Problems and Adjustments
Even simple Shrimp Spinach Recipes can go wrong if you lose track of the heat. Here is how to fix common outcomes:
- Problem: There is too much liquid in the pan. * The Fix: This usually happens if the pan wasn’t hot enough when the spinach was added. Use your tongs to remove the shrimp and spinach, then turn the heat to high and boil the liquid down for 2 minutes until it thickens. Then pour it back over the dish.
- Problem: The garlic is burnt and bitter. * The Fix: Garlic burns in seconds. If it turns dark brown, it’s best to wipe the pan and start the aromatic phase over. It’s cheaper to waste a clove of garlic than to ruin a pound of shrimp.
- Problem: The shrimp are tough. * The Fix: Next time, pull them out of the pan earlier. They should still have a tiny bit of “grey” in the center when you first remove them; the residual heat will finish the job.
Frequently Asked Questions From Readers
Can I use frozen shrimp?
Yes, but they must be fully thawed and patted dry. Frozen shrimp often contain a phosphate solution that causes them to leak water; if you don’t dry them, you won’t get a sear.
Is baby spinach better than regular spinach?
For Shrimp Spinach Recipes, baby spinach is superior because the stems are tender. Mature spinach often has “woody” stems that need to be removed, which adds prep time.
How do I store leftovers?
Seafood and greens are best eaten fresh. If you must store them, keep them in an airtight container for no more than 24 hours. Reheat very gently in a pan; a microwave will turn the shrimp into rubber.
Can I make this dairy-free?
Absolutely. Just swap the butter for a high-quality olive oil or avocado oil. The dish remains flavorful due to the garlic and lemon.
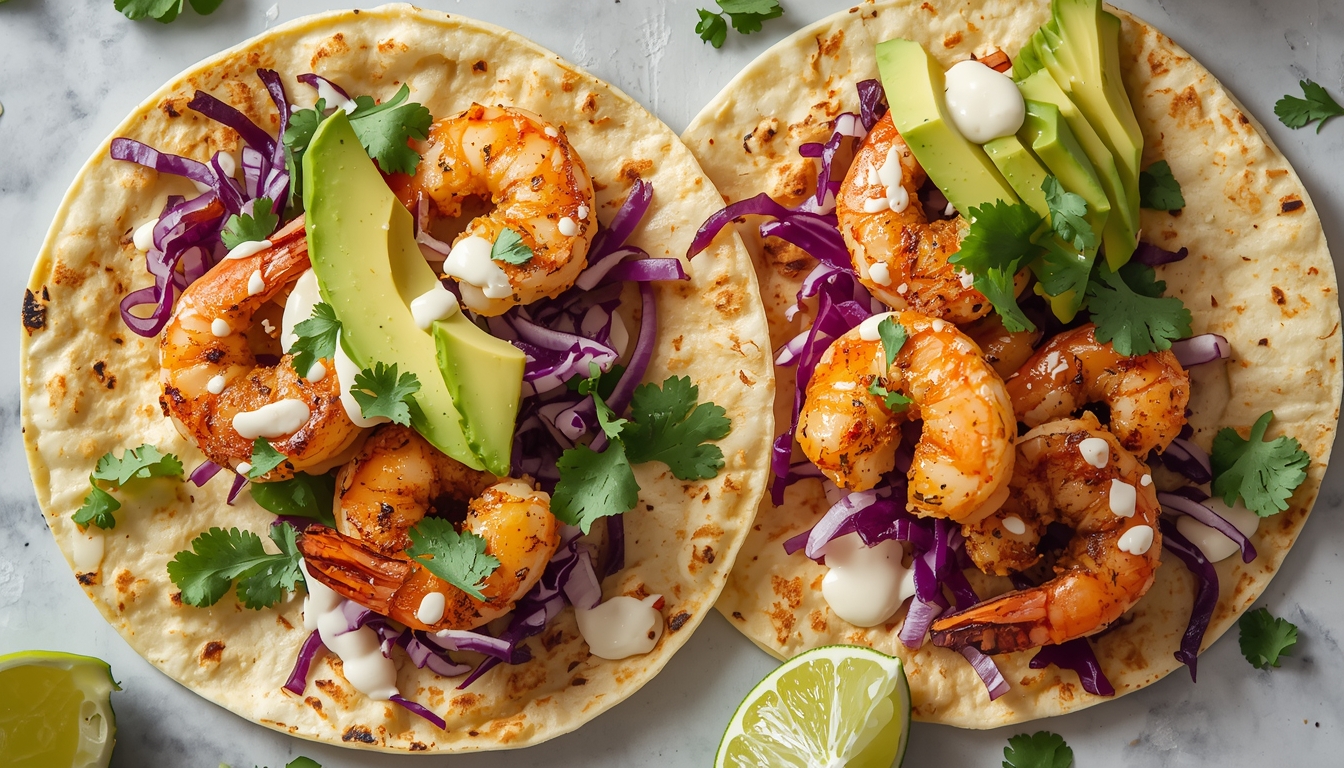
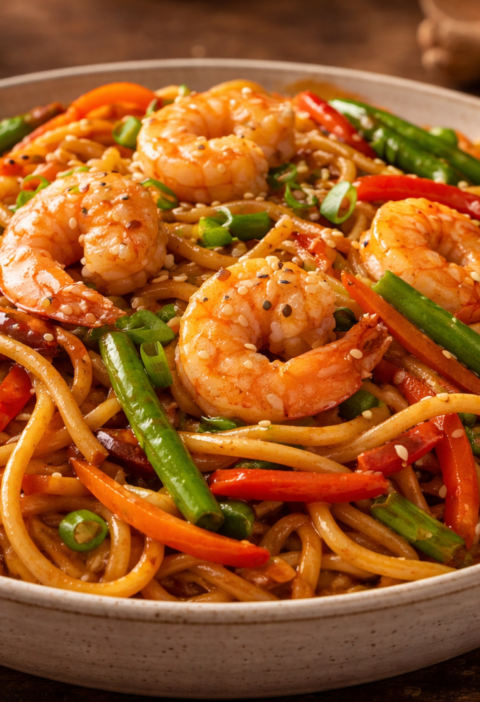
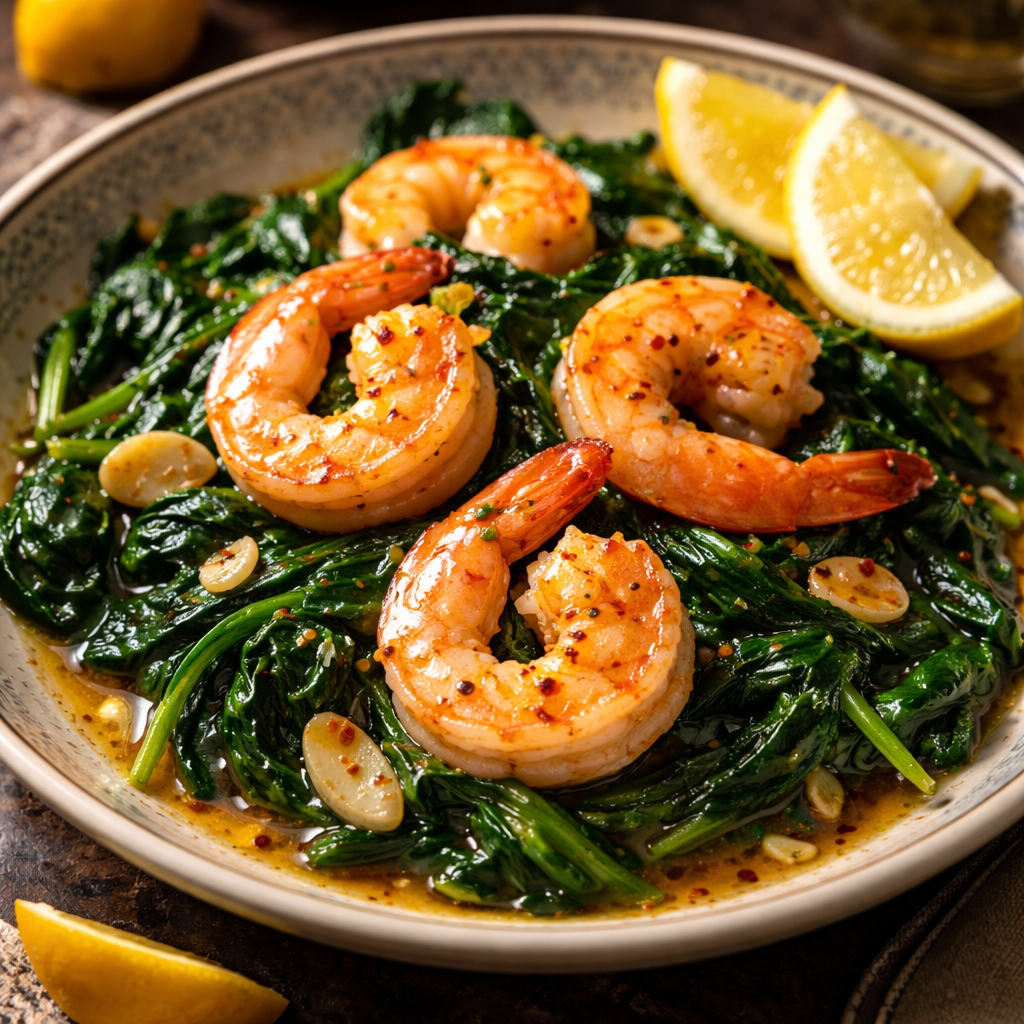
What should I serve this with?
This dish is incredibly versatile. It works over angel hair pasta, quinoa, or even a piece of crusty sourdough bread to soak up the garlic juices.
Easy Shrimp Francese Recipe – Lemon, Butter & Perfection
easy Dynamite Shrimp Recipe Better Than Restaurant Style
The Best Shrimp Piccata Recipe – Quick & Flavorful
Easy Shrimp Louie Salad Recipe – Fresh & Delicious