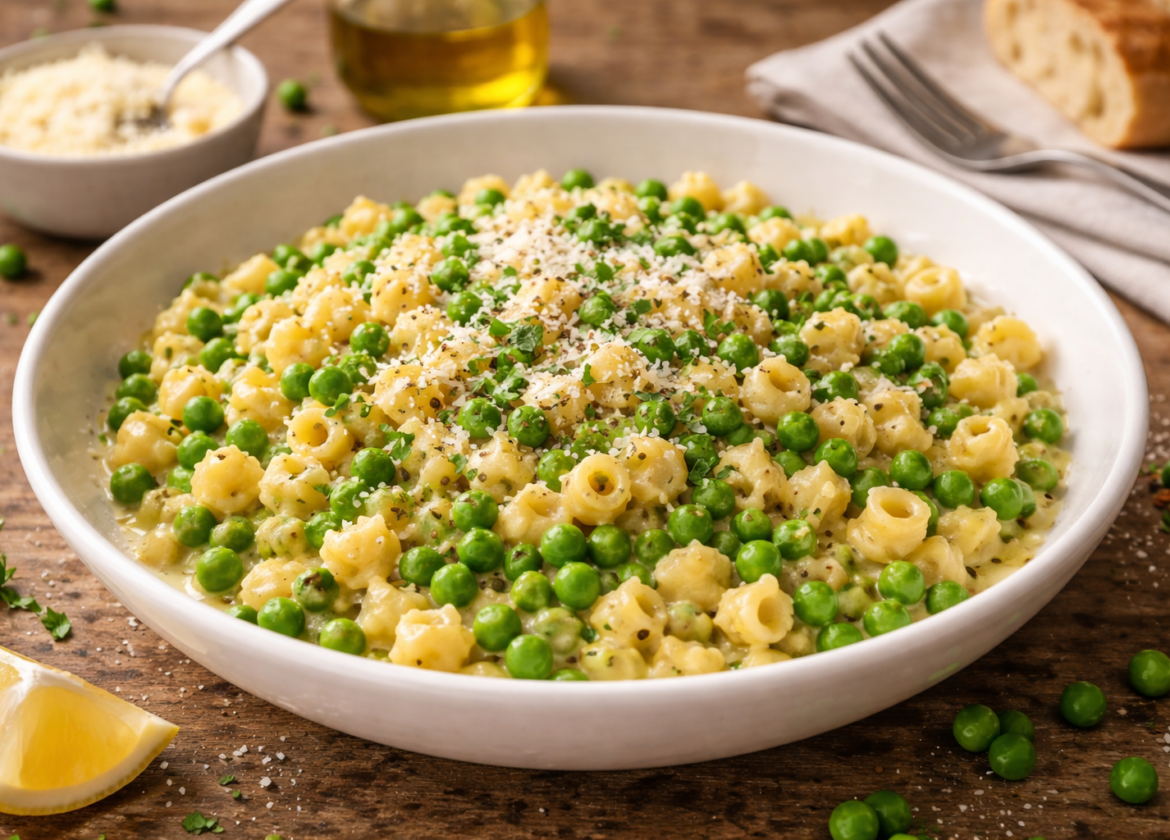
In the landscape of Italian comfort food, few dishes represent the concept of “cucina povera”—the kitchen of the poor—as elegantly as the Pasta e Piselli Recipe. This is not a complex, multi-stage meal designed for a formal dinner party; rather, it is a humble, one-pot soul-soother that relies on the pantry staples found in nearly every Neapolitan home. At its heart, it is a marriage of small pasta shapes and sweet green peas, brought together in a broth that sits somewhere between a thick soup and a creamy pasta dish.
The beauty of a Pasta e Piselli Recipe lies in its efficiency. It is a dish that honors the ingredients it uses by utilizing a specific cooking technique where the pasta is cooked directly in the pea-infused liquid. This allows the pasta to release its starches into the pot, creating a naturally thick, velvety sauce without the need for heavy creams or complex emulsifiers. For a home cook, it is the ultimate “back-pocket” recipe—something that can be prepared in under thirty minutes with minimal cleanup, providing a nutritious and deeply satisfying result.
Understanding the Method Before You Begin
Before you turn on the stove, it is important to understand that a Pasta e Piselli Recipe is fundamentally different from a standard pasta-with-sauce dish. In a typical recipe, you boil pasta in a large pot of salted water, drain it, and then toss it with a sauce. Here, the pasta and the peas are partners in a “risotto-style” absorption method.
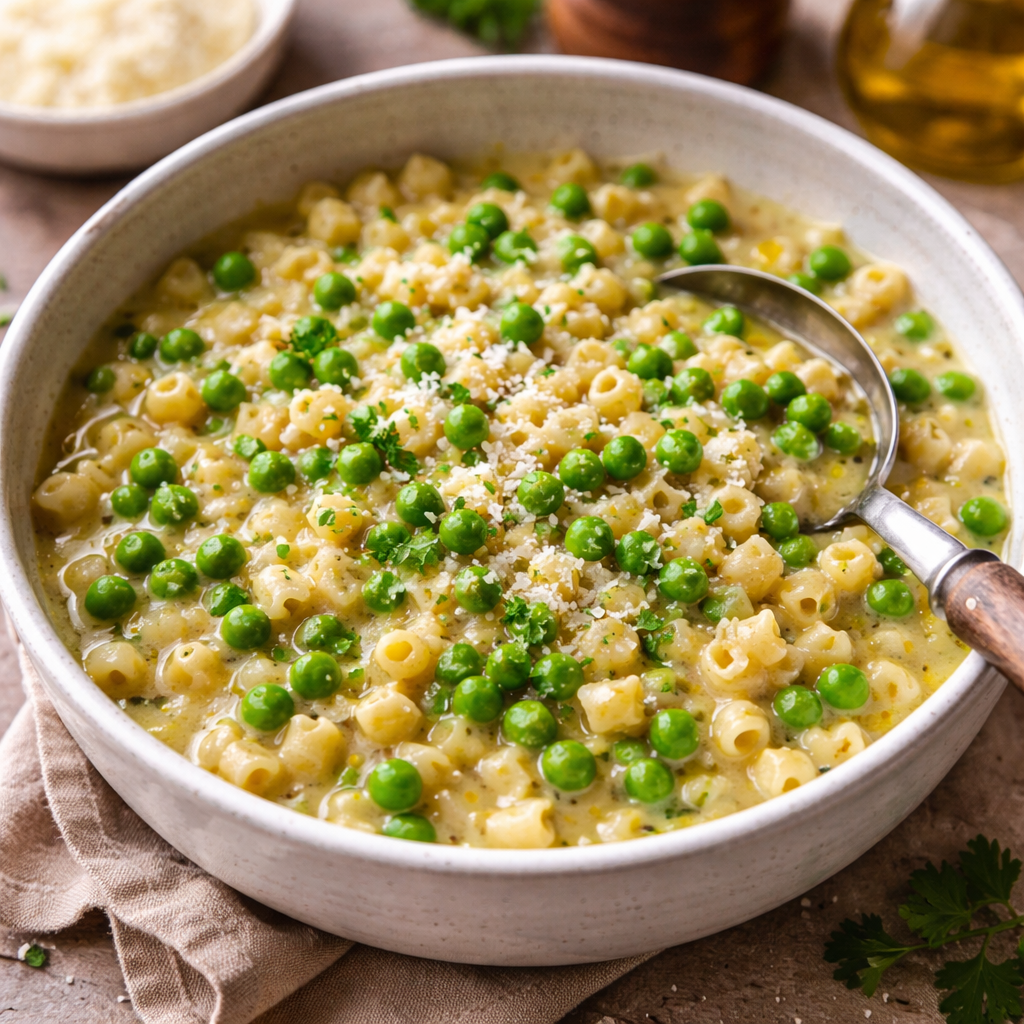
The method relies on a base of aromatics—usually onion and a bit of cured pork for saltiness—followed by the introduction of peas and a measured amount of broth or water. Because the pasta absorbs the flavored liquid as it softens, every bite is infused with the sweetness of the peas. The goal is to finish with a consistency Italians call azzeccato, which roughly translates to “stuck together.” It should be moist and creamy, not swimming in liquid like a traditional soup, but also not as dry as a standard bowl of pasta.
Ingredient Preparation Explained Simply
Because the Pasta e Piselli Recipe uses so few ingredients, the quality and preparation of each component will dictate the final flavor profile.
The Pasta Choice
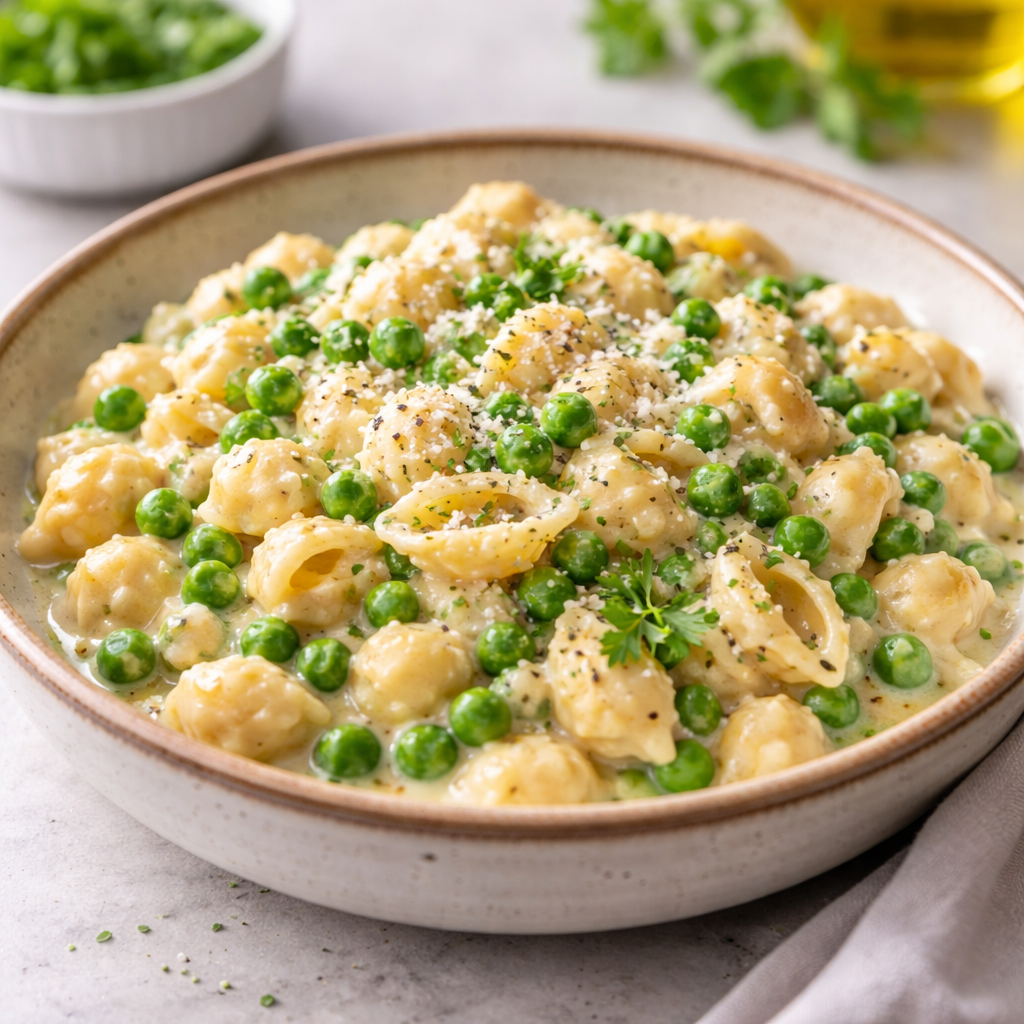
Traditionally, this dish uses small, tubular shapes. Tubetti, Ditalini, or even broken spaghetti are the standard. The small size is functional; it ensures that the cooking time of the pasta aligns with the time it takes for the peas to tenderize. Furthermore, small shapes allow you to get a mix of pasta and peas in every single spoonful.
The Peas: Fresh, Frozen, or Canned?
- Frozen Peas: In my experience, high-quality frozen “petite” peas are the best option. They are flash-frozen at the peak of sweetness and retain their vibrant green color.
- Fresh Peas: These are wonderful if you can find them in season, but they require extra prep time for shelling and can vary in sweetness.
- Canned Peas: Generally, these should be avoided for this specific recipe as they are too soft and will lose their structural integrity during the pasta-cooking phase.
The Flavor Base (Aromatics)
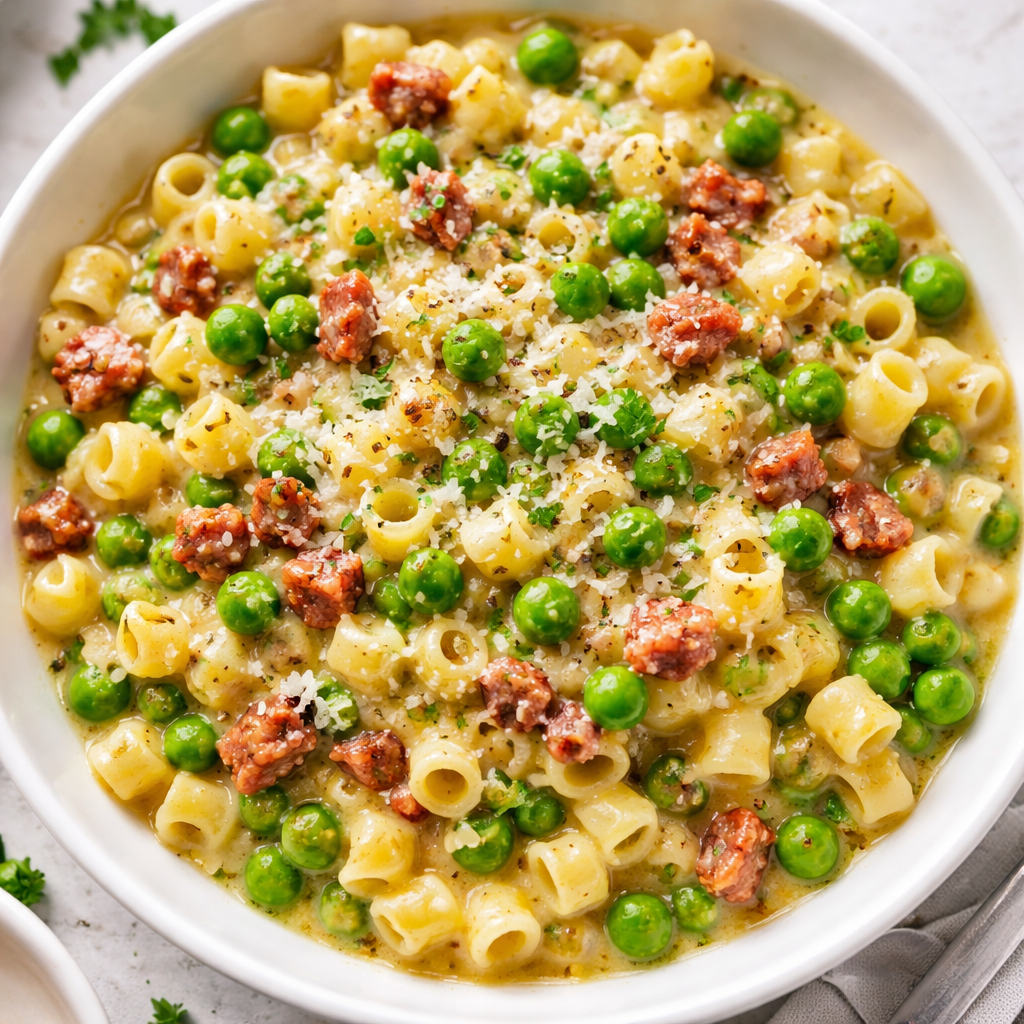
A classic Pasta e Piselli Recipe starts with a finely diced yellow onion. Many traditional versions also include pancetta or guanciale (cured pork jowl). The fat rendered from the pork provides a savory counterpoint to the sugary peas. If you are making a vegetarian version, a high-quality extra virgin olive oil and a pinch of red pepper flakes will suffice.
The Cheese
Do not underestimate the power of the rind. If you have a Parmesan or Pecorino Romano rind in your fridge, add it to the pot while the pasta simmers. It releases savory glutamates that provide a “meatiness” to the broth.
Cooking Tools and Why They Matter
One of the reasons this dish is a favorite for busy nights is that it requires very little equipment. However, the quality of your pot can affect the starch development.
- Heavy-Bottomed Pot or Dutch Oven: Because the liquid levels are relatively low, a thin pot can develop hot spots, leading to the pasta sticking or burning at the bottom. A heavy-bottomed pot distributes heat evenly.
- Wooden Spoon: Essential for the frequent stirring required during the absorption phase. You need to “agitate” the pasta slightly to encourage the release of starches.
- Ladle: For adding broth or water. You should have a kettle or small pot of warm water nearby so you can adjust the consistency at the end without dropping the temperature of the dish.
Organizing the Cooking Process
To ensure the Pasta e Piselli Recipe remains a low-stress endeavor, organize your workflow into these three distinct phases:
- The Foundation (5-7 Minutes): Dicing the onion and pancetta, and sautéing them until the fat renders and the onion is translucent.
- The Simmer (10-15 Minutes): Adding the peas and liquid, bringing it to a boil, and then adding the dry pasta.
- The Finish (2-3 Minutes): This is the “creaming” phase where you turn off the heat and stir in your cheese and black pepper to emulsify the remaining liquid.
Writing a Natural Pasta e Piselli Recipe Guide
1. Sautéing the Base
Place 2 tablespoons of olive oil in your pot over medium heat. Add 1/2 cup of finely diced onion and 2 ounces of diced pancetta (optional). Sauté until the onion is soft and the pancetta has turned golden brown. Bold Tip: If you want a deeper flavor, let the onions brown slightly; for a sweeter, cleaner flavor, keep them translucent.
2. Preparing the Pea Broth
Add 2 cups of peas (frozen or fresh) to the pot. Stir for 1 minute to coat them in the flavored oil. Pour in 3 to 4 cups of chicken or vegetable broth (or salted water). Bring the liquid to a steady boil.
3. Adding the Pasta
Add 1/2 pound (approx. 225g) of Ditalini or Tubetti pasta directly to the boiling pea broth. Reduce the heat to medium-low. You want a consistent simmer, not a violent boil.
4. The Absorption Method
Stir the pot every minute or two. The pasta will begin to soak up the liquid. If the pot looks too dry before the pasta is tender, add another half-cup of warm water. Bold Tip: The pasta should be submerged by about an inch of liquid at the start.
5. Testing for Doneness
Check the pasta at the 8-minute mark. You are looking for al dente—firm but not crunchy. The liquid should have reduced into a thick, glossy sauce that coats the noodles.
6. The Final Emulsion
Turn off the heat. This is the most important step for texture. Add 1/2 cup of freshly grated Parmesan cheese and a generous crack of black pepper. Stir vigorously for 30 seconds. The cheese will melt into the starchy water, creating a cream-like finish. Serve in shallow bowls with a final drizzle of olive oil.
Avoidable Problems and Practical Fixes
Even with a straightforward Pasta e Piselli Recipe, small variables like pasta brand or heat intensity can change the outcome.
- The Dish is Too Dry: If the pasta has absorbed all the liquid but still feels hard, add a ladle of warm water immediately. Never add cold water, as it will shock the starch and make the sauce grainy.
- The Peas are Mushy: This happens if you boil the peas for too long before adding the pasta. The Fix: If using frozen peas, add them at the same time as the pasta rather than before.
- The Pasta is Sticking to the Bottom: This is a sign of insufficient stirring or too high a heat. Use a wooden spoon to scrape the bottom. If it continues to stick, lower the heat and add a bit more fat (oil or butter).
- The Flavor is Bland: This dish relies on salt to highlight the sweetness of the peas. If it tastes flat, add a squeeze of lemon or more Parmesan. The acidity of lemon can brighten a “heavy” starch dish instantly.
Frequently Asked Questions About Pasta e Piselli
Can I use a different pasta shape?
While Ditalini is traditional, any small shape like elbow macaroni, orzo, or even shells will work. Avoid large shapes like Rigatoni, as they require too much liquid and won’t produce the same creamy emulsion.
Is it supposed to be a soup or a pasta dish?
In Naples, where the Pasta e Piselli Recipe originated, there are two camps. One prefers it brodoso (soupy) and the other asciutto (dry/creamy). Most modern home cooks aim for the middle—a thick, “porridge-like” consistency that can be eaten with a spoon or a fork.
Can I make this vegan?
Absolutely. Omit the pancetta and the Parmesan cheese. To regain that savory depth, sauté a small amount of finely minced celery and carrot with the onion, and use a tablespoon of nutritional yeast or a bit of miso paste at the end for umami.
How do I store and reheat leftovers?
The pasta will continue to absorb moisture as it sits in the fridge, so leftovers will be quite thick. To reheat, place the pasta in a pan with a splash of water or milk and stir over low heat until the creamy texture returns.
Can I use canned peas?
It is not recommended. Canned peas have already been cooked at high pressure and will disintegrate into a paste by the time the pasta is ready. If you only have canned peas, add them only in the final 2 minutes of cooking.
Quick & Delicious Creamy Ditalini Pasta Recipe
Easy Pappardelle Pasta Recipes You Can Make at Home
How to Make Squid Ink Pasta recipe at Home – Simple & Delicious