The Chicken Leg Oven Recipe is a foundational skill for any home cook looking to balance economy, nutrition, and flavor. Chicken legs—comprising both the drumstick and the thigh—are widely considered the most flavorful part of the bird due to their higher fat content and proximity to the bone. When prepared correctly in the oven, these dark meat cuts transform into a succulent meal with a signature contrast between crispy skin and tender, juicy meat.
Understanding a professional Chicken Leg Oven Recipe is essential because dark meat is far more forgiving than chicken breasts. The connective tissue in the legs breaks down during the roasting process, providing a rich mouthfeel that white meat cannot replicate. This makes the recipe an ideal choice for meal prepping, family dinners, or even hosting, as the results remain consistent even if the cooking time fluctuates by a few minutes.
What Makes Chicken Leg Oven Recipe Different
The primary differentiator of a Chicken Leg Oven Recipe compared to other cooking methods, such as pan-frying or slow cooking, is the application of dry, circulating heat. In an oven environment, the air effectively dehydrates the skin, allowing the fat underneath to render out and create a natural “fry” effect. This results in a superior texture without the need for heavy breading or excessive oil.
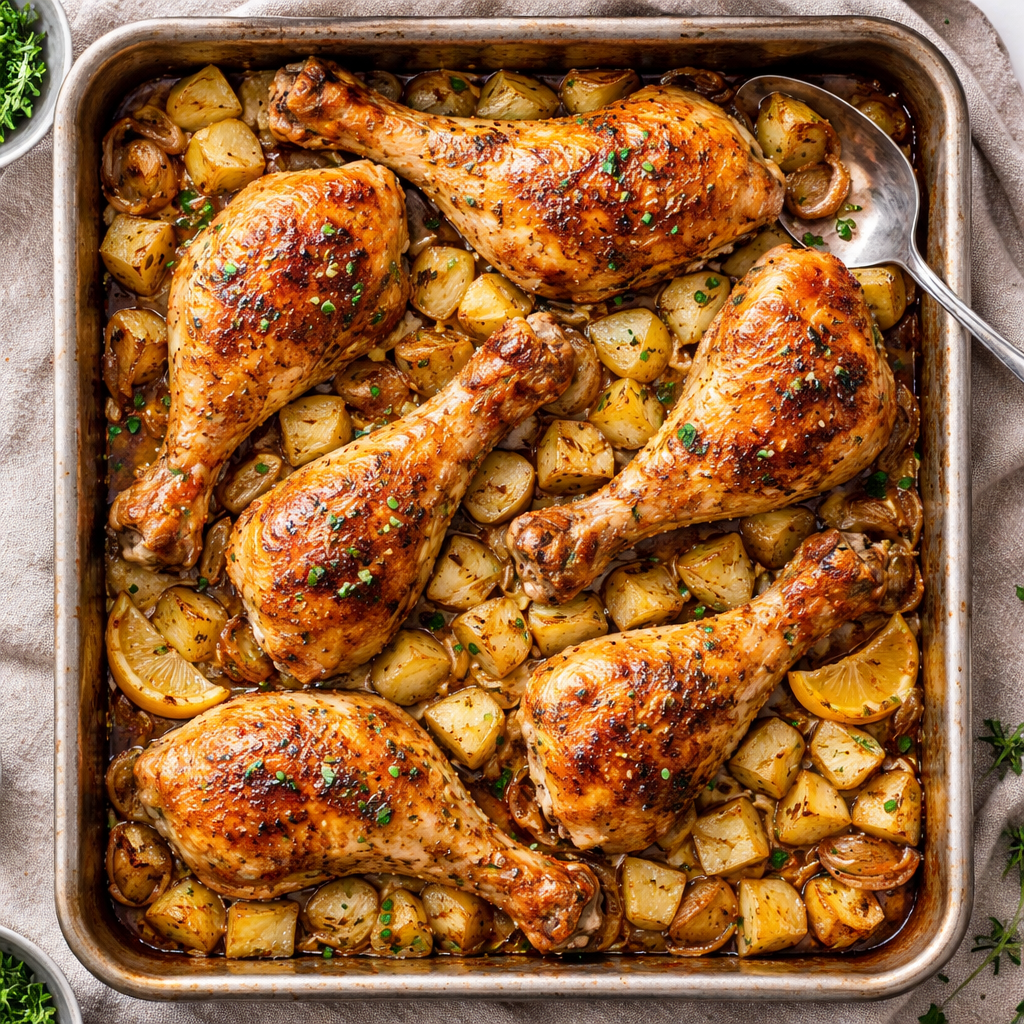
Furthermore, a Chicken Leg Oven Recipe allows for “one-pan” efficiency. Because chicken legs require a longer cooking time than smaller cuts, they can be roasted alongside hardy root vegetables like potatoes and carrots. The rendered chicken fat seasons the vegetables as they cook together, creating a cohesive flavor profile that is difficult to achieve when components are cooked separately.
Ingredient Preparation and Selection Tips
To achieve a high-quality result, the preparation phase of your Chicken Leg Oven Recipe must be meticulous. The quality of the meat and the state of the skin are the two most important factors.
- Select Bone-In, Skin-On Legs: The bone acts as a thermal conductor, ensuring the meat cooks evenly from the inside out, while the skin protects the meat from the direct dry heat of the oven.
- Dry the Skin Thoroughly: Moisture is the enemy of crispiness. Bold Tip: Use paper towels to pat the chicken legs completely dry before adding any oil or spices.
- The Fat Component: Use an oil with a high smoke point, such as avocado oil or grapeseed oil. Butter is flavorful but can burn at the high temperatures required for a Chicken Leg Oven Recipe.
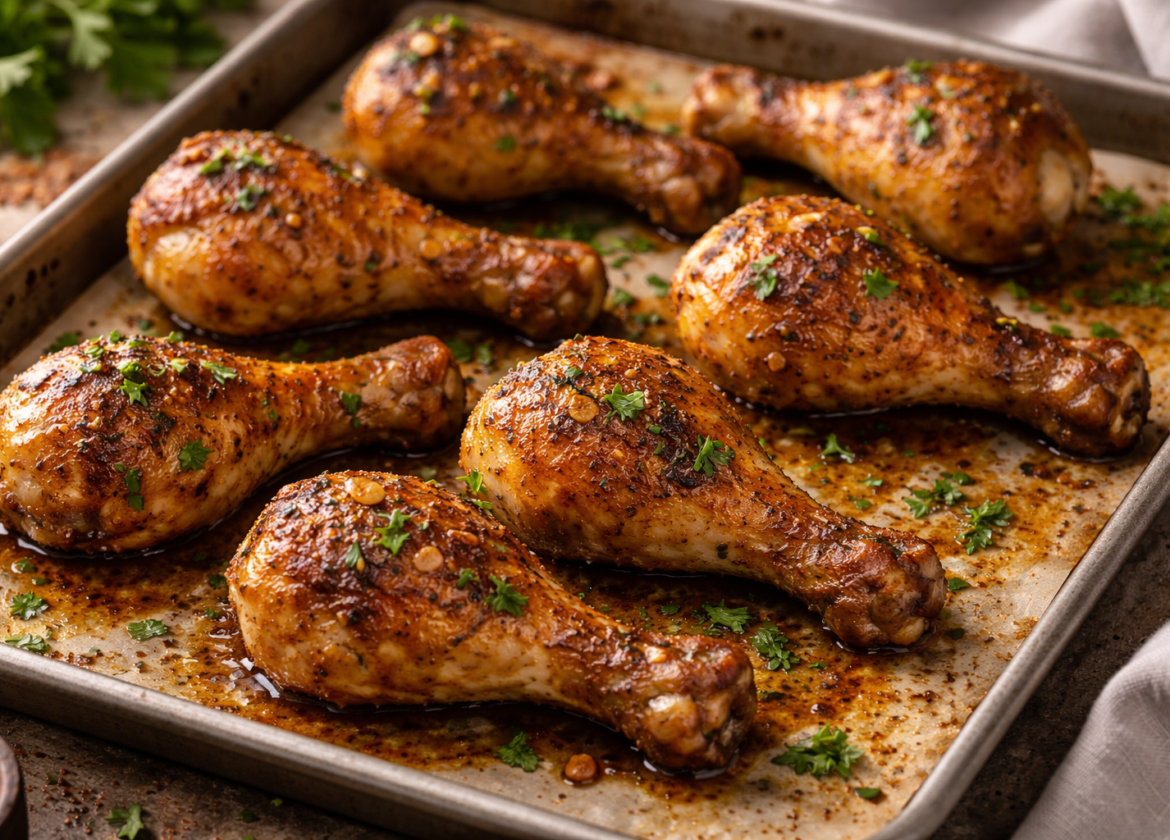
- Seasoning Layers: A combination of kosher salt, cracked black pepper, garlic powder, and smoked paprika is standard. The paprika aids in achieving a vibrant, deep golden-brown color.
Tools Required for Chicken Leg Oven Recipe
Using the correct equipment ensures that the heat is distributed evenly and the chicken does not sit in a pool of its own moisture, which would cause the bottom to steam rather than roast.
- Rimmed Baking Sheet or Roasting Pan: A large surface area prevents overcrowding, which is vital for air circulation.
- Wire Cooling Rack: Placing a wire rack on top of the baking sheet allows hot air to circulate under the chicken legs. This is the secret to getting crispy skin on all sides.
- Instant-Read Meat Thermometer: This is the only way to guarantee safety and succulence. Chicken legs are safe at 165°F (74°C), but dark meat actually tastes better when cooked to 175°F (79°C).
- Tongs: To turn the chicken legs halfway through the process without piercing the skin and losing juices.

From Prep to Finish: Cooking Flow
Success with a Chicken Leg Oven Recipe depends on a logical progression of steps.
- The Tempering Phase (15 Minutes): Remove the chicken from the refrigerator and let it sit at room temperature. This prevents the “cold shock” that can lead to uneven cooking.
- The Preheating Phase: Ensure your oven is fully preheated. A cold start will result in rubbery skin.
- The Roasting Phase (35–45 Minutes): The meat undergoes the Maillard reaction, developing flavor and color.
- The Resting Phase (5–10 Minutes): Critical for juice redistribution. Cutting into the chicken immediately after it leaves the oven will cause the moisture to escape, leaving the meat dry.
Step-by-Step Chicken Leg Oven Recipe Guide
1. Preheating
Set your oven to 400°F (204°C). This high temperature is necessary to render the fat quickly and crisp the skin.
2. Seasoning the Chicken
Place your dried chicken legs in a large bowl. Drizzle with 2 tablespoons of oil. Sprinkle your spice blend (salt, pepper, paprika, onion powder) over the legs. Toss thoroughly to ensure every crevice is coated.
3. Arrangement
Place the wire rack on the baking sheet. Arrange the chicken legs on the rack, ensuring they are not touching each other. Bold Tip: Orient the thickest part of the leg toward the back of the oven, as it is usually the hottest area.
4. The Initial Roast
Slide the pan into the center rack of the oven. Bake for 20 minutes. At this point, the skin should be starting to turn golden.
5. The Flip and Finish
Using tongs, carefully flip the chicken legs. Roast for another 15 to 20 minutes. Use your thermometer to check the internal temperature at the thickest part of the thigh, avoiding the bone.
6. The Rest
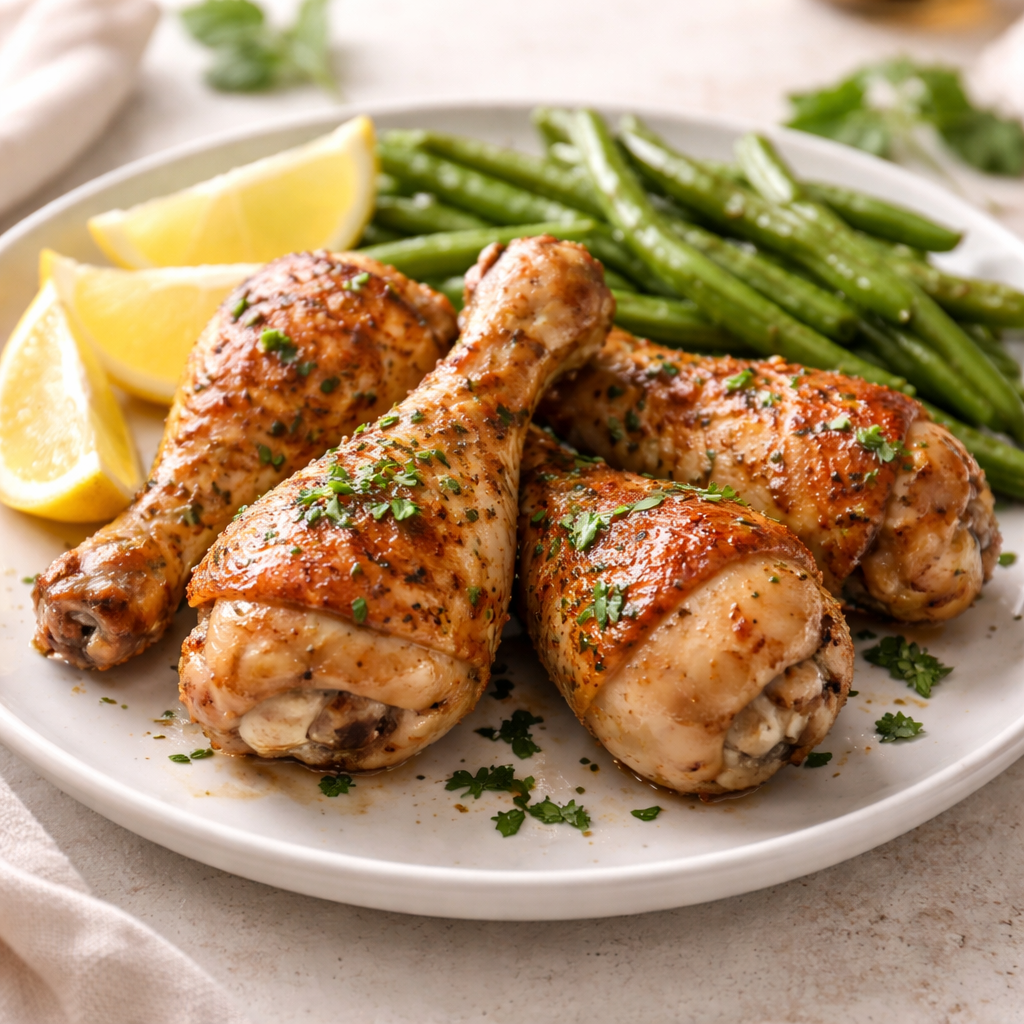
Remove the pan from the oven. Transfer the chicken legs to a clean cutting board or warm platter. Let them rest for at least 5 minutes before serving.
Common Questions and Practical Answers
Can I use frozen chicken legs?
It is not recommended to cook frozen legs directly in this Chicken Leg Oven Recipe. Frozen meat releases a significant amount of water as it thaws in the oven, which will steam the skin and prevent it from becoming crispy. Always thaw completely in the refrigerator before starting.
How do I get the skin even crispier?
For ultra-crispy skin, you can dry-brine the chicken. Season the legs with salt and leave them uncovered in the refrigerator for 4 to 12 hours before cooking. This deeply seasons the meat and dries out the skin perfectly.
Why is my chicken sticking to the rack?
This usually happens if the rack wasn’t lightly greased or if the chicken was moved too early. The skin will naturally release from the rack once it has browned and firmed up.
FAQ: Chicken Leg Oven Recipe Explained
What is the ideal internal temperature for this recipe? While the USDA safety minimum is 165°F, dark meat contains more connective tissue that only fully breaks down at higher temperatures. For the best “fall-off-the-bone” texture, aim for an internal temperature of 175°F to 185°F.
How do I store and reheat leftovers? Store in an airtight container in the refrigerator for up to 4 days. To maintain the crispy skin during reheating, avoid the microwave. Instead, place the chicken legs in a 350°F oven or an air fryer for 5 to 8 minutes until warmed through.
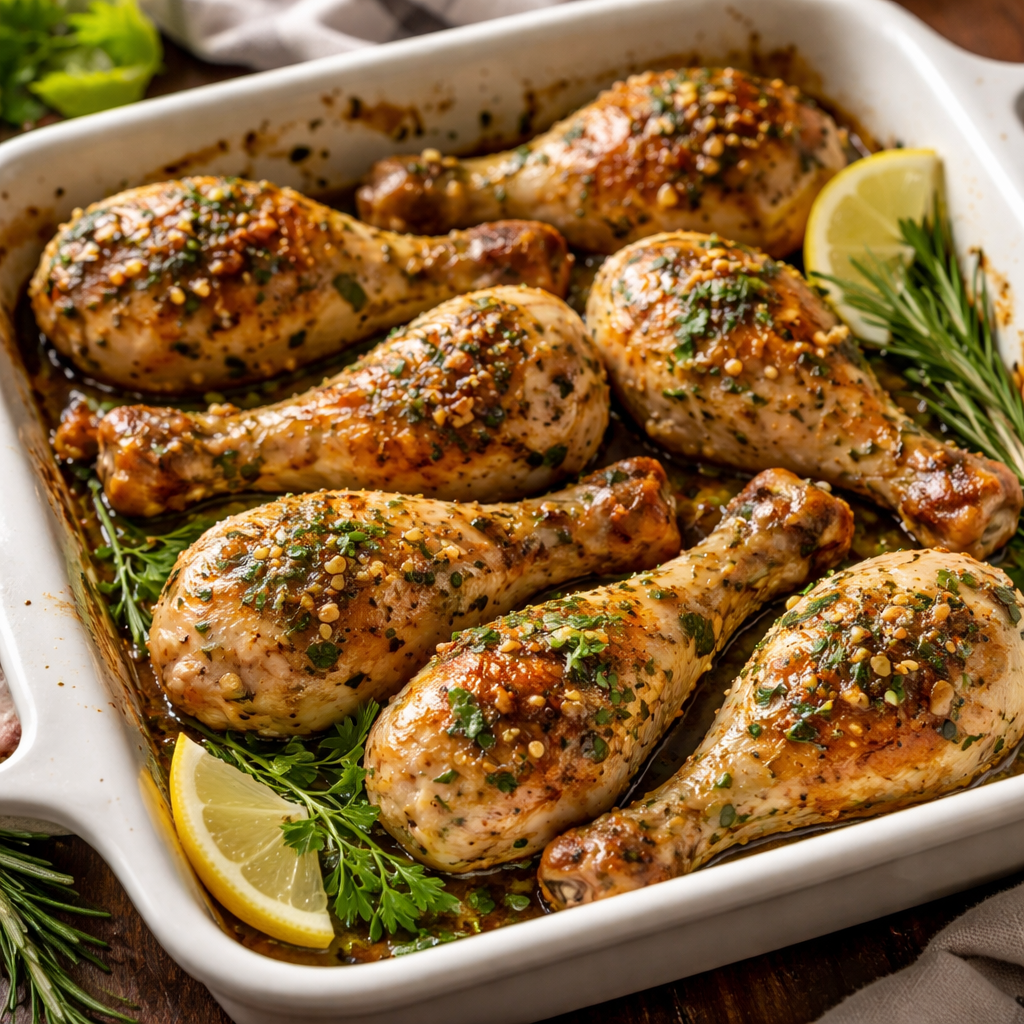
Can I add glaze or sauce? Yes, but timing is vital. If you apply a sugar-based sauce (like BBQ) at the beginning, it will burn. Apply any glazes only during the final 5 to 10 minutes of the Chicken Leg Oven Recipe cooking time.
Is this recipe suitable for meal prep? Absolutely. Chicken legs hold their moisture much better than breasts when reheated, making them the superior choice for weekly meal planning.
Can I bake vegetables on the same tray? Yes. If you are not using a wire rack, you can place sliced potatoes and onions directly under the chicken. They will cook in the drippings, though the bottom of the chicken skin will be soft rather than crispy.
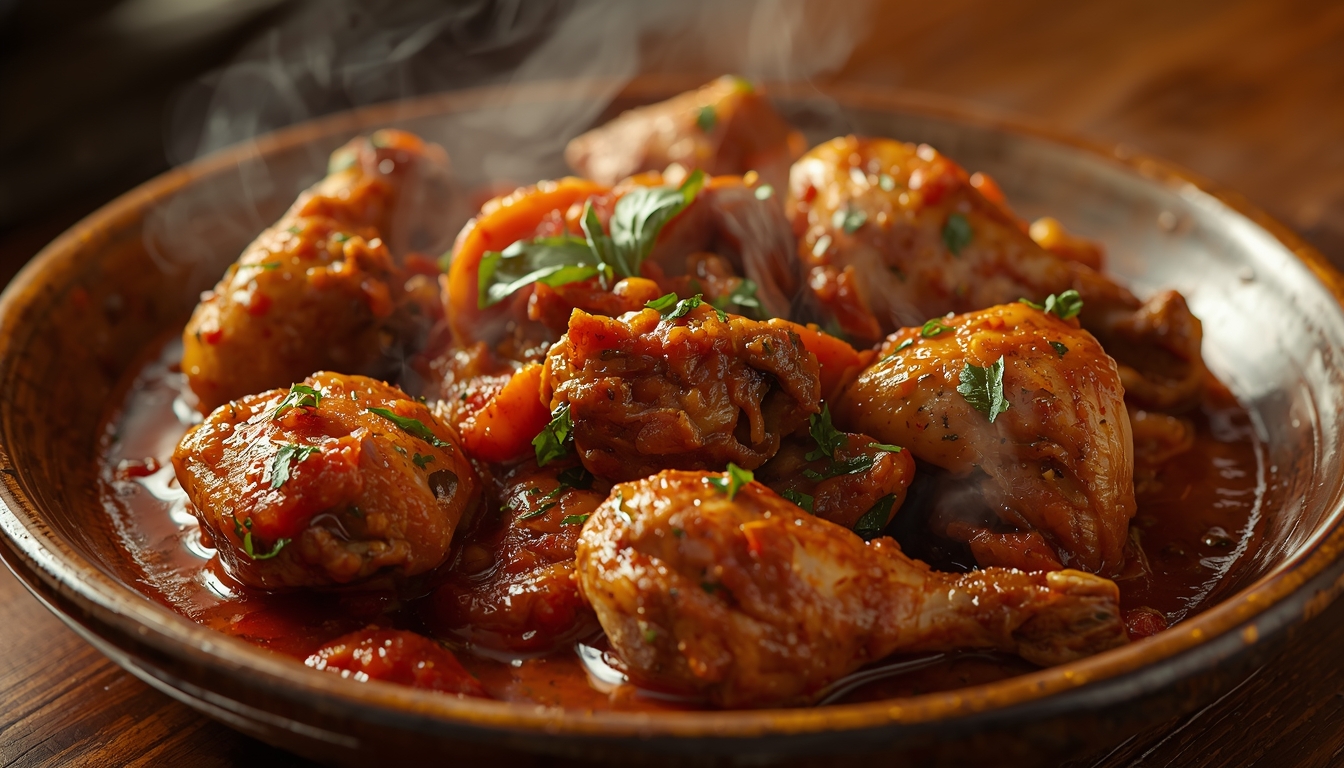
Homemade Chicken Mole Recipe Step by Step
Healthy Baked Chicken Recipes You’ll Love
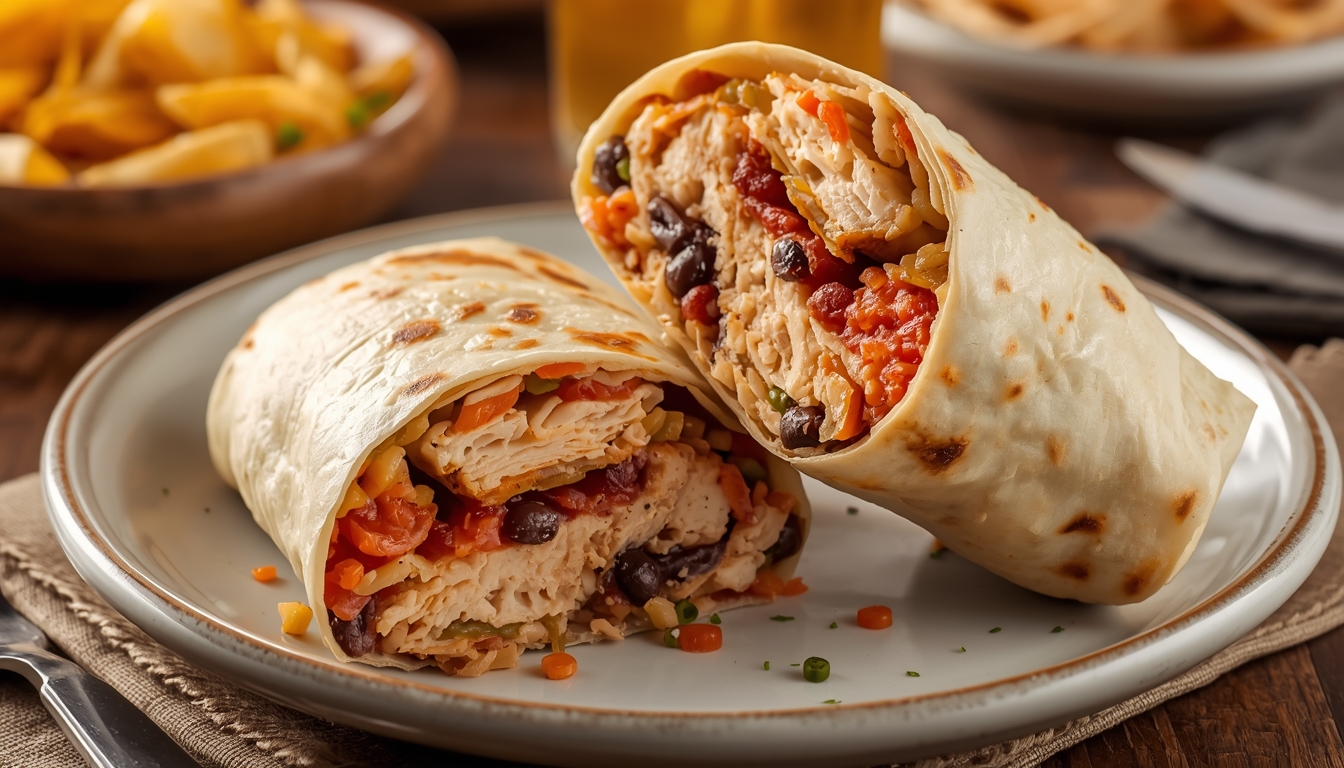
Classic Grilled Chicken Sandwich Recipe Everyone Loves
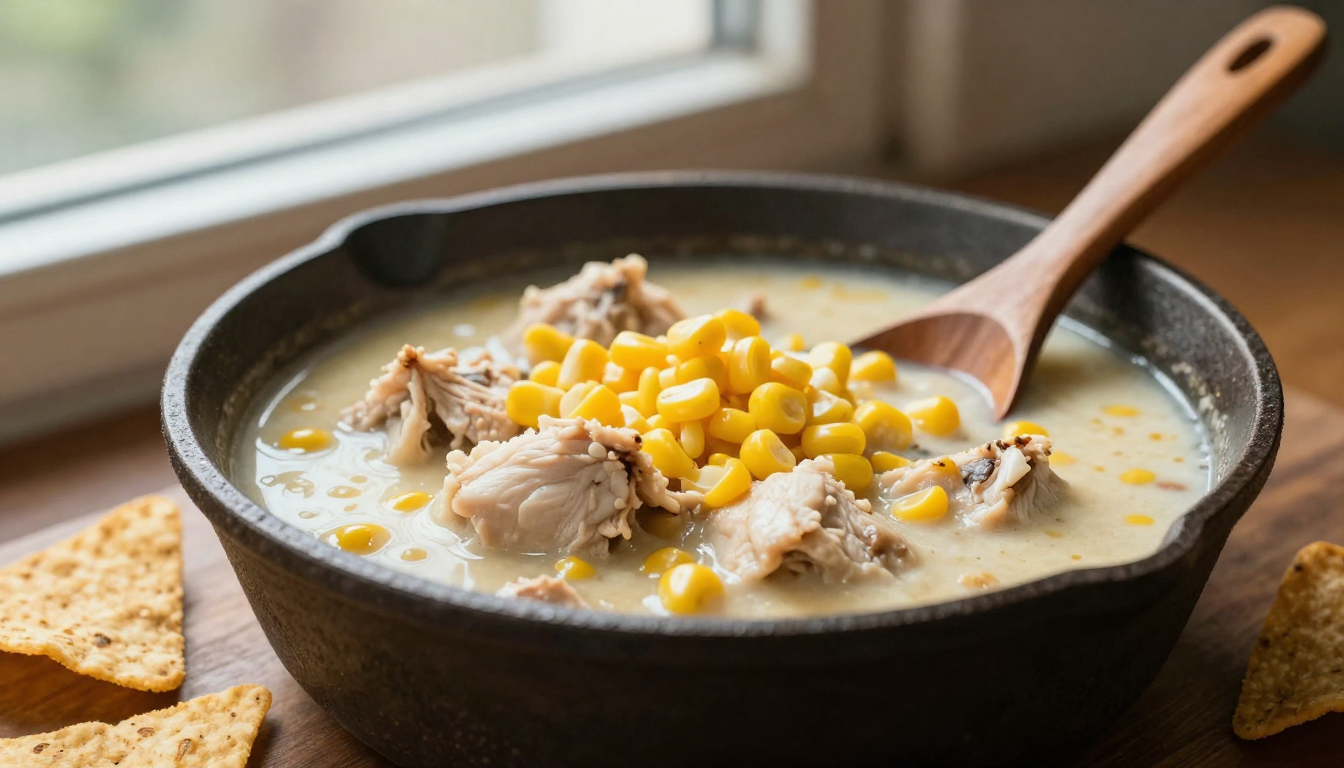
Healthy White Chicken Chili Recipe Made Simple
Classic Chicken Salad Recipe with Grapes Everyone Loves