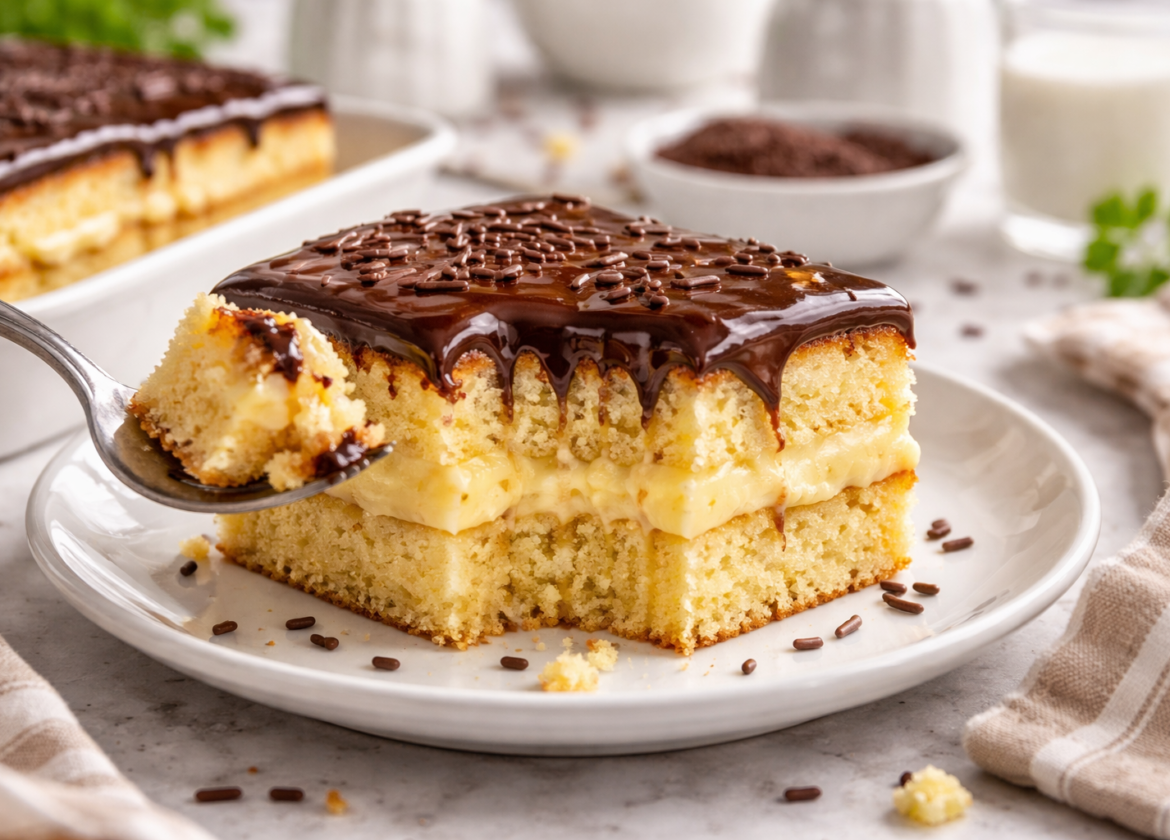
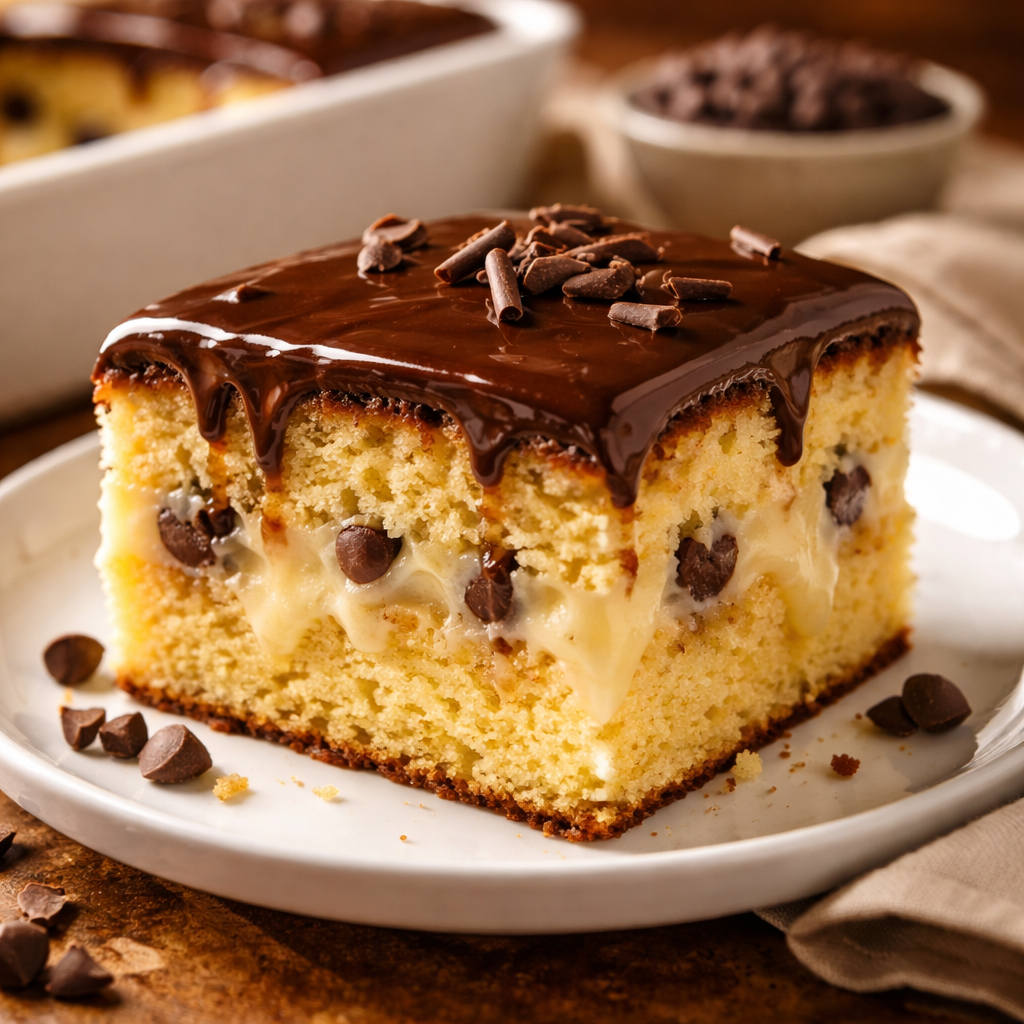
The Boston Cream Poke Cake Recipe represents a modern, simplified evolution of one of America’s most iconic desserts. Traditionally, the Boston Cream Pie—which is actually a cake—requires precision in slicing layers and stabilizing pastry cream to prevent it from sliding. The poke cake method solves these structural challenges by integrating the cream directly into the body of the cake, ensuring that every bite is infused with moisture and flavor.
For the home baker, this recipe matters because it bridges the gap between high-end pastry and accessible home cooking. It captures the essential profile of the classic dessert: a tender yellow sponge, a rich vanilla custard, and a sleek chocolate ganache. By utilizing the “poke” technique, you create internal channels that act as reservoirs for the filling, preventing the common issue of a dry sponge. This article provides a comprehensive technical guide to mastering this dessert with professional results.
What Makes Boston Cream Poke Cake Recipe Different
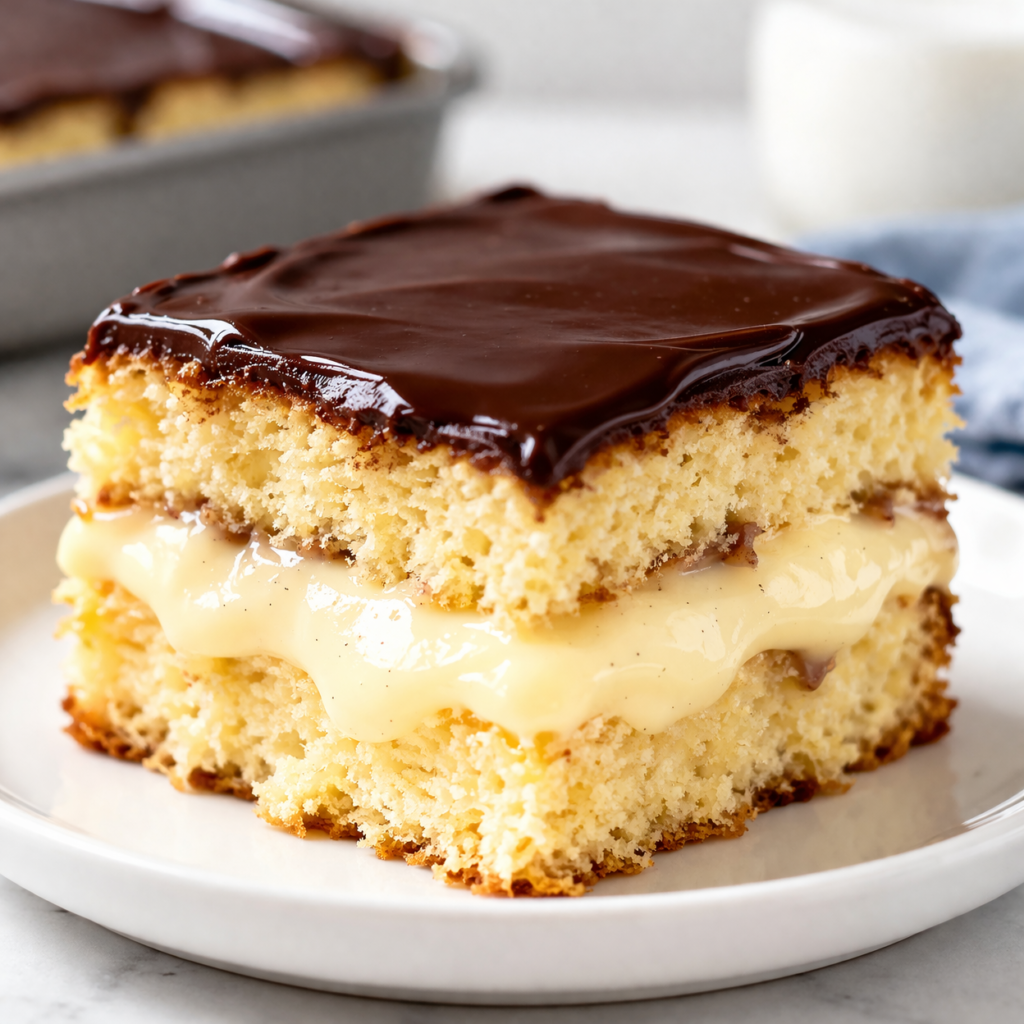
The defining characteristic of a Boston Cream Poke Cake Recipe is the marriage of vertical saturation and traditional layering. In a standard cake, the frosting or filling sits on top of the sponge. In a poke cake, the “filling” becomes an integral part of the cake’s crumb.
Texture and Saturation
Unlike a standard soaked cake (like a Tres Leches), the Boston Cream version uses a thicker vanilla pudding or custard. This creates “pockets” of cream rather than a fully saturated, wet sponge. The result is a dual texture: the airy bounce of the cake contrasted with the dense, silky smoothness of the custard.
Structural Stability
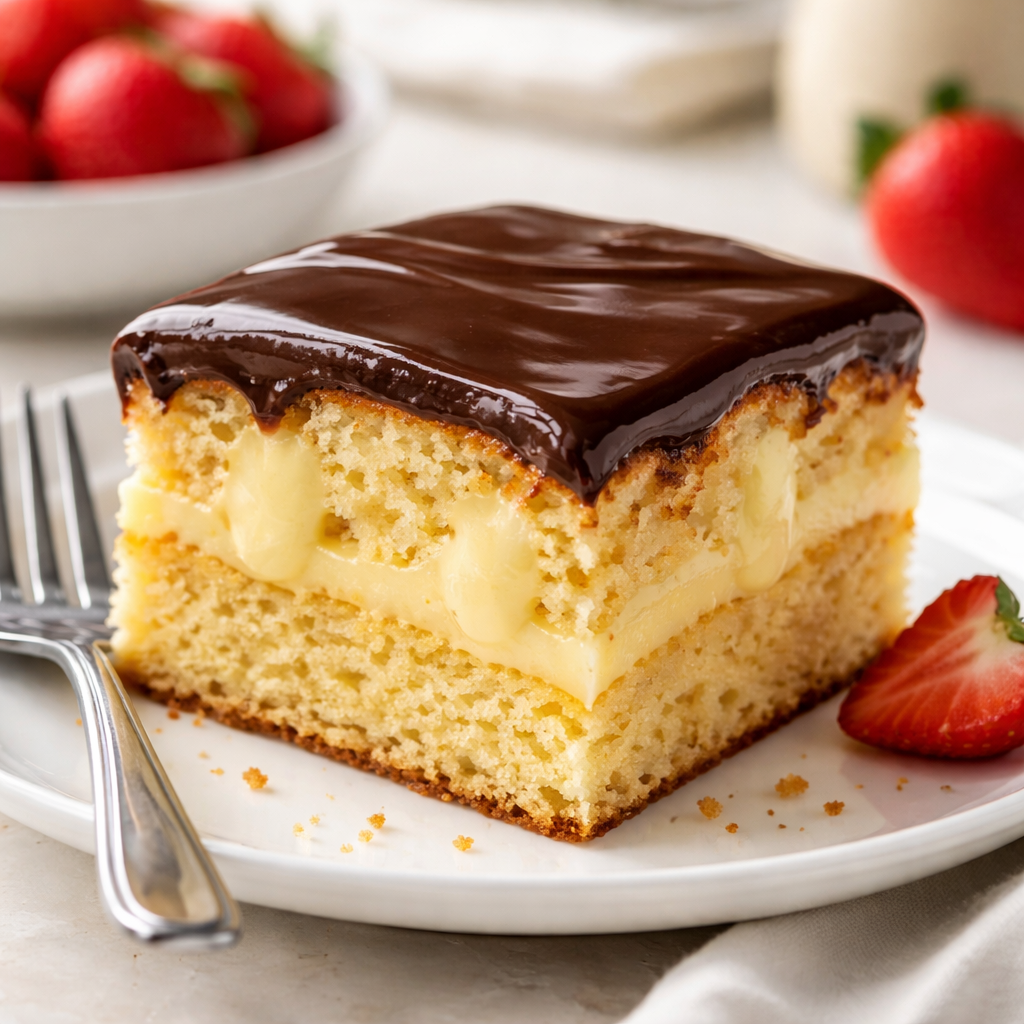
Traditional Boston Cream Pies can be difficult to transport and slice because the cream layer is prone to oozing out. Because the cream is contained within the “pored” holes of the sponge in this Boston Cream Poke Cake Recipe, the dessert is structurally sound and much easier to portion into clean, uniform squares.
Ingredient Preparation and Selection Tips
The quality of a Boston Cream Poke Cake Recipe is directly tied to the stability and flavor of its three main components.
The Cake Base
A high-quality yellow cake mix is the standard for this recipe, but it must be enhanced. Bold Tip: Replace the water required by the cake box with whole milk and add an extra egg to create a richer, sturdier crumb that can hold the weight of the custard. ### The Vanilla Filling You may use a cook-and-serve vanilla pudding or a cold-set instant pudding. However, for a more authentic “Boston Cream” experience, adding a teaspoon of pure vanilla bean paste to the pudding will provide the characteristic black specks and a deeper aromatic profile.
The Chocolate Topping
The ganache is the most sensitive ingredient. Avoid using “chocolate-flavored” frostings from a tub. A true ganache made from heavy cream and semi-sweet chocolate chips provides a professional sheen and a “snap” when cooled, which balances the softness of the interior.
Tools Required for Boston Cream Poke Cake Recipe
Precision in this recipe is aided by having the correct tools to create the “poking” pattern and manage the temperature of the ganache.
- 9×13-Inch Baking Pan: Glass or ceramic is preferred for even heat distribution.
- The Poke Tool: Use the handle of a wooden spoon or a large reusable straw. The holes should be approximately 1/2 inch in diameter to allow the thick custard to flow downward.
- Offset Spatula: This is essential for spreading the ganache in a thin, even layer without disturbing the surface of the cake.
- Heavy-Bottomed Saucepan: For heating the cream for the ganache. This prevents the cream from scorching, which would impart a burnt flavor to the chocolate.
- Whisk: To ensure the pudding or custard is completely free of lumps before it is poured over the cake.
From Prep to Finish: Cooking Flow
Success with a Boston Cream Poke Cake Recipe is a matter of thermal management. Each layer must be handled at a specific temperature to ensure they don’t bleed into one another.
- Baking Phase (30 Minutes): The cake is baked and then cooled slightly.
- The Poke and Fill Phase (10 Minutes): Poking happens while the cake is warm; filling happens while the pudding is still in its liquid state.
- The Setting Phase (2 Hours): The cake must be refrigerated. If you apply ganache to a warm pudding layer, the layers will mix and lose their distinct appearance.
- The Glazing Phase (10 Minutes): Applying the chocolate ganache and returning the cake to the refrigerator for a final set.
Step-by-Step Boston Cream Poke Cake Recipe Guide
1. Bake the Foundation
Prepare your yellow cake according to the enhanced box instructions (using milk and extra eggs). Bake at 350°F (175°C) in a greased 9×13 pan. Test for doneness with a toothpick; it should come out clean.
2. The Poking Technique
Allow the cake to cool for 10 to 15 minutes. While it is still warm, take the handle of a wooden spoon and poke holes across the entire surface of the cake, spaced about 1 inch apart. Ensure you go about 3/4 of the way down into the cake, but do not hit the bottom of the pan.
3. Creating the Filling
Prepare two 3.4-ounce packages of instant vanilla pudding with 4 cups of cold whole milk. Whisk for 2 minutes until it begins to thicken but is still pourable.
4. The Pour
Immediately pour the pudding over the warm cake. Use a spatula to gently “push” the pudding into the holes. Spread the remaining pudding in an even layer across the top. Bold Tip: Tap the pan gently on the counter to help air bubbles rise and ensure the pudding reaches the bottom of the holes.
5. The First Chill
Cover the pan with plastic wrap and refrigerate for at least 2 hours. The pudding must be firm before the chocolate is added.
6. The Chocolate Ganache
In a small saucepan, heat 1 cup of heavy cream until it just begins to simmer (do not let it reach a rolling boil). Remove from heat and pour over 1 cup of semi-sweet chocolate chips. Let it sit for 5 minutes, then whisk until smooth and glossy.
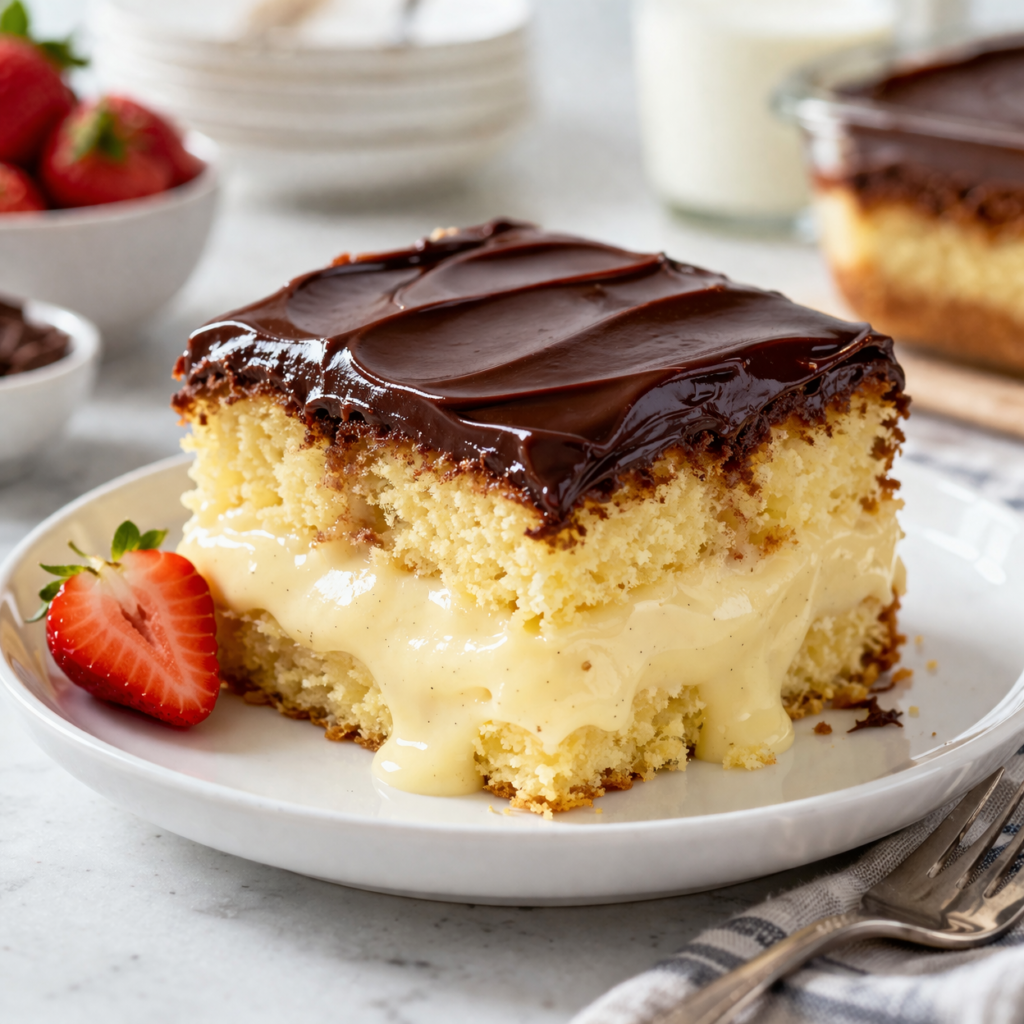
7. The Final Glaze
Pour the warm ganache over the chilled cake. Tilt the pan to allow the chocolate to flow to the edges, creating a mirror-like finish. Refrigerate for another 30 minutes before serving.
Common Questions and Practical Answers
Why did my pudding stay on top of the cake instead of going into the holes? This usually happens if the pudding was allowed to sit too long before pouring, or if the holes were too small. Ensure you are using the handle of a wooden spoon (not a fork) and pour the pudding while it is still in its liquid, “pre-set” stage.
Can I make this Boston Cream Poke Cake Recipe ahead of time? Yes. In fact, this cake is better on the second day as the flavors have more time to meld and the sponge absorbs the vanilla aroma from the custard. It can be made up to 24 hours in advance.
How do I get clean slices? To achieve professional-looking squares, use a sharp knife and dip it in hot water, wiping it dry between every single cut. This prevents the chocolate ganache from sticking to the knife and dragging through the yellow cake.
FAQ: Boston Cream Poke Cake Recipe Explained
Is it necessary to keep the cake refrigerated? Yes. Because the Boston Cream Poke Cake Recipe contains milk-based pudding and heavy cream ganache, it is highly perishable. It should not be left at room temperature for more than 2 hours.
Can I use chocolate pudding instead of vanilla? While you can, it would no longer be a “Boston Cream” profile. The traditional flavor relies on the contrast between the yellow cake, vanilla cream, and chocolate topping. Using chocolate pudding would turn it into a Triple Chocolate Poke Cake.
Why did my ganache turn out dull instead of shiny? A dull ganache often results from overheating the chocolate or using cream with a low fat content. Always use heavy whipping cream (at least 36% fat) and avoid boiling the chocolate directly on the stove.
Can I freeze this cake? Freezing is not recommended for this specific recipe. The pudding can separate and become watery upon thawing, which will ruin the texture of the sponge. This dessert is best enjoyed fresh or from the refrigerator.
What is the best substitute for semi-sweet chocolate chips? You can use high-quality dark chocolate bars (60% cacao) chopped into small pieces. Avoid milk chocolate, as the cake and pudding are already quite sweet; the bitterness of semi-sweet or dark chocolate is needed to provide balance.
Does the cake have to be warm when I poke the holes? Yes. Poking the cake while it is slightly warm prevents the sponge from crumbling or tearing. It also allows the pudding to seep into the pores of the cake more effectively.
Easy Chocolate Bundt Cake Recipe – Soft, Rich & Decadent
The Best Pecan Pie Dump Cake Recipe You’ll Ever Try
Fluffy Cloud Cake Recipe – Easy, Light & Perfect for Any Occasion
Earthquake Cake Recipe – Sweet, Moist & Decadent
Honey Bun Cake Recipe – Sweet, Moist & Delicious
Jamaican Rum Cake Recipe – Rich, Moist & Decadent
Key Lime Cake Recipe – Tangy, Moist & Delicious