If you were to ask any seasoned home cook which piece of kitchen gear they would keep on a desert island, the Dutch oven would almost certainly top the list. There is a specific kind of magic that happens when you combine this heavy-duty vessel with the humblest, most flavorful cut of poultry: the chicken thigh.
A well-executed Dutch Oven Chicken Thigh Recipes approach isn’t just about making dinner; it’s about mastering a technique that bridges the gap between high-heat searing and low-moisture braising. The cast-iron core of a Dutch oven retains heat with incredible consistency, creating an environment where chicken can transform from a raw ingredient into a succulent, fall-off-the-bone masterpiece with a crackling, golden skin. This guide is designed to walk you through the nuances of this method, ensuring that your results are reliable every single time you step into the kitchen.
What Makes This Method Worth Using
In the world of poultry, chicken breasts often get the spotlight for being lean, but they are notoriously unforgiving. Chicken thighs, however, are packed with intramuscular fat and connective tissue. When subjected to the steady, radiant heat of a Dutch oven, that collagen melts into gelatin, basting the meat from the within.
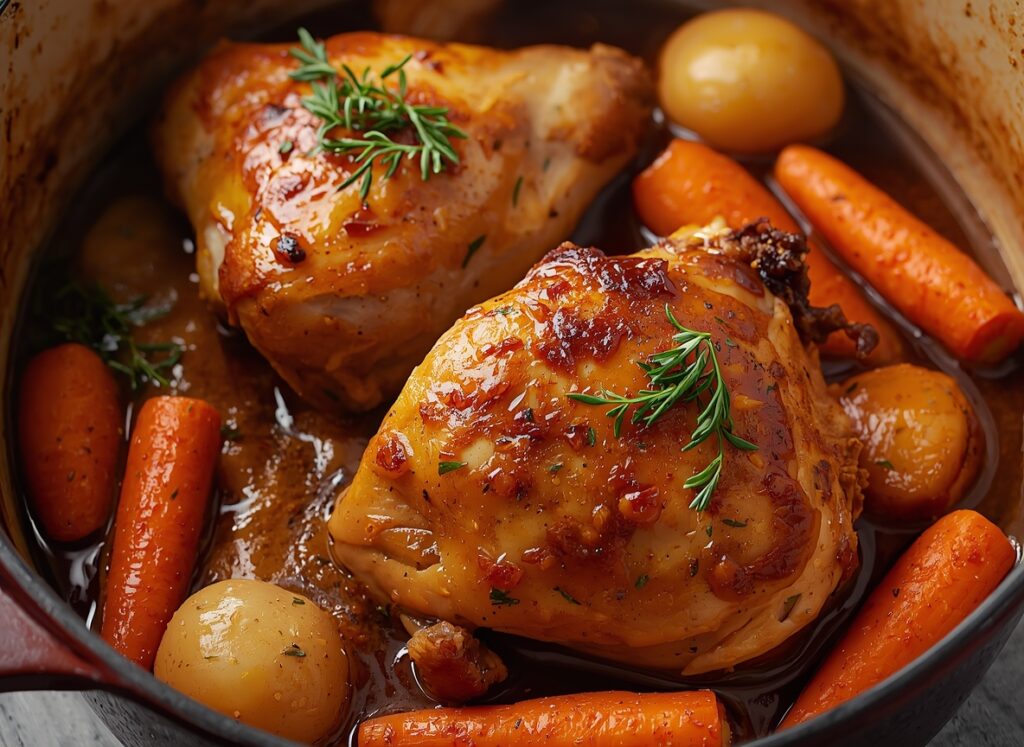
The beauty of Dutch Oven Chicken Thigh Recipes lies in the “one-pot” philosophy. You start by rendering the fat from the skin to get it crispy, and then you use that very same flavorful oil to sauté your aromatics and build a braising liquid. The heavy lid of the Dutch oven creates a pressurized seal, circulating steam and preventing the meat from drying out. This results in a texture that is simultaneously crispy on the outside and incredibly tender on the inside—a feat that is difficult to achieve in a standard frying pan or a slow cooker.
Ingredient Choices That Improve Results
Success starts at the grocery store. While you can technically use any cut, certain choices will yield a vastly superior result when working with Dutch Oven Chicken Thigh Recipes.
The Chicken: Bone-In and Skin-On
Bold Tip: Always choose bone-in, skin-on thighs for Dutch oven cooking. The bone acts as a thermal conductor, helping the meat cook more evenly from the inside out, while the skin provides the fat necessary to sauté your vegetables and adds a crucial textural contrast.
The Braising Liquid
Since the Dutch oven concentrates flavors, your liquid choice matters.
- Dry White Wine: A splash of Sauvignon Blanc or Pinot Grigio cuts through the richness of the chicken fat.
- Low-Sodium Chicken Stock: This allows you to control the salt levels of the final reduction.
- Acid: A squeeze of lemon or a teaspoon of Dijon mustard can brighten the entire dish.
Aromatics and Hearty Vegetables
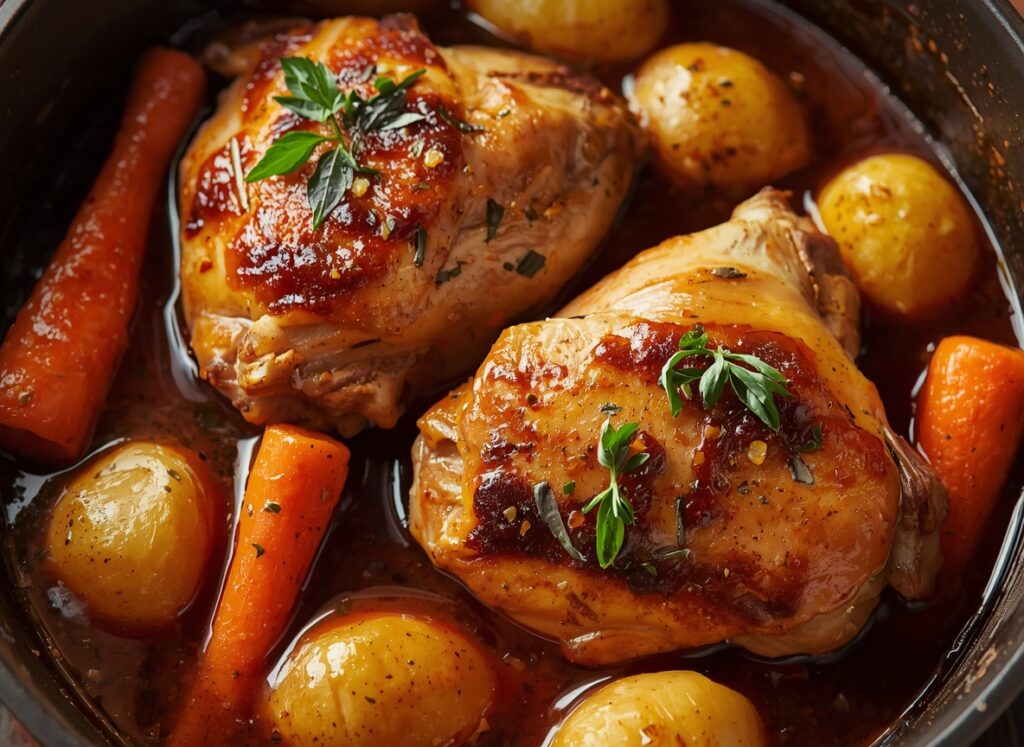
Root vegetables like carrots, parsnips, and small potatoes thrive in the Dutch oven. They absorb the chicken drippings as they simmer, becoming tender without turning to mush.
Tools That Support Consistent Cooking
While the Dutch oven is the star, a few supporting players make the process much smoother.
- Enameled Cast Iron Dutch Oven: A 5-to-7-quart size is ideal. The enamel coating makes it non-reactive (perfect for wine-based sauces) and much easier to clean.
- Stainless Steel Tongs: You need a sturdy grip to flip the thighs and move them around without tearing the skin.
- Splatter Screen: Frying chicken skin can be messy; a screen keeps your stovetop clean while allowing steam to escape.
- Instant-Read Thermometer: Accuracy is king. Even though thighs are forgiving, pulling them at the perfect temperature ensures peak juiciness.
Timing Strategy for Best Texture
One of the most common errors in Dutch Oven Chicken Thigh Recipes is rushing the initial sear. If you don’t spend enough time on the stovetop, the skin will turn flabby once it hits the liquid.
- The Sear (8–10 Minutes): Skin-side down over medium-high heat until the fat renders and the skin is deep gold.
- The Sauté (5 Minutes): Softening the onions, garlic, and herbs in the rendered fat.
- The Braise (25–30 Minutes): Simmering in the oven or on the stovetop until the internal temperature reaches 175°F.
Estimated Nutrition Facts
A typical serving of two chicken thighs with vegetables contains approximately 450–520 calories, 35g of protein, and 12g of carbohydrates.
Step-by-Step Dutch Oven Chicken Thigh Recipes (Naturally Written)
1. The Seasoning Foundation
Pat the chicken thighs bone-dry with paper towels. This is non-negotiable for crispy skin. Season both sides generously with kosher salt and cracked black pepper. Let them sit for 10 minutes at room temperature to take the chill off.
2. The Golden Sear
Add a tablespoon of high-smoke-point oil to your Dutch oven over medium-high heat. Place the thighs in, skin-side down. Bold Tip: Do not crowd the pan. If necessary, sear in two batches. If you crowd the thighs, they will steam instead of fry. Leave them alone for at least 6 minutes until they release naturally from the pan.
3. Building the Flavor Base
Remove the chicken and set it aside on a plate. You’ll notice a layer of brown bits (the fond) at the bottom. Add your diced onions, carrots, and garlic. Sauté until the onions are translucent, using the moisture from the vegetables to scrape up those delicious brown bits.
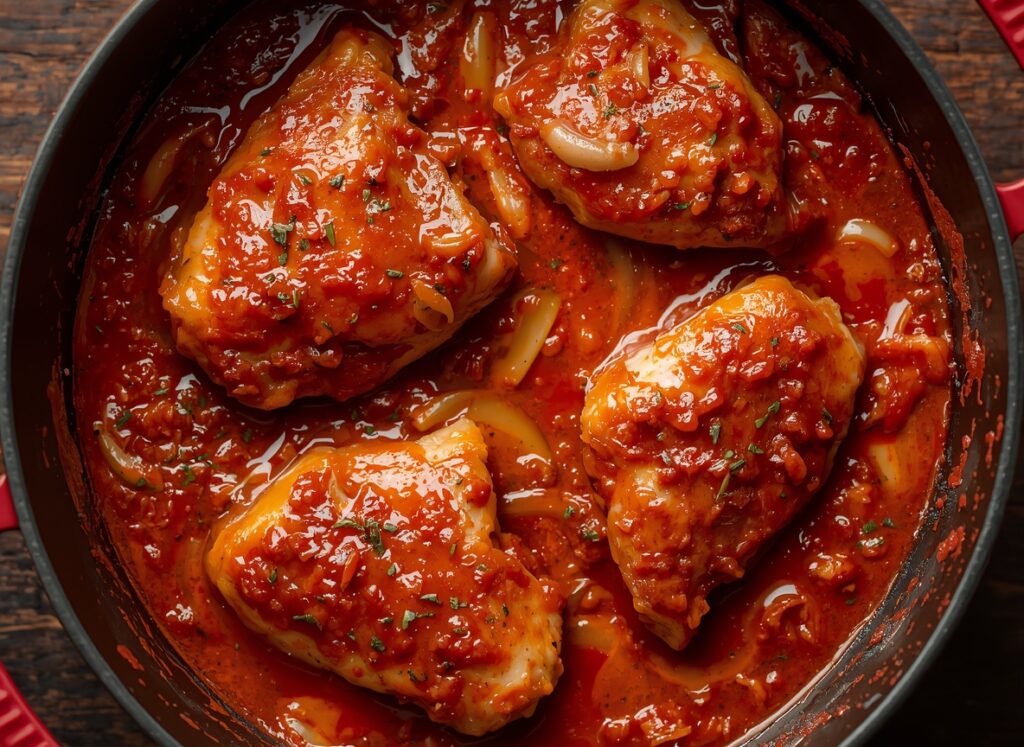
4. Deglazing
Pour in half a cup of dry white wine or chicken broth. Use a wooden spoon to vigorously scrape the bottom of the pot. Let the liquid reduce by half; this concentrates the flavor and removes the “raw” alcohol taste.
5. The Braise
Return the chicken to the pot, nestling the thighs among the vegetables. Bold Tip: Keep the skin above the liquid line. If you submerge the skin, it will lose its crunch. Pour in enough stock to reach halfway up the sides of the chicken.
6. The Finish
Place the lid on and transfer to a 375°F oven, or keep it on a low simmer on the stovetop. Cook for 25–30 minutes.
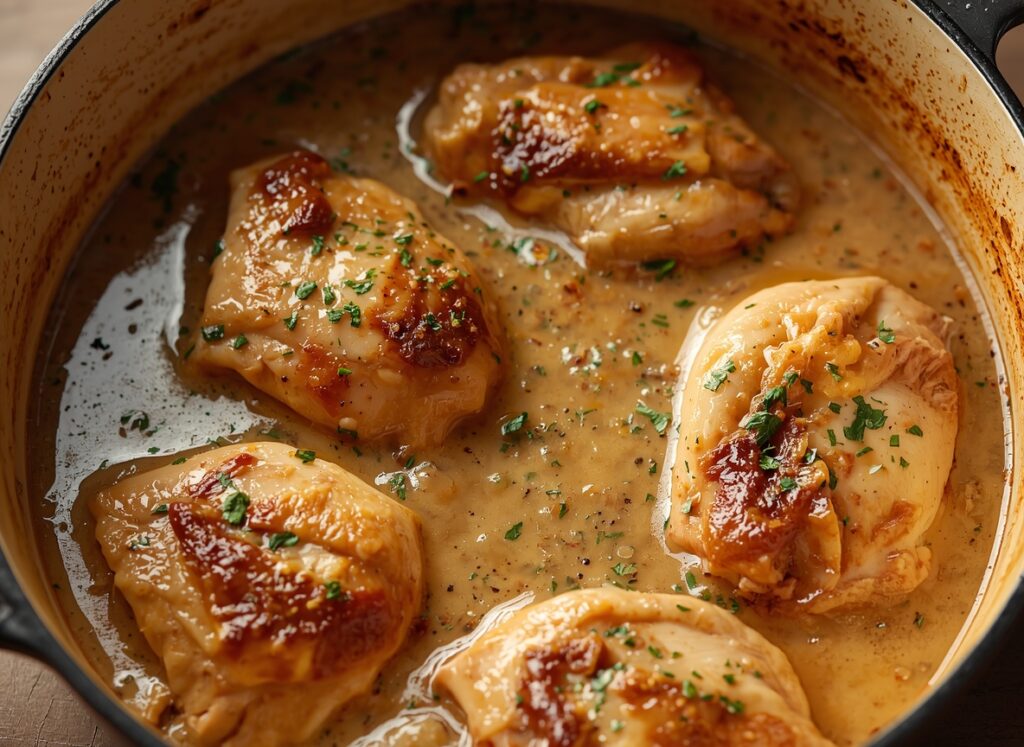
Chef’s Advice for Success
If you want your Dutch Oven Chicken Thigh Recipes to taste like they came from a French bistro, focus on the “rest.” Once the chicken is done, remove the thighs and let them sit on a cutting board for 5 minutes. While they rest, turn the heat on the Dutch oven to high and boil the remaining liquid for a few minutes. This creates a “pan sauce” that is velvety and rich.
Common Cooking Problems and Solutions
- The Skin is Soggy: This usually happens if the pot was covered completely for too long or if the liquid level was too high. For the last 5 minutes of cooking, try removing the lid to allow dry heat to re-crisp the skin.
- The Sauce is Too Salty: Chicken stock reduces as it cooks, which concentrates salt. Always use low-sodium stock and taste before adding extra salt at the end.
- The Vegetables are Mushy: If you are using delicate vegetables like peas or spinach, add them in the final 2 minutes of cooking rather than at the beginning.
Serving Suggestions
A great Dutch Oven Chicken Thigh Recipes result deserves a worthy side.
- Classic: Serve over a bed of creamy mashed potatoes or buttery polenta to soak up the sauce.
- Light: A side of crusty sourdough bread and a simple arugula salad with a lemon vinaigrette helps balance the richness of the dark meat.
- Grain-Forward: Fluffy couscous or quinoa works beautifully as it catches the small bits of onion and garlic from the braise.
FAQ Based on Real User Questions
Can I use chicken breasts instead? You can, but the timing changes significantly. Breasts only need about 12-15 minutes of braising. Any longer and they will become dry and chalky.
Does the Dutch oven have to go in the oven? No, you can do this entirely on the stovetop. However, the oven provides “surround heat,” which cooks the top of the chicken more effectively than the stovetop alone.
How do I store leftovers? These thighs stay delicious for up to 3 days in the fridge. Reheat them in the oven at 350°F to maintain the skin texture; the microwave will make them soft.
What if I don’t have white wine? A tablespoon of apple cider vinegar or lemon juice mixed with chicken broth is an excellent non-alcoholic substitute.
Nutritional Benefits Explained
Choosing Dutch Oven Chicken Thigh Recipes provides more than just flavor. Thighs are rich in zinc and Vitamin B12, which are essential for immune health and energy levels. By cooking with the bone in, you also release small amounts of minerals into the sauce. Furthermore, using a Dutch oven allows you to use less added fat, as the chicken renders its own natural oils to cook the vegetables.
By following this editorial approach to your kitchen workflow, you ensure a meal that is as nutritionally sound as it is comforting.
Healthy White Chicken Chili Recipe Made Simple
Classic Chicken Salad Recipe with Grapes Everyone Loves
The Best Chicken and Biscuits Recipe for Family Dinners
Classic Chicken Marsala Recipe Everyone Will Love
Quick Hibachi Chicken Recipe Made at Home