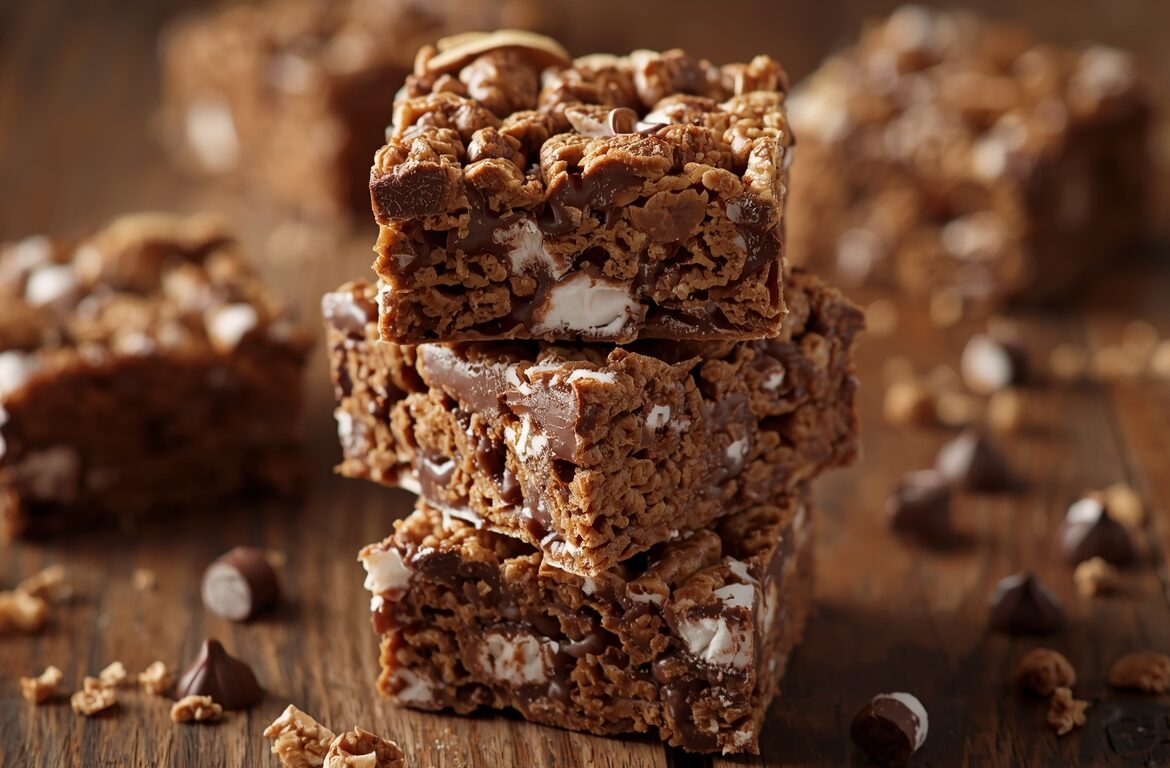
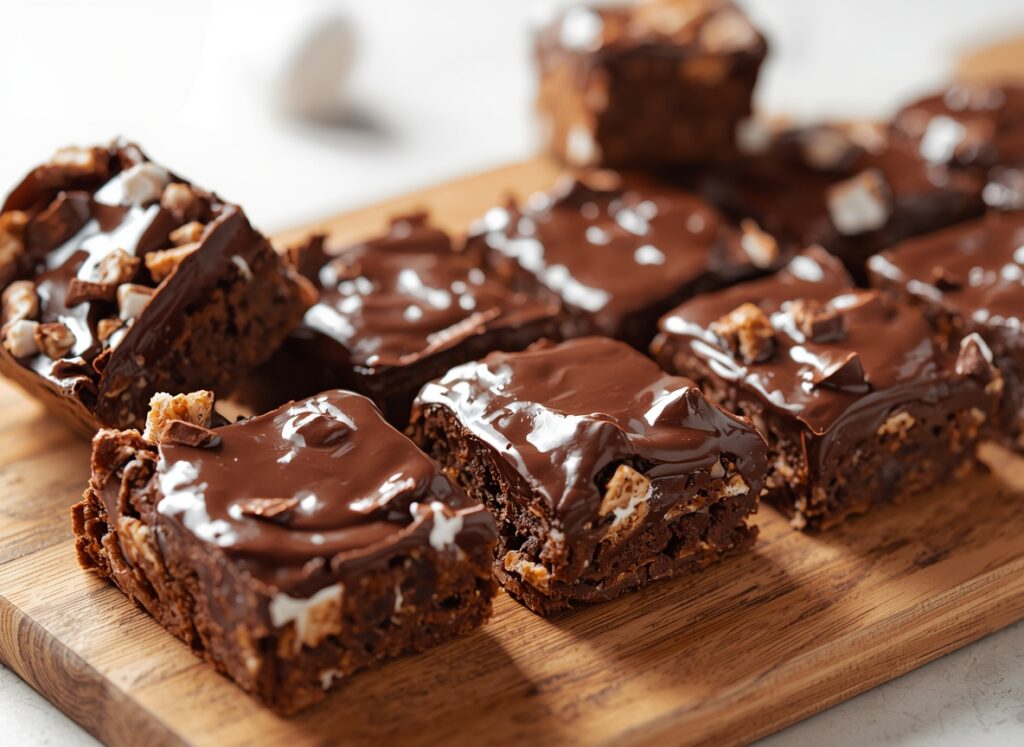
The classic marshmallow cereal bar is a nostalgic staple of childhood, but this Chocolate Rice Krispie Treats Recipe elevates the concept into a gourmet indulgence. While traditional treats rely solely on the sweetness of marshmallows, our chocolate version introduces a sophisticated depth of flavor by incorporating high-quality cocoa and real melted chocolate. The result is a treat that remains chewy and soft but offers a rich, fudge-like complexity.
What truly makes this homemade chocolate rice krispie treats method stand out is the focus on texture. Many store-bought or poorly made treats become rock-hard within hours. Our recipe utilizes specific ratios of butter and marshmallow, combined with a gentle melting technique, to ensure that the bars stay pull-apart tender for days. It is a refined take on a simple classic that appeals to both children and discerning adults.
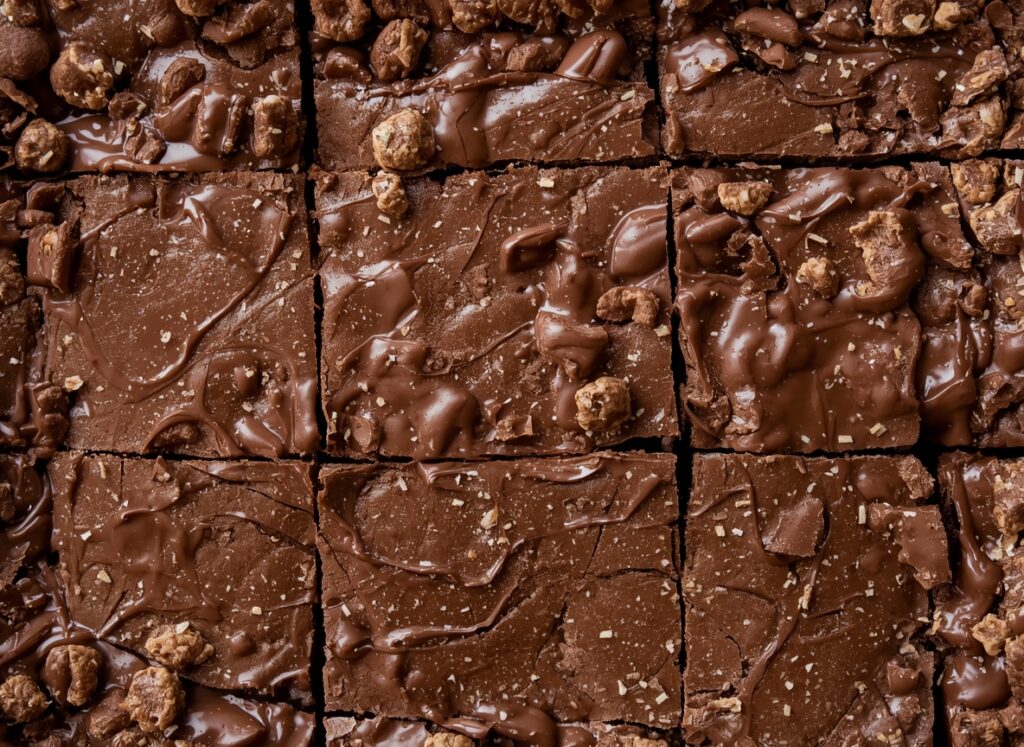
Recipe Overview & Flavor Profile
The flavor profile of this easy chocolate rice krispie treats recipe is a harmonious balance of toasted grain, creamy vanilla, and deep chocolate. By using a combination of cocoa-flavored rice cereal and additional semi-sweet chocolate chips, we create a multi-layered chocolate experience. The saltiness from the butter and a pinch of sea salt cuts through the sugar, preventing the treat from being cloying.
In terms of texture, these treats provide the signature “snap, crackle, and pop” of the puffed rice, cushioned by a velvety, marshmallow-chocolate binder. Unlike standard treats, the addition of melted chocolate adds a slight density—reminiscent of a brownie—while maintaining the light, airy crunch that makes cereal treats so addictive.
Essential Ingredients You’ll Need
To achieve the perfect Chocolate Rice Krispie Treats Recipe, the quality of your ingredients is paramount. Because this is a “no-bake” dessert, every component is tasted prominently.
- Cocoa Rice Cereal: Using a chocolate-flavored puffed rice cereal provides a strong foundational flavor and a consistent dark aesthetic.
- Fresh Marshmallows: Always use fresh, unopened bags. Older marshmallows lose their moisture and will result in a hard, brittle treat. Mini marshmallows melt more evenly than large ones.
- Unsalted Butter: Real butter is essential for the “fudge” factor. Avoid margarine, as it contains too much water and can make the cereal soggy.
- Semi-Sweet Chocolate Chips: These are stirred in at the end to create small pockets of pure chocolate and to help the bars set with a firm yet chewy structure.
- Pure Vanilla Extract and Sea Salt: These act as flavor enhancers, brightening the chocolate notes and balancing the sweetness of the corn syrup in the marshmallows.
Smart Ingredient Swaps
This Chocolate Rice Krispie Treats Recipe is highly adaptable for various dietary needs and flavor preferences:
- Vegan Option: Use vegan marshmallows (typically made with carrageenan instead of gelatin) and a high-quality plant-based butter.
- Nut Butter Twist: Stir in 1/4 cup of creamy peanut butter or almond butter into the melted marshmallow mixture for a “chocolate-peanut butter” variation.
- Darker Profile: Substitute the semi-sweet chips with 70% dark chocolate chunks and add a tablespoon of dark cocoa powder to the butter for a more “grown-up” bittersweet flavor.
- Gluten-Free: Ensure your puffed rice cereal is certified gluten-free, as some traditional brands use malt flavoring derived from barley.
Tools Every Home Cook Needs
- Large Non-Stick Pot: This is vital. Marshmallows are notoriously sticky, and a high-quality non-stick surface makes the mixing and cleaning process much easier.
- 9×9 or 13×9 Inch Baking Pan: Depending on whether you prefer thick, bakery-style treats or thinner, traditional squares.
- Silicone Spatula: A sturdy, heat-resistant silicone spatula is the best tool for folding the cereal into the sticky marshmallow mixture without crushing the grains.
- Parchment Paper: Lining the pan with parchment paper allows you to lift the entire block out for clean, professional-looking cuts.
Prep Time vs Cooking Time Explained
- Prep Time: 10 minutes (measuring ingredients and lining the pan).
- Cook Time: 10 minutes (melting butter and marshmallows over low heat).
- Setting Time: 30–60 minutes (essential for the chocolate to firm up).
- Total Time: Approximately 1 hour.
Step-by-Step Chocolate Rice Krispie Treats Recipe Metho
1. Prepare the Pan
Line your baking pan with parchment paper, leaving a slight overhang on the sides. Lightly grease the parchment with a tiny amount of butter or non-stick spray to ensure the homemade chocolate rice krispie treats release perfectly.
2. Melt the Butter
In your large non-stick pot, melt 6 tablespoons of unsalted butter over low heat. It is crucial to keep the heat low; browning the butter is an option for flavor, but overheating can make the sugars in the marshmallow turn hard.
3. Incorporate Marshmallows
Add 10 ounces (about 1 standard bag) of mini marshmallows to the butter. Stir continuously with your silicone spatula until the mixture is 90% melted.
4. Flavor Infusion
Once the marshmallows are mostly melted, stir in 1 teaspoon of vanilla extract and a pinch of sea salt. If you are using cocoa powder for extra richness, sift it in now.
5. Combine with Cereal
Remove the pot from the heat. Immediately fold in 6 cups of cocoa rice cereal. Gently turn the mixture over itself until every piece of cereal is coated in the glossy marshmallow film.
6. The Chocolate Fold
Let the mixture cool for about 60 seconds (so you don’t completely melt the chips), then fold in 1/2 cup of chocolate chips. This ensures you get “pockets” of chocolate throughout the treat.
7. Pressing into the Pan
Transfer the mixture to your prepared pan. Pro Tip: Do not pack the treats down firmly. Use a piece of greased parchment paper to gently pat the top until level. Pressing too hard results in a dense, tough treat.
Pro Cooking Secrets for Better Taste
To master this easy chocolate rice krispie treats recipe, remember that heat is your enemy during the melting phase. If marshmallows reach too high a temperature, their sugar structure changes, leading to a “shattering” rather than a “stretching” texture. Always melt on the lowest setting possible.
Another secret is the “Extra Marshmallow” technique. Reserve 1 cup of the mini marshmallows and stir them in at the same time as the cereal. This creates whole, un-melted marshmallow clouds throughout the bars, adding a beautiful visual contrast and an extra-chewy bite.
Health Benefits of Chocolate Rice Krispie Treats Recipe
While this is fundamentally a dessert, it does offer some minor benefits over other heavy pastries. Puffed rice is naturally low in fat and cholesterol. By making homemade chocolate rice krispie treats, you control the quality of the fats and sugars, avoiding the high-fructose corn syrup often found in pre-packaged snack bars.
Additionally, using dark chocolate or cocoa powder introduces flavonoids, which are antioxidants that support heart health. It is also a lighter dessert option for those who find heavy cakes or brownies too taxing on their digestion.
Calories & Macro Breakdown
(Per serving, based on 16 squares)
| Nutrient | Amount |
| Calories | 185 kcal |
| Total Fat | 7g |
| Saturated Fat | 4g |
| Carbohydrates | 30g |
| Protein | 1.5g |
| Sugar | 18g |
Best Ways to Serve Chocolate Rice Krispie Treats Recipe
These treats are exceptional on their own, but they can be dressed up for special occasions:
- Drizzled Finish: Melt an extra 1/4 cup of white chocolate and drizzle it in a zigzag pattern across the top of the set bars.
- Holiday Variation: Add festive sprinkles or crushed candy canes to the top before the mixture sets.
- Ice Cream Sandwich: Slice a thick treat in half horizontally and sandwich a scoop of vanilla or coffee ice cream in the middle.
- Salted Caramel: Drizzle a little homemade salted caramel sauce over the bars just before serving to enhance the chocolate profile.
When Is the Best Time to Make This Dish?
This Chocolate Rice Krispie Treats Recipe is the ultimate solution for last-minute school events or bake sales because it requires no oven time and uses shelf-stable ingredients. It is also a perfect summer dessert, as it doesn’t require heating up the kitchen. Because of their portability, these bars are a favorite for hiking trips, picnics, or as a quick energy boost during a busy workday.
Storage & Food Safety Tips
- Room Temperature: These treats are best stored at room temperature in an airtight container for up to 5 days. Do not refrigerate them, as the cold air will make the marshmallows turn hard and the cereal lose its crunch.
- Layering: If stacking the treats, place a sheet of parchment paper between the layers to prevent them from fusing together.
- Freezing: You can freeze these treats for up to 2 months. Wrap individual bars tightly in plastic wrap and place them in a freezer-safe bag. Thaw at room temperature for 15 minutes before consuming.
How to Reheat Without Drying It Out
Ideally, these treats should be eaten at room temperature. However, if they have become a bit firm over a few days, you can revive them:
- Microwave: Place one square on a plate and microwave for 5–8 seconds. This will slightly soften the marshmallow and melt the chocolate pockets, restoring the “pull” of the treat.
- Avoid Excessive Heat: Do not “cook” them again; you only want to take the chill or the stiffness out of the sugar bonds.
Frequently Asked Questions
Q: Why are my rice krispie treats hard?
A: This is usually caused by two things: using old marshmallows or using too much heat. High heat boils the water out of the marshmallow, leaving behind a hard sugar glass.
Q: Can I use regular Rice Krispies instead of the chocolate version?
A: Yes! If you use plain cereal, just increase the amount of melted chocolate or cocoa powder in the marshmallow mixture to ensure you still get that rich chocolate flavor.
Q: Should I use Salted or Unsalted butter?
A: I recommend unsalted butter so you can control the salt level yourself. If you only have salted butter, simply omit the extra pinch of sea salt from the recipe.
Q: How do I get clean cuts?
A: Let the treats set completely at room temperature for at least an hour. Use a large, sharp chef’s knife and wipe the blade with a damp paper towel between each cut to prevent the marshmallow from sticking.
Healthy Peppers and Rice Stuffed Recipe Made Simple
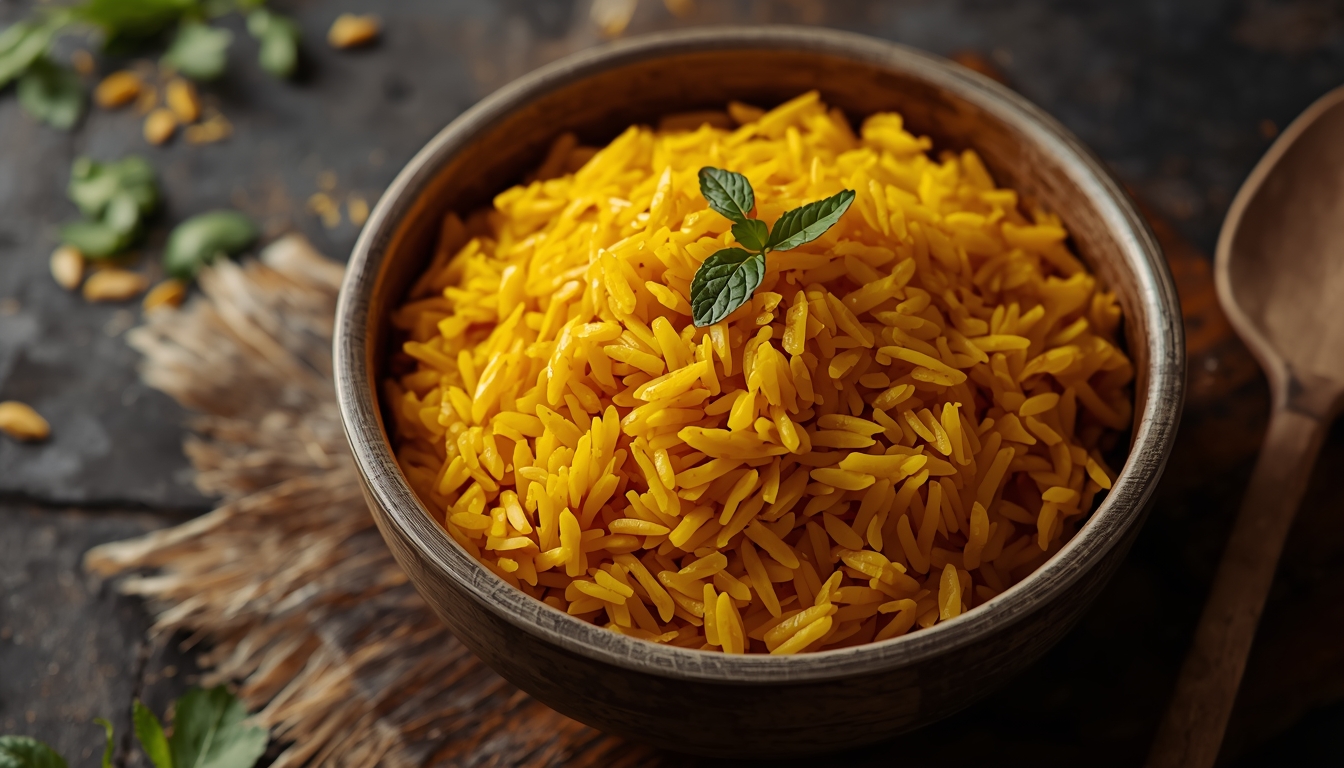
How to Make Turmeric Rice recipe – Simple & Flavorful
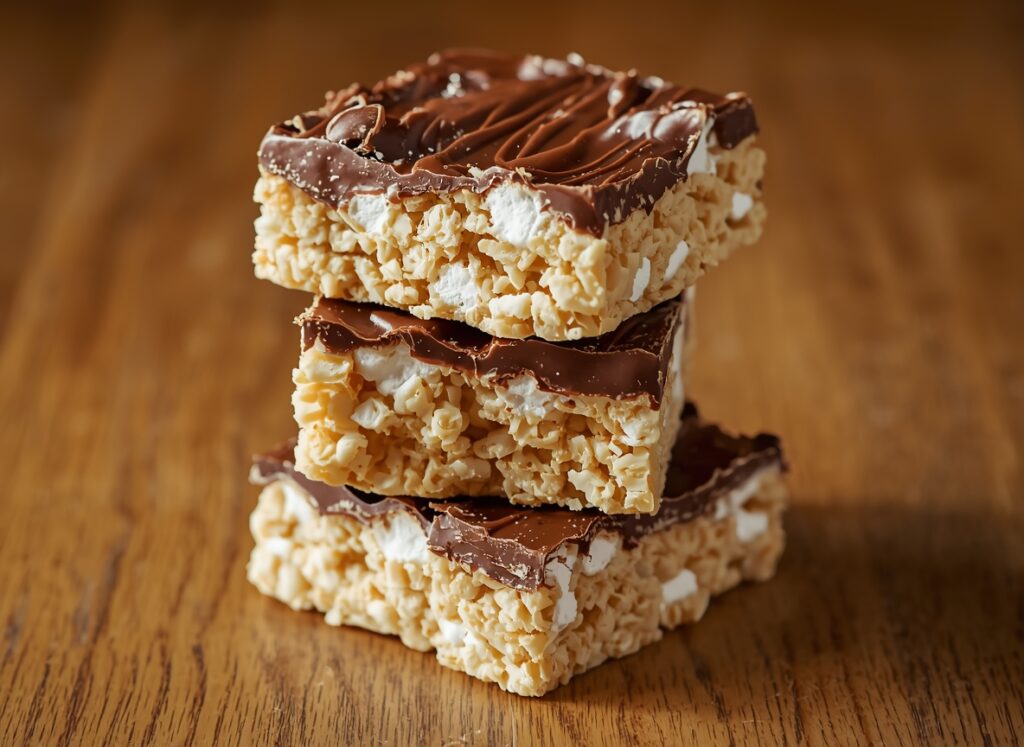
best way to Make Peanut Butter Rice Krispie Treats recipe in 20 Minutes
How to Make Puerto Rican Rice recipe Like a Pro – Quick & Delicious!