Butterfinger Cake Recipe Remember that crisp snap of a Butterfinger bar? It hits just right, mixing chewy peanut butter with chocolate and that flaky crunch. Now picture all that goodness baked into a cake—moist layers hugging sweet frosting, topped with candy pieces that pop in every bite.
This homemade Butterfinger cake takes the classic candy to new heights, and it’s way better than anything from a box. You’ll get a show-stopping dessert without hours in the kitchen. Stick around for the best Butterfinger cake recipe that’s simple, fun, and packed with flavor.Butterfinger Cake Recipe
Why This Homemade Butterfinger Cake Reigns Supreme
This cake stands out because it captures the Butterfinger magic at home. You control every bit, from the peanut butter kick to the chocolate hug. Store-bought versions often skimp on crunch or taste flat. Here, fresh ingredients make it shine.
Ingredients Spotlight: The Secret to Authentic Flavor
Key parts build the real Butterfinger vibe. Start with high-quality peanut butter—creamy, no added sugars work best. Use semi-sweet chocolate chips for melting into the frosting base; they balance the nutty sweetness without overpowering. Chop up full-sized Butterfinger bars for the crunch layer—aim for 4 to 6 bars, depending on cake size. Fresh eggs and buttermilk in the cake batter add moisture and tang that boxed mixes can’t match.
Quality matters a lot. Cheap peanut butter can turn greasy, while stale candy loses its snap. Opt for bars bought fresh from the store. This setup nails the “best ingredients for Butterfinger cake” every time. You’ll taste the difference in that first forkful.
Pro tip: Measure peanut butter by weight for precision. A cup might vary, but 8 ounces keeps ratios spot on.
Texture Perfection: Achieving the Crunch
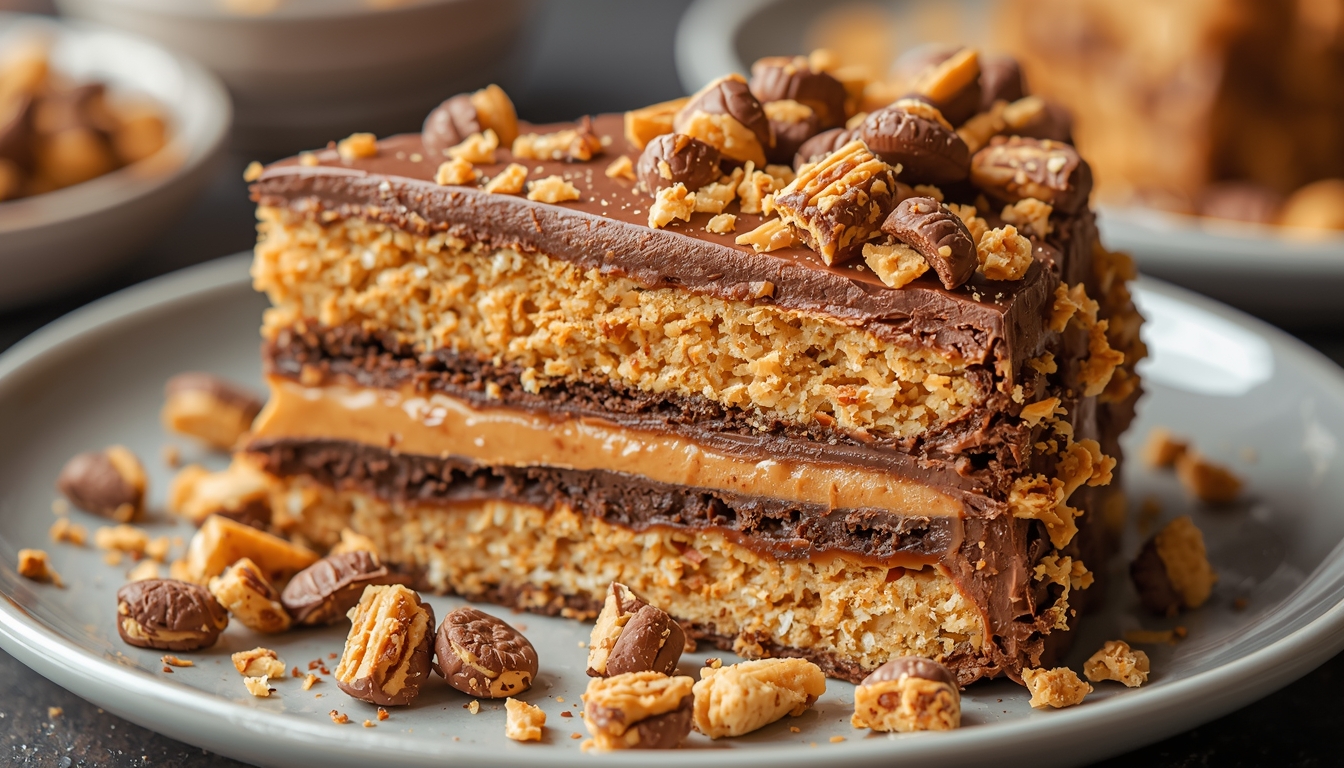
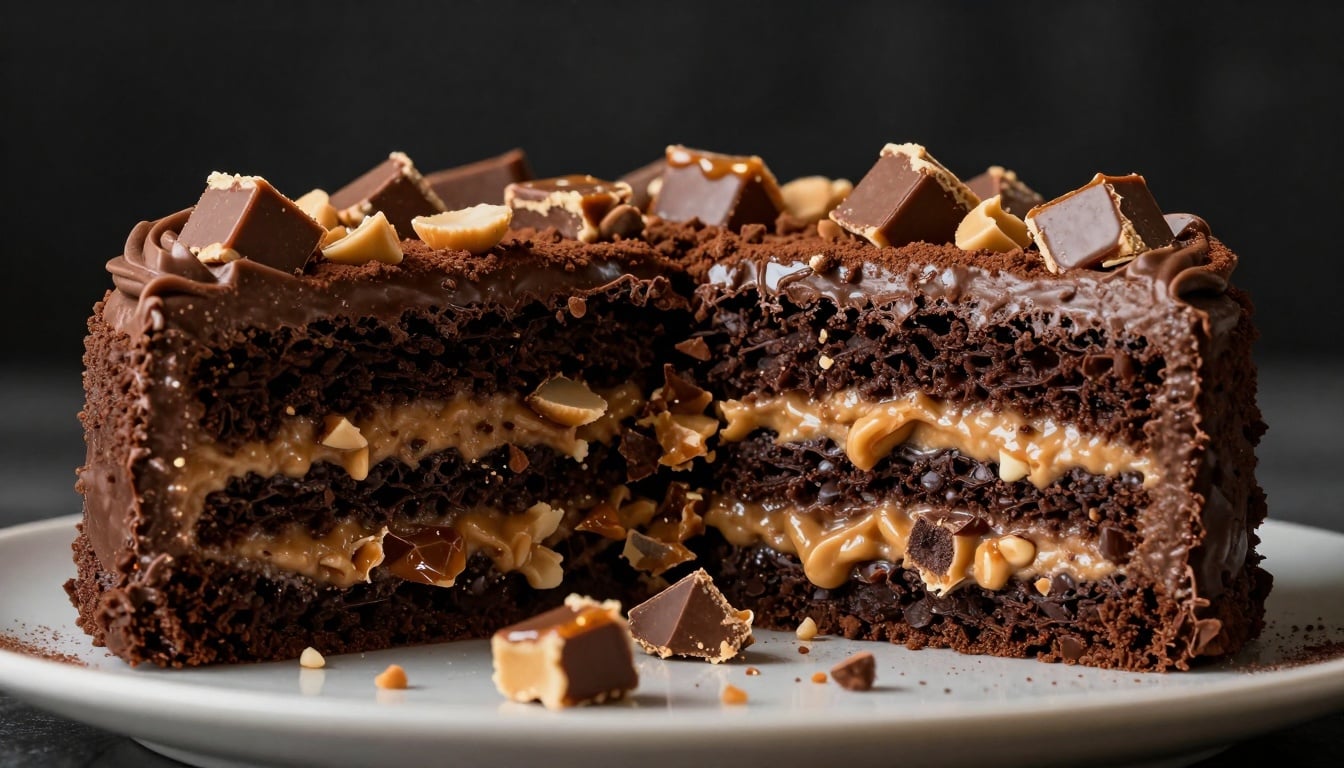
The magic lies in balancing soft cake with hard candy bits. The cake stays moist from oil and eggs, while crushed Butterfingers add flaky layers like the bar itself. Heat makes the candy soften, so chill pieces before mixing in.
Science backs this up. Freezing the chopped bars for 30 minutes locks in crispness. When you bite, the contrast hits—velvety frosting against sharp crunch. It’s like peanut brittle meets sponge cake.
Quick tip: Avoid overmixing the batter. That keeps air pockets for a tender crumb. Your homemade Butterfinger cake will feel light yet indulgent.Butterfinger Cake Recipe
Time Commitment & Difficulty Rating
You can whip this up in under two hours, plus chill time. Baking takes 30 minutes, assembly another 20. Total hands-on? About 45 minutes. It’s easier than stacking a fancy tiered cake—no fondant or tools needed.
Rate it beginner-friendly. Even if you’ve only baked cookies before, clear steps guide you. Compare it to a no-bake cheesecake: similar ease, but warmer and richer. This easy dessert rewards your effort with pro-level results.
Don’t worry about perfection. Small lumps in batter? They bake out fine. You’ll end up with a crowd-pleaser fast.
Assembling the Components – Cake Base and Frosting
Now we get to the fun part: putting it together. Think of the base as your canvas, frosting as the glue, and candy as the sparkle. Each piece builds on the last for that ultimate homemade Butterfinger cake.
Building the Ultimate Chocolate or Yellow Cake Base
Go with chocolate for a deep, classic pair with peanut butter. Yellow cake works too, if you want a lighter vibe that lets the candy shine. Chocolate edges out for most fans—it’s like the bar’s outer shell come to life.Butterfinger Cake Recipe
Box mix saves time; pick a devil’s food one and doctor it with extra oil for moisture. From scratch? Mix flour, sugar, cocoa, baking powder, salt, eggs, milk, oil, and vanilla. Bake at 350°F in two 9-inch rounds. The result? A moist chocolate cake base that’s sturdy yet soft.
Why chocolate? It amplifies the Butterfinger notes without clashing. Yellow keeps it neutral for picky eaters. Either way, cool layers fully before frosting to avoid tears.
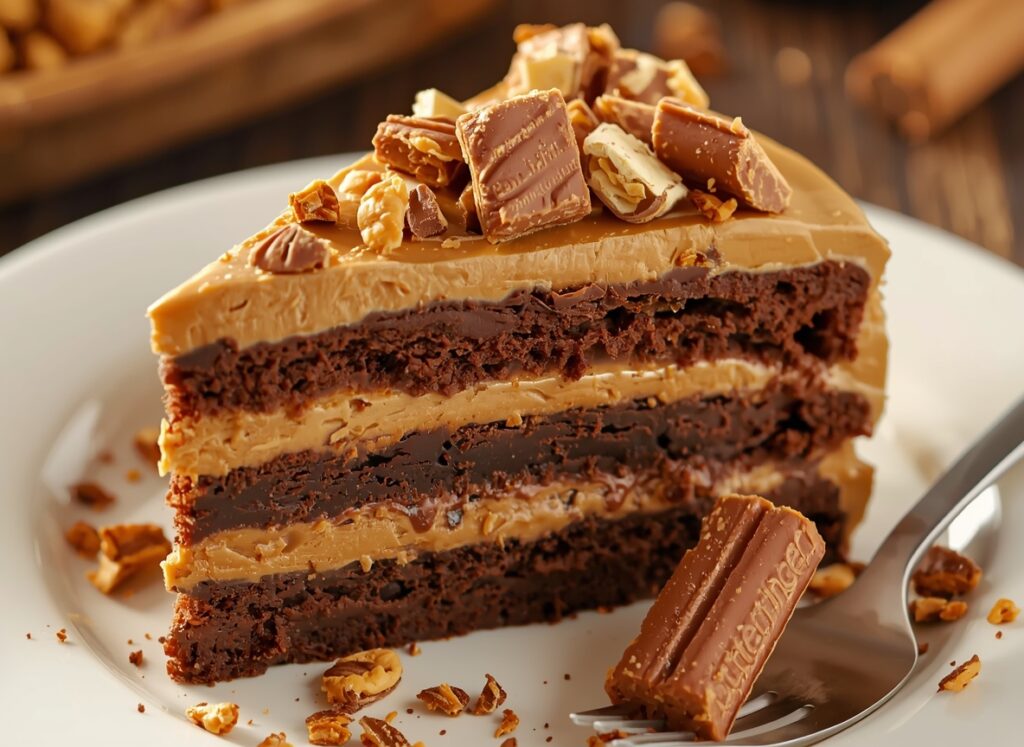
Crafting the Creamy Peanut Butter Frosting
This frosting is the star—smooth, spreadable, and not too sweet. Base it on 1 cup softened butter, 2 cups powdered sugar, 1 cup peanut butter, and 2 teaspoons vanilla. Whip until fluffy, adding milk if needed for creaminess.
Ratios matter: Equal parts butter and peanut butter prevent greasiness. Too much PB? It seeps. For stability, chill the bowl first. This makes enough for two layers plus topping.
Actionable tip: For piping borders, thicken with extra sugar. Spreading calls for a looser mix—add a splash of cream. Adjust on the fly for your style.Butterfinger Cake Recipe
Incorporating the Butterfinger Crunch Layer
Crush the candy right before use to keep it fresh. Use a rolling pin in a bag for even pieces—some fine, some chunks for variety. Chopped works if you’re in a rush, but crushing gives better texture.
Place it between layers for surprise bites, or fold into frosting for even spread. Top generously for visual pop. About 2 cups total does the trick without overwhelming.
This layer ties everything. It mimics the bar’s core, adding that signature snap. Skip it, and you lose the point—don’t!
Step-by-Step Baking and Assembly Guide
Let’s dive into the how-to. Follow these steps, and your easy Butterfinger cake recipe turns out perfect. Grab your apron; it’s go time.
Preparing the Pans and Baking for Even Layers
Grease two 9-inch pans well—use butter and a dusting of flour. Line bottoms with parchment circles for easy release. This stops sticking and keeps edges even.Butterfinger Cake Recipe
Preheat oven to 350°F. Check calibration with an oven thermometer; off temps lead to uneven bakes. Pour batter equally—use a scale for fairness. Bake 25-30 minutes until a toothpick pulls clean.
Tap pans on the counter before baking to pop air bubbles. That gives flat tops, ideal for stacking. Cool in pans 10 minutes, then flip onto racks.
Layering Techniques for Maximum Impact
Start with cake layer one on a plate. Spread a thin frosting barrier to hold crumbs. Add half the crushed Butterfingers right on top.Butterfinger Cake Recipe
Stack layer two gently. Frost sides and top fully. For a naked look, like on many food blogs, skip side frosting and let edges show. Fully frosted hides imperfections but takes more time.
Press extra candy into sides for grip. Smooth with an offset spatula. Real-world win: Food bloggers love the naked style for casual parties—it shows off the layers.
The Final Chill: Setting the Structure
Chill the assembled cake for 30 minutes uncovered. This firms the frosting so layers don’t slide. Cover loosely after to avoid drying.Butterfinger Cake Recipe
Minimum chill: One hour before slicing. It sets the crumb coat and boosts flavor. Warm cake cuts messy; cold gives clean edges.
Tip: If stacking more layers, chill between each. This prevents leans. Your cake stays tall and steady.
Decoration and Presentation Secrets
Finishing touches make it Instagram-worthy. Keep it simple—focus on taste first, looks second. These tricks elevate without stress.
The Art of the Crumb Coat
Apply a thin frosting layer all over first. It traps loose bits so the final coat stays clean. Chill 15 minutes after.Butterfinger Cake Recipe
Use room-temp frosting for easy spread. Wipe your spatula in hot water for smoother strokes. This pro step takes minutes but looks polished.
Skip it for rustic vibes, but for events, it’s key. Your homemade Butterfinger cake will wow guests.
Decorating with Purpose: Topping Strategies
Crush more Butterfingers and sprinkle the top—high contrast against frosting pops. Drizzle melted chocolate for shine. Or pipe peanut butter swirls for fun.
Keep it minimal: One ring of candy around the edge frames it nicely. Ganache pour adds gloss without fuss. Visuals draw eyes to the crunch.
These ideas suit any occasion. Birthday? Go heavy on toppings. Weeknight? Just the basics shine.
Storage and Serving Best Practices
Store at room temp in a dome for up to two days—frosting stays soft. Fridge works for longer, up to five days, but let it warm 30 minutes before serving. Cold dulls the crunch.Butterfinger Cake Recipe
Shelf life shortens with humidity; wrap well. Serve at cool room temp for best texture—fork sinks into moist cake, then hits crisp bits.
Slice with a warm knife for neat pieces. Share leftovers? They freeze well, wrapped tight, for a month.
Easy Italian Rum Cake Recipe – Perfect for Any Occasion
Easy Cherry Chip Cake Recipe for Beginners
The Ultimate Dubai Chocolate Cake Recipe
Easy Butter Pecan Cake Recipe – Sweet & Nutty Perfection
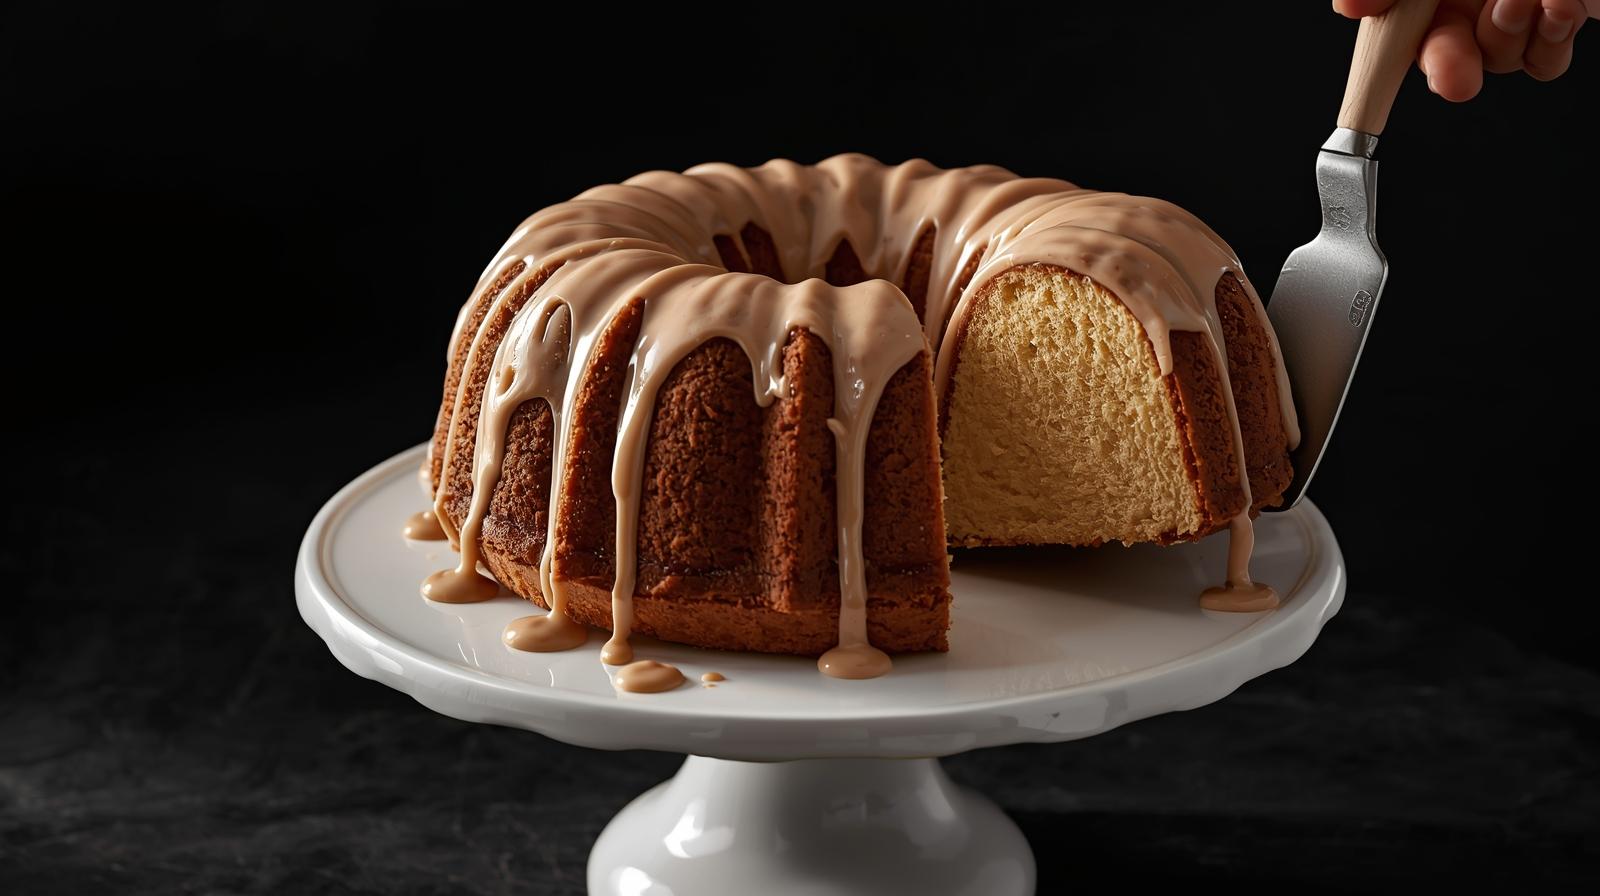
Delicious Nothing Bundt Cake Recipe – Moist & Easy to Bake
FAQ – Homemade Butterfinger Cake Recipe
1. Can I use store-bought Butterfinger bars?
Yes! Chop them into small pieces to fold into the batter or sprinkle on top for extra crunch.Butterfinger Cake Recipe
2. Is this cake suitable for freezing?
Absolutely. Wrap it tightly in plastic wrap and foil, then freeze for up to 2–3 months. Thaw overnight in the fridge before serving.Butterfinger Cake Recipe
3. Can I make this cake gluten-free?
Yes! Substitute the all-purpose flour with a 1:1 gluten-free baking blend and check the texture—it might need slightly less liquid.
4. How can I make it extra moist?
Use room temperature butter and eggs, and avoid overmixing the batter. Adding a small amount of sour cream can also boost moisture.Butterfinger Cake Recipe
5. Can I use a different chocolate candy instead of Butterfinger?
Yes! Snickers, Heath, or Reese’s pieces work well, though the flavor will slightly differ.Butterfinger Cake Recipe
6. How long does the cake keep at room temperature?
Store in an airtight container for 2–3 days. For longer storage, refrigerate for up to a week.
Conclusion: Your New Go-To Decadent Dessert
This homemade Butterfinger cake delivers big on flavor and ease. Moist layers, creamy frosting, and that unbeatable crunch make it a hit every time. You don’t need skills—just follow the steps for intense taste in a simple package.Butterfinger Cake Recipe
Key wins: Fresh ingredients amp up authenticity, quick assembly fits busy days, and chill times ensure pro results. It’s the must-try dessert recipe for candy lovers. Grab those Butterfingers and bake one today—you’ll crave seconds.Butterfinger Cake Recipe
[…] Homemade Butterfinger Cake Recipe – Decadent & Simple […]
[…] Homemade Butterfinger Cake Recipe – Decadent & Simple […]
[…] Homemade Butterfinger Cake Recipe – Decadent & Simple […]