When you first approach Cherry Dump Cake Recipes, it is easy to dismiss them as “shortcut” desserts. In a culinary world often obsessed with complex laminations and tempering chocolate, the dump cake stands as a defiant testament to the beauty of simplicity. However, to get a result that tastes like a professional bakery item rather than a middle-school potluck contribution, you have to adopt a mindset of quality control.
The “dump” in the name suggests a lack of care, but a seasoned cook knows that even the simplest assembly requires an eye for detail. You aren’t just throwing things in a pan; you are layering textures and flavors to create a self-saucing cobbler-style dessert. When I make this, I think of it as a study in moisture management. Your goal is to balance the heavy fruit syrup with a crisp, buttery crust that provides a necessary textural contrast.
Understanding the Cooking Environment
Before you preheat the oven, take a second to look at your kitchen conditions. Cherry Dump Cake Recipes rely heavily on the interaction between fat and dry starch. If your kitchen is incredibly hot, your butter may melt too quickly during prep, affecting how it sits on the cake mix. Conversely, if your ingredients are too cold, you might get uneven patches.
Humidity also plays a quiet role here. On a very humid day, the cake mix can absorb moisture from the air, which might lead to a denser topping. The ideal environment for this bake is a dry, preheated kitchen where the oven has had at least twenty minutes to stabilize its internal temperature. A dump cake isn’t technically a “cake” in the traditional sense—it’s more of a crumble—so ensuring that your oven is radiating heat evenly from the start is what prevents those dreaded “dry flour spots.”
Preparing Ingredients With Purpose
The list for Cherry Dump Cake Recipes is short, which means every choice carries more weight. You can’t hide poor ingredients in such a transparent recipe.
The Fruit Base
Standard canned cherry pie filling is the classic choice, but look for brands that list “more fruit” or have fewer artificial preservatives. I often like to mix one can of traditional pie filling with one can of tart red cherries in water (drained). This cuts the cloying sweetness and provides a more sophisticated, acidic punch.
The Dry Layer
A standard 15.25-ounce yellow cake mix is the vehicle for your crust. However, don’t just grab the cheapest box. A “moist” style or “extra buttery” mix provides a better crumb. Bold Tip: Sift your cake mix into a bowl before you start. These mixes are notorious for having hard lumps of sugar and flour that won’t dissolve during the bake.
The Fat
Unsalted butter is the only way to go. It allows you to control the saltiness of the dessert. In my experience, the difference between a mediocre dump cake and a great one is how the butter is applied—we will get into the melting versus slicing debate in the execution phase.
Equipment Readiness and Setup
Precision in Cherry Dump Cake Recipes is often a matter of surface area.
- The Baking Dish: A standard 9×13 inch glass or ceramic dish is the professional standard. Glass allows you to see the bubbles at the bottom, which is the best indicator of doneness. Avoid dark metal pans, as they can scorch the fruit sugars before the topping is golden.
- A Handheld Slicer or Sharp Knife: If you choose the “pat of butter” method, you need thin, uniform slices. A cold stick of butter and a sharp knife are essential.
- Mixing Bowls (Minimal): You really only need one bowl if you are sifting the cake mix or melting the butter.
- Offset Spatula: This is the best tool for leveling the fruit and the dry mix without packing them down too tightly.
Timing Decisions Before Cooking
One of the biggest mistakes with Cherry Dump Cake Recipes is underestimating the rest time. While the active “dumping” takes five minutes, the thermal process is long.
- Preparation (5-10 Minutes): Layering the ingredients.
- Baking (45-55 Minutes): The time required for the butter to permeate the flour and the fruit to bubble through the crust.
- The “Setting” Period (15-20 Minutes): Bold Tip: Do not cut into the cake immediately. The fruit filling is essentially molten sugar when it comes out of the oven. Letting it rest allows the starches to thicken into a jam-like consistency.
If you are serving this for a dinner party, I recommend timing it so the cake comes out of the oven just as you are sitting down for the main course. By the time you are ready for dessert, the temperature will be perfect.
Cooking Through the Cherry Dump Cake Recipes
1. The Fruit Foundation
Spread your cherry pie filling into the bottom of the ungreased 9×13 dish. Use your spatula to ensure an even layer. If you are using the drained tart cherries as mentioned earlier, fold them into the pie filling before spreading.
2. The Dry Layering
Sprinkle the sifted cake mix over the cherries. The key here is to be gentle. You aren’t pressing the mix into the fruit; you are letting it “snow” over the top. Use the back of a spoon to level the surface. Bold Tip: Do not stir the layers. The separation between the fruit and the flour is what creates the distinct cobbler texture.
3. The Butter Application
There are two schools of thought here. One is to pour melted butter over the top. The other is to cover the surface with thin pats of butter. I’ve found that the “pat” method leads to a crispier, more “biscuit-like” topping, while the melted method leads to a more uniform, cake-like finish. Whichever you choose, ensure the butter covers as much of the dry mix as possible.
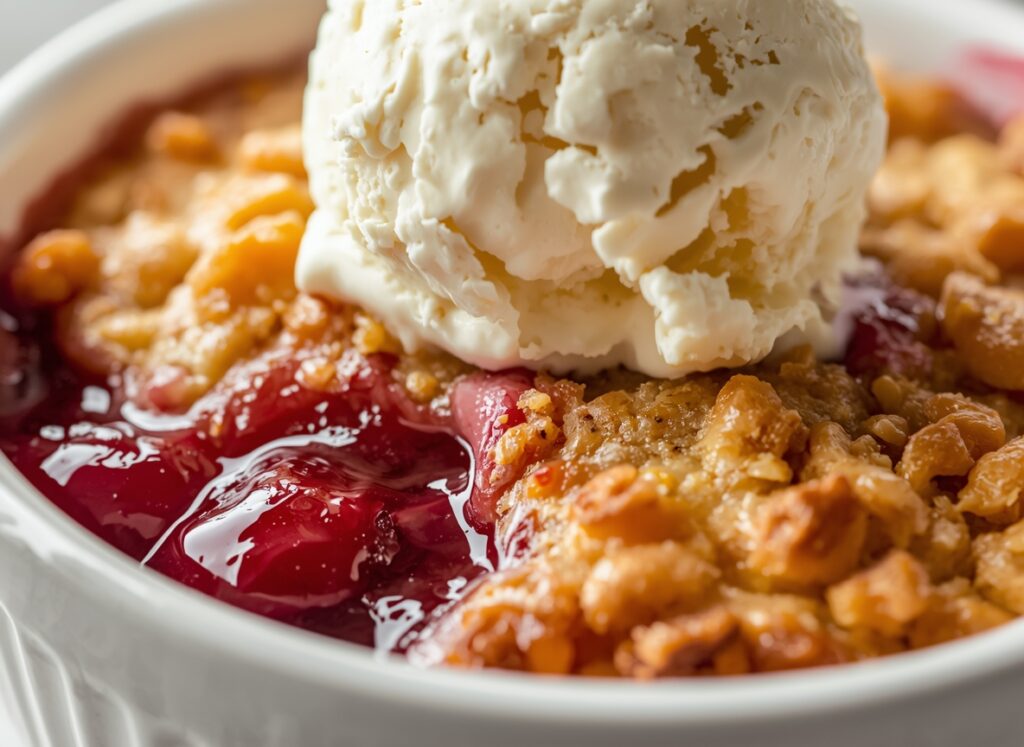
4. The Optional Crunch
If you want to elevate the dish, sprinkle a handful of sliced almonds or pecans over the butter layer. The fat will toast the nuts as the cake bakes.
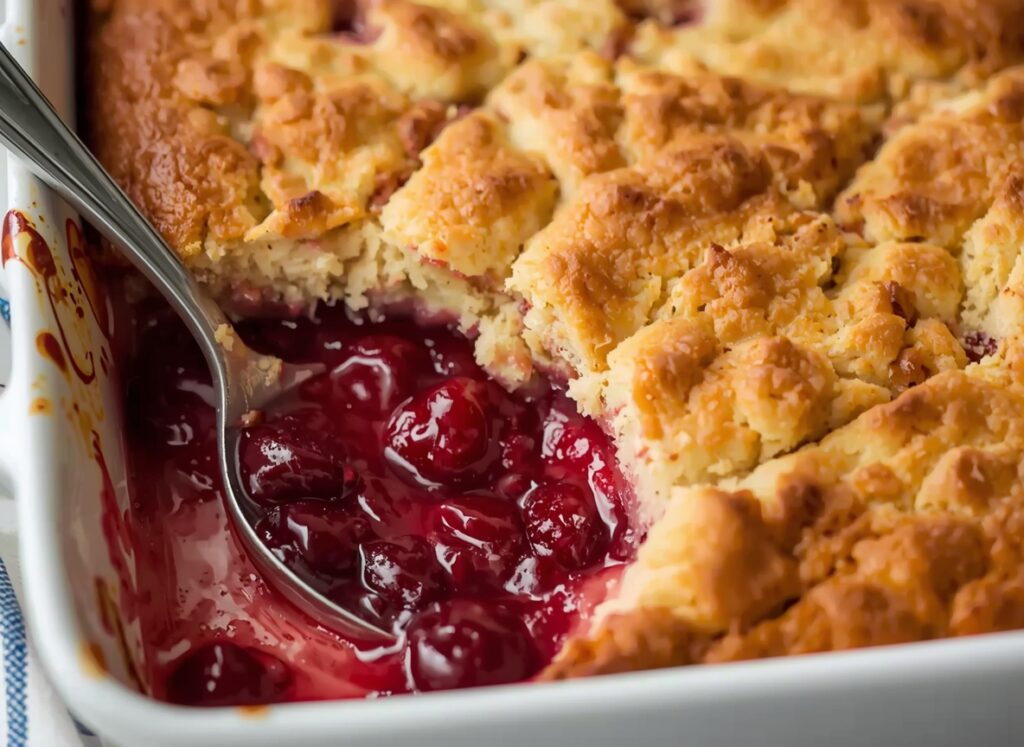
5. The Bake
Place the dish on the center rack of a 350°F oven. Bake for 45 to 55 minutes. You are looking for the edges to be a deep golden brown and the cherry filling to be visibly bubbling up through the crust in several places.
Signs Something Is Going Wrong
Even with Cherry Dump Cake Recipes, you have to be an active observer.
- Dry Flour Spots: If you are thirty minutes in and see large patches of dry white powder on top, your butter distribution was uneven. To fix this, quickly add a small bit of melted butter to those spots or use a kitchen spray to moisten them.
- Burning Edges: If the corners are turning dark brown but the center is still pale, your oven might be running hot. Lower the temperature by 25 degrees and tent the edges with foil.
- Thin, Runny Sauce: This usually happens if you didn’t drain your supplemental cherries or if the pie filling was a low-quality, water-heavy brand. The only fix here is time; let it bake an extra five minutes to encourage evaporation.
- The “Sink”: If the topping is sinking into the fruit, you might have stirred the layers by accident or used too much butter. It will still taste excellent, but it will be more of a “pudding” than a “cake.”
FAQ for First-Time Users
Can I use a different fruit? Absolutely. While we are focusing on Cherry Dump Cake Recipes, the method works with peach, apple, or blueberry pie filling. You can even do a “Cherry-Pineapple” version by adding a can of crushed pineapple (undrained) beneath the cherries.
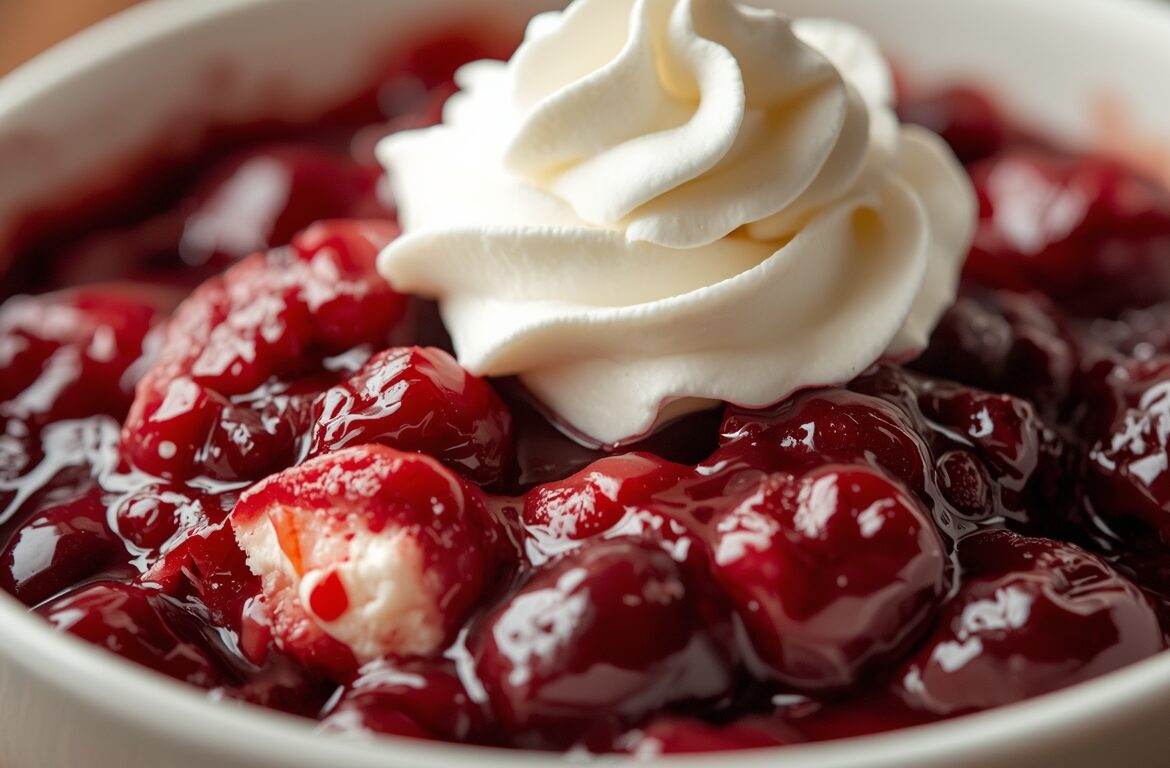
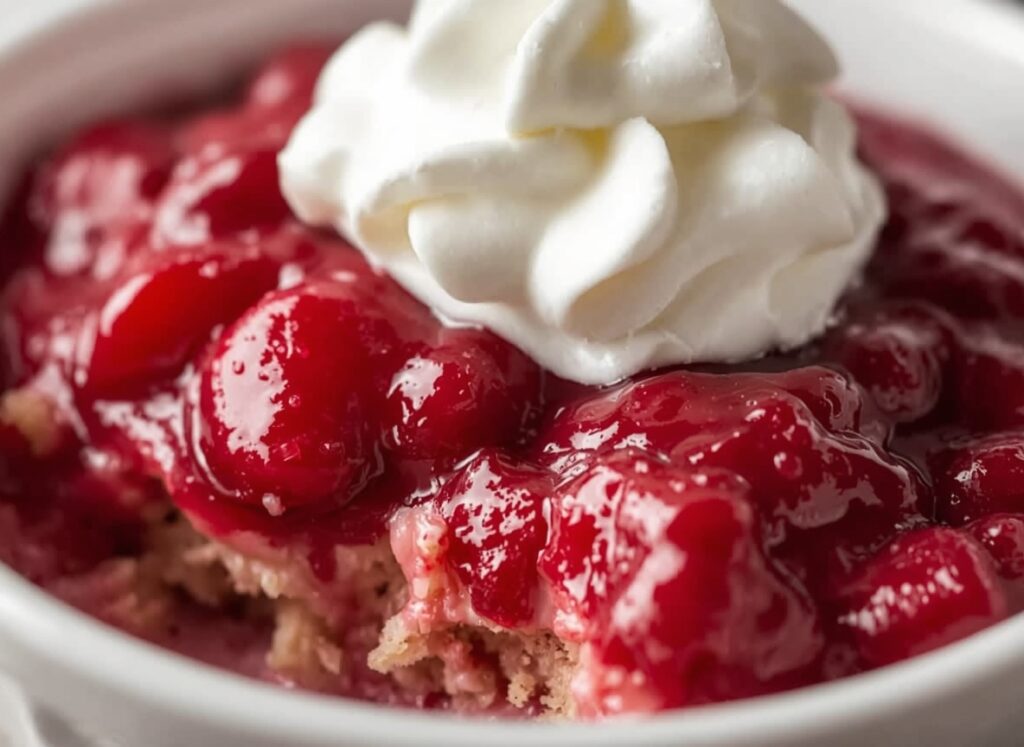
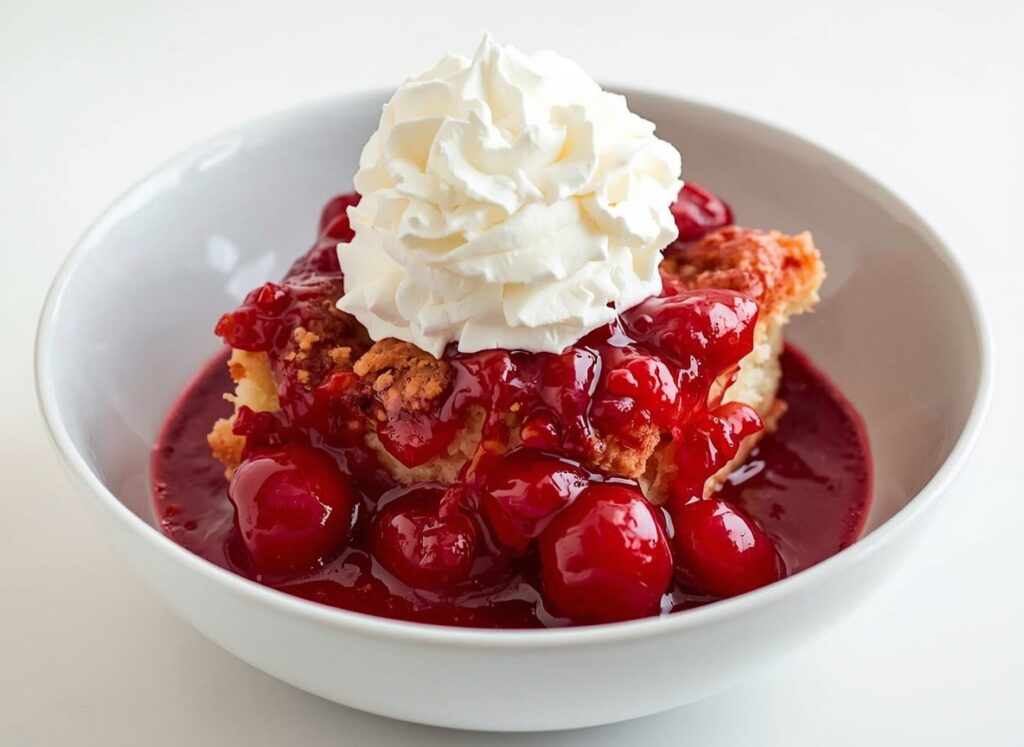
Is it supposed to be this sweet? Dump cakes are notoriously sweet because of the cake mix and the pie filling. If you find it overwhelming, I suggest serving it with unsweetened whipped cream or a very tart Greek yogurt to provide balance. Adding a teaspoon of almond extract to the cherries also helps round out the flavor profile.
Can I make this in a slow cooker? Yes, you can. High heat for 2 to 3 hours is the standard. However, you will lose the crispy top that an oven provides because the slow cooker traps steam. If you go this route, place a paper towel under the lid to catch the condensation.
Does the cake mix need eggs or oil? No. This is the most common question. You do not follow the instructions on the back of the cake mix box. You only use the dry powder. The moisture from the fruit and the fat from the butter provide all the liquid the “batter” needs.
How do I store leftovers? Cover the dish tightly with foil or plastic wrap and keep it in the refrigerator for up to four days. To reheat, I recommend using the oven or an air fryer for a few minutes to restore the crispiness of the butter topping.
Can I make this gluten-free? Yes. Simply swap the standard cake mix for a gluten-free yellow or white cake mix. Most gluten-free mixes behave very well in Cherry Dump Cake Recipes because the structure of the dessert doesn’t rely on gluten development.
Easy Chocolate Bundt Cake Recipe – Soft, Rich & Decadent
The Best Pecan Pie Dump Cake Recipe You’ll Ever Try
Fluffy Cloud Cake Recipe – Easy, Light & Perfect for Any Occasion
Earthquake Cake Recipe – Sweet, Moist & Decadent
Honey Bun Cake Recipe – Sweet, Moist & Delicious
Jamaican Rum Cake Recipe – Rich, Moist & Decadent