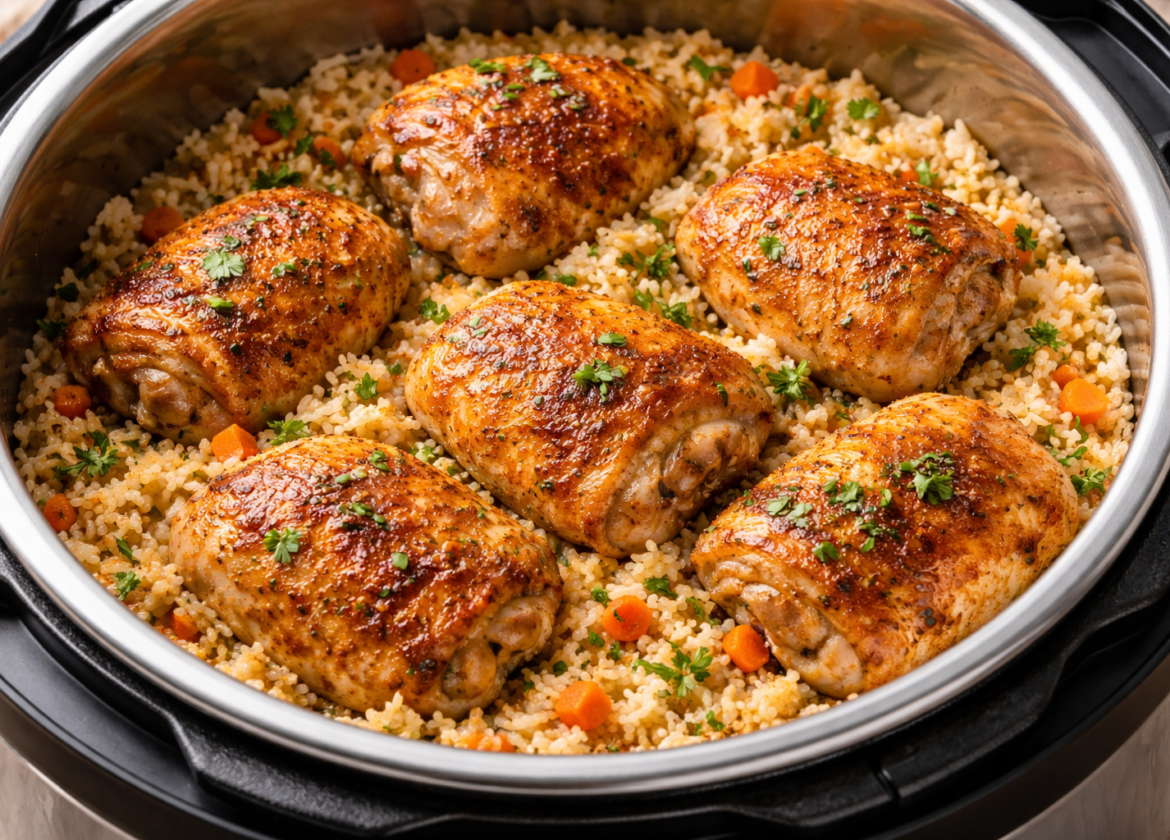
When choosing a cooking method for a staple meal, the Chicken and Rice Recipe Instant Pot approach is often selected for its ability to consolidate flavor and reduce active labor. Traditional stovetop methods require constant monitoring to ensure the rice at the bottom doesn’t scorch while the chicken on top reaches safety. By opting for a pressure cooker, you are essentially creating a closed thermal circuit where moisture is forced into the grains and protein simultaneously, often resulting in a more infused flavor profile than conventional boiling.
However, the decision to use this specific appliance comes with a trade-off in texture control. Unlike a skillet where you can visually track the evaporation of liquid, the Instant Pot requires a pre-emptive decision on ratios. It is the ideal choice when the goal is a succulent, one-pot “comfort” meal rather than a dry, fluffy pilaf. For many home cooks, the speed and the “set and forget” nature of the device make it the most practical decision for weeknight dining.
Expected Results From This Cooking Method
When executing a Chicken and Rice Recipe Instant Pot, the outcome is distinct from oven-baked or pan-fried versions. Because the steam is trapped under high pressure, the chicken undergoes a process similar to braising. This means the meat will be exceptionally tender and easy to shred, though it will lack the crispy skin found in roasting.
The rice in this environment becomes deeply seasoned because it absorbs the concentrated chicken drippings that would otherwise evaporate on a stovetop. You should expect a result that is slightly “tight” and creamy, reminiscent of a risotto but with the distinct grains of long-grain rice. If you prefer your rice with a toasted, nutty finish, the sauté function on the device allows for a preliminary sear, which adds a layer of complexity to the final texture.
Ingredient Decisions That Affect Flavor
The success of a Chicken and Rice Recipe Instant Pot is dictated by the chemical interaction of your ingredients under pressure. Certain choices will lead to a better structural result.
Protein Selection
Boneless, skinless chicken thighs are generally the superior choice for pressure cooking. Thighs contain more connective tissue and fat, which breaks down into gelatin under pressure, keeping the meat moist even if the timer runs slightly long. Chicken breasts can be used, but they are leaner and prone to becoming stringy if overcooked by even two minutes.
The Rice Type
Long-grain white rice or Basmati is the most reliable choice. These varieties have a predictable absorption rate. Short-grain rice often becomes too sticky, and brown rice requires a significantly longer cooking time that would result in the chicken being completely overcooked.
Liquid Ratios
In an Instant Pot, there is almost zero evaporation. Therefore, a 1:1 ratio of rice to liquid is the professional standard. If you use the 2:1 ratio common on stovetops, you will end up with a soupy consistency. Using chicken stock instead of water is a simple decision that drastically improves the depth of the dish.
Choosing the Right Equipment Setup
To ensure the Chicken and Rice Recipe Instant Pot performs as expected, the physical state of your equipment must be checked.
- The Sealing Ring: Ensure your silicone ring is seated properly and is free of lingering odors from previous spicy or savory meals. A poor seal prevents the pot from reaching pressure, which results in “crunchy” rice.
- The Inner Pot: Stainless steel is standard. If you find that your rice consistently sticks to the bottom, ensure you are deglazing the pot thoroughly after the sauté stage.
- Steam Release Handle: This must be set to the “Sealing” position. Even a small leak can throw off the liquid-to-grain ratio by allowing steam to escape prematurely.
Planning the Cooking Window
Efficiency in a Chicken and Rice Recipe Instant Pot is often misunderstood. While the “active” cook time might be 8 minutes, the actual window is longer due to the pressurization and depressurization phases.
- Prep and Sauté (10 Minutes): Searing the chicken and aromatics.
- Coming to Pressure (8–12 Minutes): This depends on the volume of liquid in the pot.
- Pressure Cook (8 Minutes): The actual timed phase.
- Natural Release (10 Minutes): Do not use a quick release immediately. A natural release allows the rice to finish steaming gently, preventing the grains from bursting.
Total Time: Approximately 40 minutes from start to finish.
Chicken and Rice Recipe Instant Pot Explained Clearly
1. The Sauté and Sear
Turn the Instant Pot to the “Sauté” function. Add a tablespoon of oil. Season your chicken thighs with salt, pepper, and garlic powder. Sear the chicken for 3 minutes per side until golden. Remove the chicken and set it aside; it does not need to be cooked through at this stage.
2. Deglazing the Pot
This is the most critical step to avoid the “Burn” notice. Add a splash of chicken broth to the hot pot. Use a wooden spoon to scrape every browned bit (fond) off the bottom. These bits are flavorful, but if left stuck to the metal, they will trigger the pot’s overheat sensors.
3. Layering the Ingredients
Add 1.5 cups of rinsed long-grain white rice to the pot. Pour in 1.5 cups of chicken broth. Stir the rice so it is submerged. Place the seared chicken pieces on top of the rice. Do not stir the chicken into the rice; keeping it on top allows for more even steaming of the grains.
4. Pressure Settings
Close the lid and set the valve to “Sealing.” Select “Manual” or “Pressure Cook” on High Pressure for 8 minutes.
5. The Release Strategy
Once the timer beeps, let the pot sit undisturbed for 10 minutes (Natural Pressure Release). After 10 minutes, turn the valve to “Venting” to release any remaining steam.
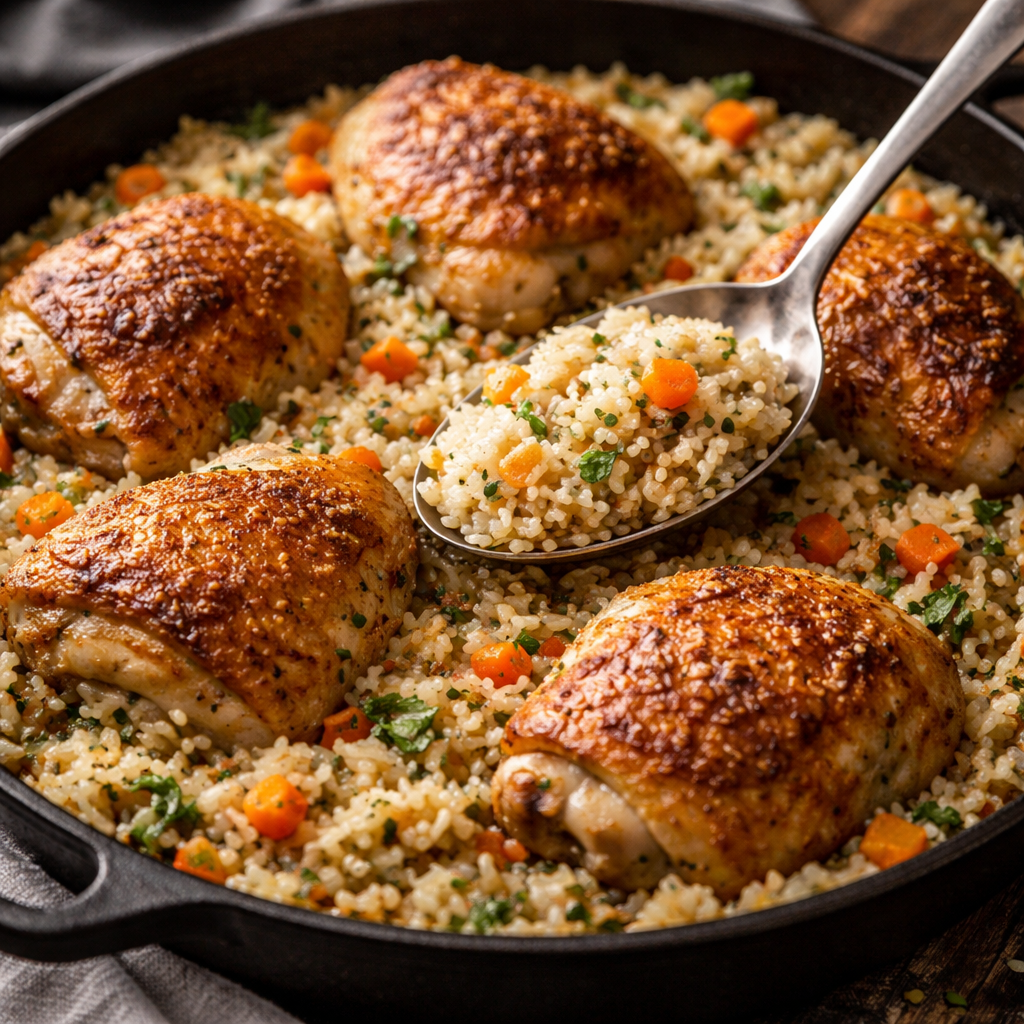
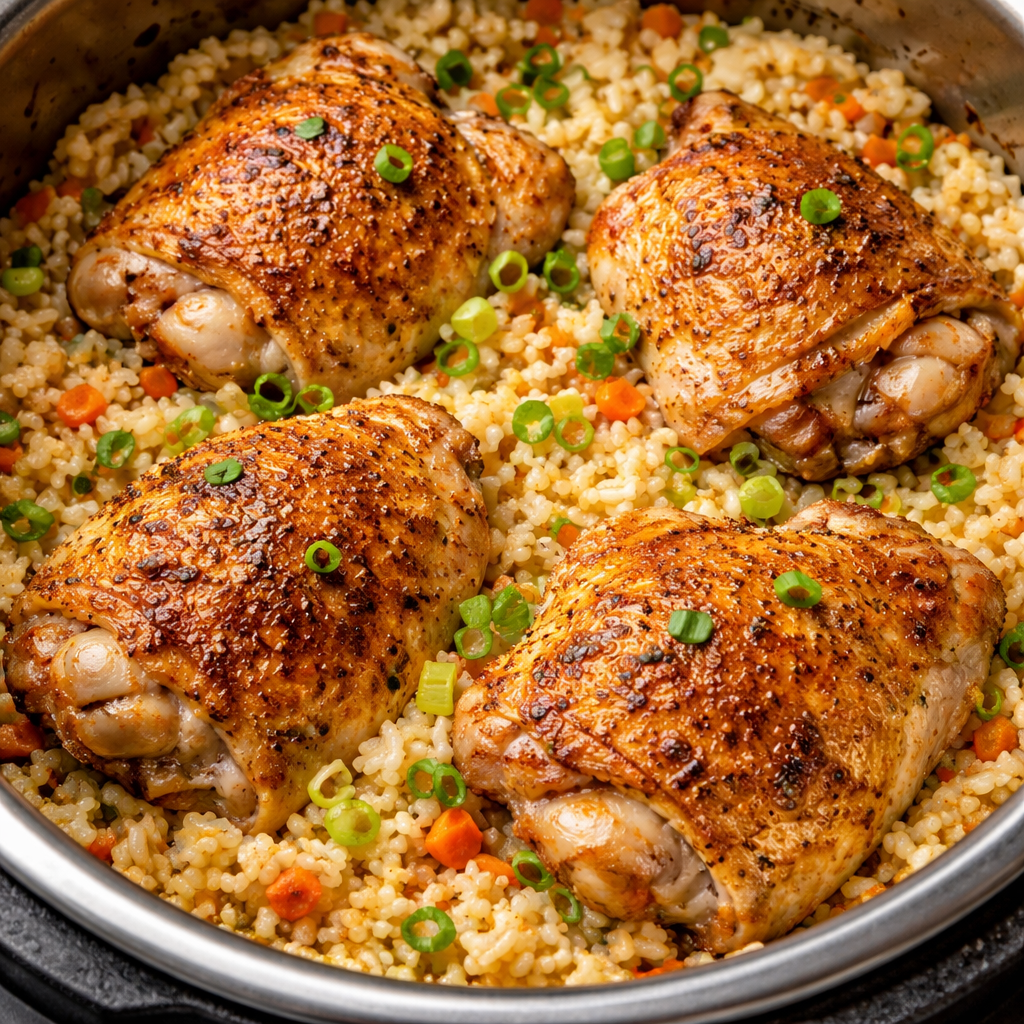
6. Fluffing and Serving
Open the lid and remove the chicken. Use a fork to gently fluff the rice. You will find that the rice has absorbed all the juices from the chicken. Return the chicken to the pot or serve it sliced over the rice.
Result-Based Problems and Adjustments
Based on real outcomes in the kitchen, you may need to adjust your Chicken and Rice Recipe Instant Pot technique based on the specific behavior of your appliance.
- Issue: The “Burn” Message Appears
- Adjustment: This usually means there wasn’t enough thin liquid at the bottom or the deglazing was incomplete. Next time, ensure the bottom of the pot is perfectly smooth before adding the rice. Also, avoid using thick sauces (like cream of mushroom) until after the pressure cooking is finished.
- Issue: The Rice is Mushy
- Adjustment: You likely used too much liquid or performed a natural release for too long. Stick strictly to the 1:1 ratio. If adding vegetables like zucchini or mushrooms, remember they release their own water, so you may need to reduce the broth by 2 tablespoons.
- Issue: The Chicken is Dry
- Adjustment: This happens with chicken breasts. If you must use breasts, cut them into larger chunks (2-inch pieces) to prevent them from overcooking during the 8-minute cycle.
- Issue: The Rice is Underdone
- Adjustment: Ensure you are rinsing your rice. Rinsing removes surface starch but also hydrates the grain slightly, ensuring it cooks through in the short 8-minute window.
Frequently Asked Questions From Readers
Can I use brown rice for this recipe?
I do not recommend it for this specific Chicken and Rice Recipe Instant Pot timeline. Brown rice requires about 22–25 minutes of pressure cooking. If you cook chicken for 25 minutes, it will become unpleasantly dry and disintegrated. If you want to use brown rice, it is better to cook the rice separately.
Can I add frozen chicken directly?
You can, but it requires an adjustment. Increase the pressure cook time to 12 minutes and ensure the chicken pieces are not frozen together in one large clump. Note that frozen chicken will release more water, which might make the rice slightly softer.
Is a “Natural Release” really necessary?
Yes. If you perform a “Quick Release” immediately, the sudden drop in pressure causes the moisture inside the rice grains to expand rapidly, which can result in a mushy or “exploded” texture. The 10-minute rest is essential for the structural integrity of the grain.
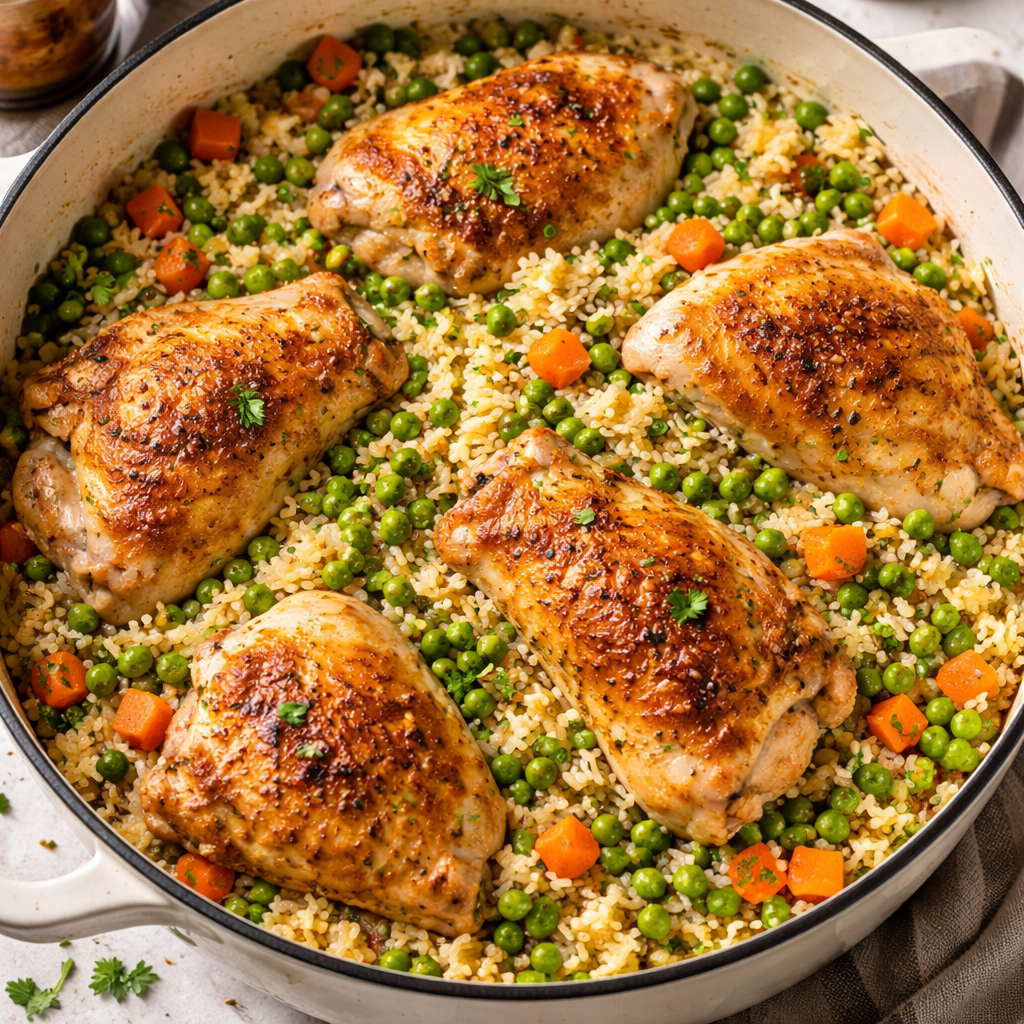
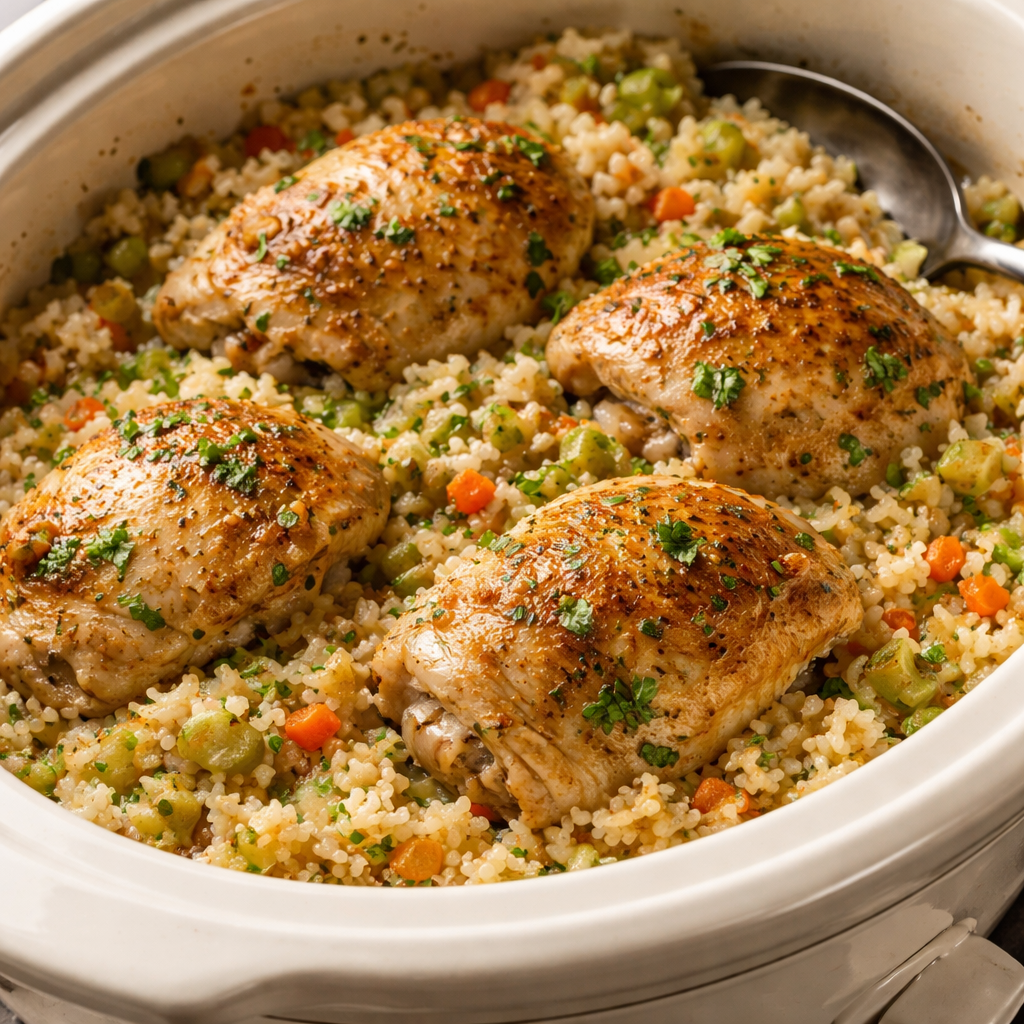
How do I add vegetables like broccoli or peas?
Do not pressure cook delicate vegetables. They will turn to mush. Instead, stir them into the hot rice immediately after opening the lid. The residual heat from the 10-minute rest is enough to steam frozen peas or small broccoli florets to perfection.
Can I double the recipe?
Yes, provided you do not exceed the “Max Fill” line of your Instant Pot. The cooking time remains the same (8 minutes), as the pot will simply take longer to reach pressure due to the increased volume.
Broccoli Rice Casserole Recipe – Creamy, Flavorful & Easy
Easy Shrimp Fried Rice Recipe – Quick, Flavorful & Delicious
How to Make Puerto Rican Rice recipe Like a Pro – Quick & Delicious!
Hibachi Fried Rice Recipe – Quick, Flavorful & Authentic
Chicken Hainanese Rice Recipe – Classic, Tender & Delicious