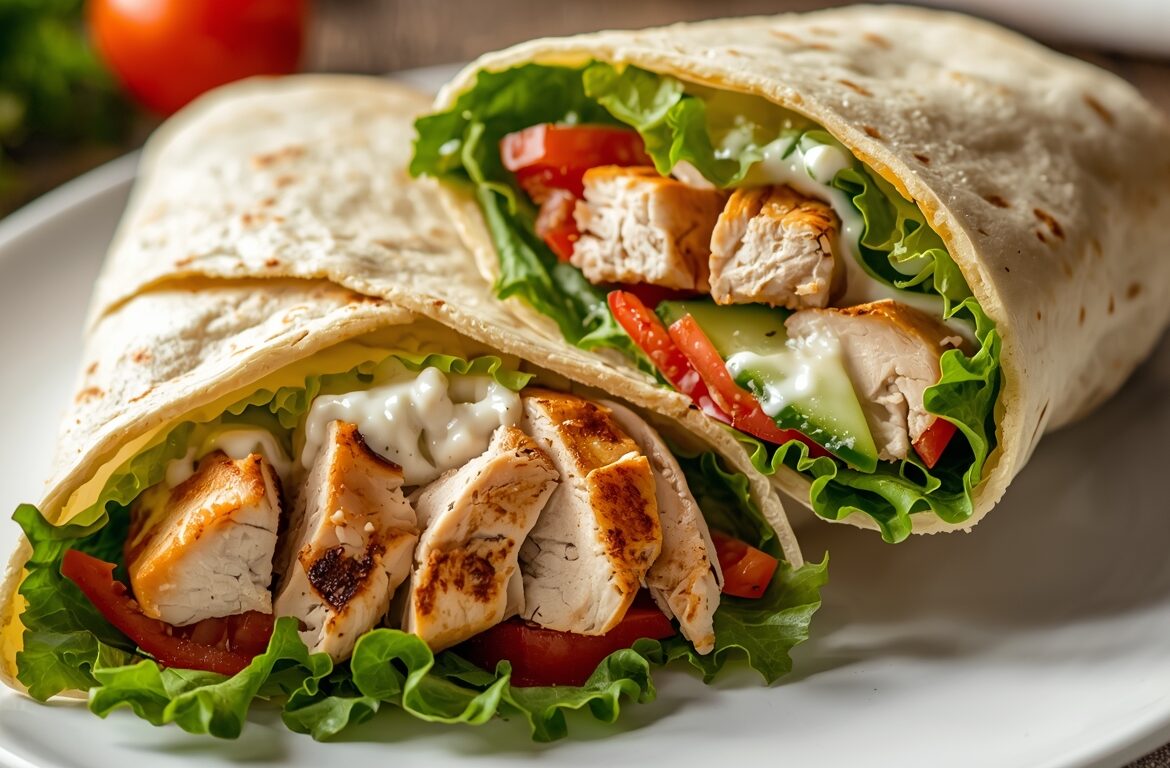
The Grilled Chicken Wrap Recipe is often viewed as a simple convenience meal, yet achieving a restaurant-quality result requires a focused approach to culinary technique and ingredient synergy. A high-quality wrap is defined by three main pillars: perfectly succulent poultry, a structural integrity that prevents leakage, and a balanced distribution of flavors and textures.
Moving beyond a basic assembly-line mindset allows the home cook to transform a standard lunch into a gourmet experience. By mastering the variables of the Grilled Chicken Wrap Recipe—specifically the moisture content of the meat and the pliability of the tortilla—you can ensure a consistent outcome that satisfies both nutritional needs and culinary standards. This guide provides a technical roadmap to executing the perfect wrap through precision and planning.
Factors That Influence Wrap Quality
Before beginning the cooking process, it is essential to understand the variables that can compromise the final product. Several environmental and preparation-based factors dictate the success of a Grilled Chicken Wrap Recipe.
- Protein Hydration: Chicken breast is prone to drying out. The use of brines or acidic marinades is critical to maintaining internal moisture during the high-heat grilling process.
- The “Soggy Factor”: The moisture content of the vegetables (like tomatoes or cucumbers) can quickly degrade the structural integrity of the tortilla. Proper draining and layering are essential.
- Tortilla Elasticity: Cold tortillas are brittle. They must be properly tempered and hydrated to stretch around the fillings without tearing.
- Layering Sequence: The order in which ingredients are placed inside the wrap determines whether the sauce stays contained or seeps into the wrap, causing it to fall apart.
Selecting and Preparing Ingredients
To elevate the Grilled Chicken Wrap Recipe, each component must be selected with purpose and prepared to facilitate easy consumption.
The Chicken
Bold Tip: Opt for air-chilled chicken breast or thighs. Air-chilled poultry has less water retention than water-chilled alternatives, allowing for a better sear and more concentrated flavor.
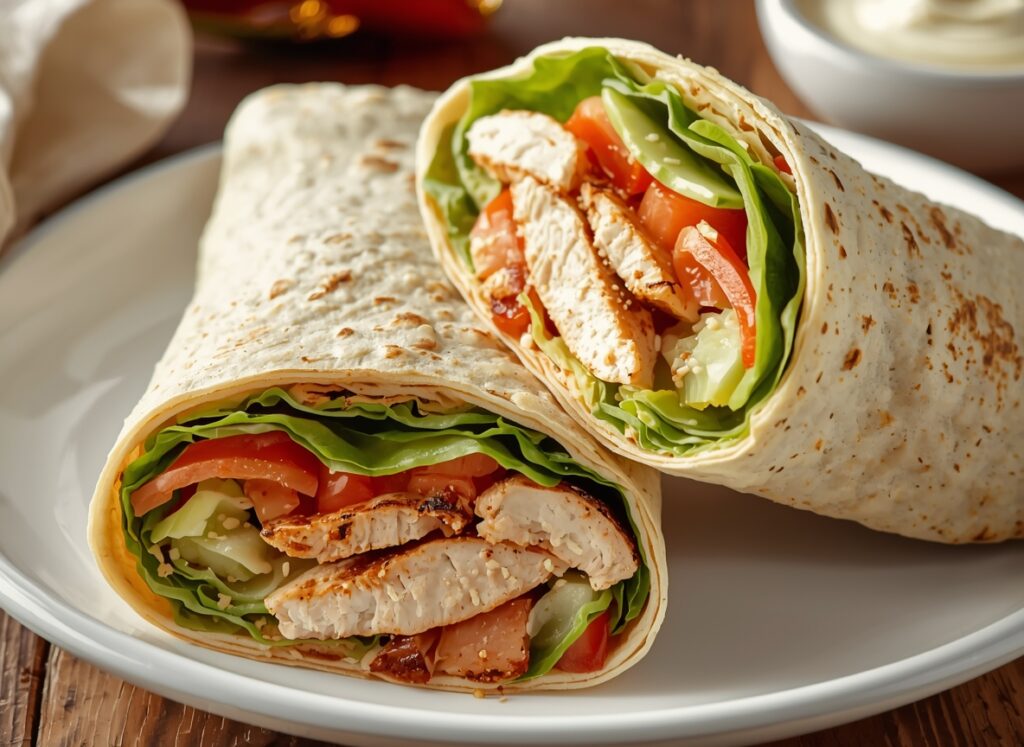
- The Cut: Slicing the chicken into thin strips across the grain before or after grilling ensures a tender bite that doesn’t pull out of the wrap when you take a mouthful.
- The Marinade: A blend of olive oil, lemon juice, garlic, and dried herbs provides the necessary acidity to tenderize the fibers.
The Wrap (The Vessel)
For a professional Grilled Chicken Wrap Recipe, use a 10-inch or 12-inch flour tortilla. Corn tortillas lack the gluten structure and size required for a secure fold. Spinach or sun-dried tomato wraps offer aesthetic variety but follow the same structural rules.
Vegetables and Crunch
- Greens: Use hardy greens like Romaine or butter lettuce. Avoid iceberg if you plan to store the wrap, as its high water content causes rapid sogginess.
- Acidity: Pickled red onions or a splash of balsamic glaze can provide the necessary brightness to cut through the grilled fat.
Equipment Setup for Precision Cooking
The tools used in a Grilled Chicken Wrap Recipe determine the texture of the meat and the “finish” of the wrap.
- Cast Iron Grill Pan or Outdoor Grill: High thermal mass is required to create “grill marks” (the Maillard reaction) quickly without overcooking the center of the chicken.
- Instant-Read Thermometer: This is the only way to ensure the chicken is safe to eat (165°F) while remaining juicy.
- Heavy Press or Second Skillet: Used for the “final sear” once the wrap is folded. This seals the edge and adds a pleasant crunch to the exterior.
- Chef’s Knife: A sharp blade is required for clean cuts; a dull knife will squish the fillings and tear the tortilla.
Temperature Control and Timing
Precision timing is what separates a mediocre wrap from a professional one. The Grilled Chicken Wrap Recipe should follow a specific thermal timeline.
- Marinating (30 Minutes to 2 Hours): Any longer than four hours in an acidic marinade can turn the chicken “mushy.”
- The Sear (4-6 Minutes per side): Cooking over medium-high heat.
- The Rest (5 Minutes): Bold Tip: Never slice grilled chicken immediately after it leaves the heat. Resting allows the juices to redistribute, ensuring they stay in the meat rather than running out into the wrap.
- Tortilla Warming (15 Seconds): Briefly heating the tortilla on the grill or in the microwave makes it pliable for folding.
Executing the Grilled Chicken Wrap Recipe
1. Grilling the Protein
Brush your grill grates with a high-smoke-point oil (like avocado or grapeseed oil). Place the marinated chicken on the hot surface. Resist the urge to move the meat for the first 3 minutes to allow a crust to form. Once the internal temperature hits 160°F, remove it; carry-over cooking will bring it to the required 165°F during the rest.
2. Preparing the Tortilla
Warm the tortilla until it is soft and warm to the touch. Place it on a clean, flat surface.
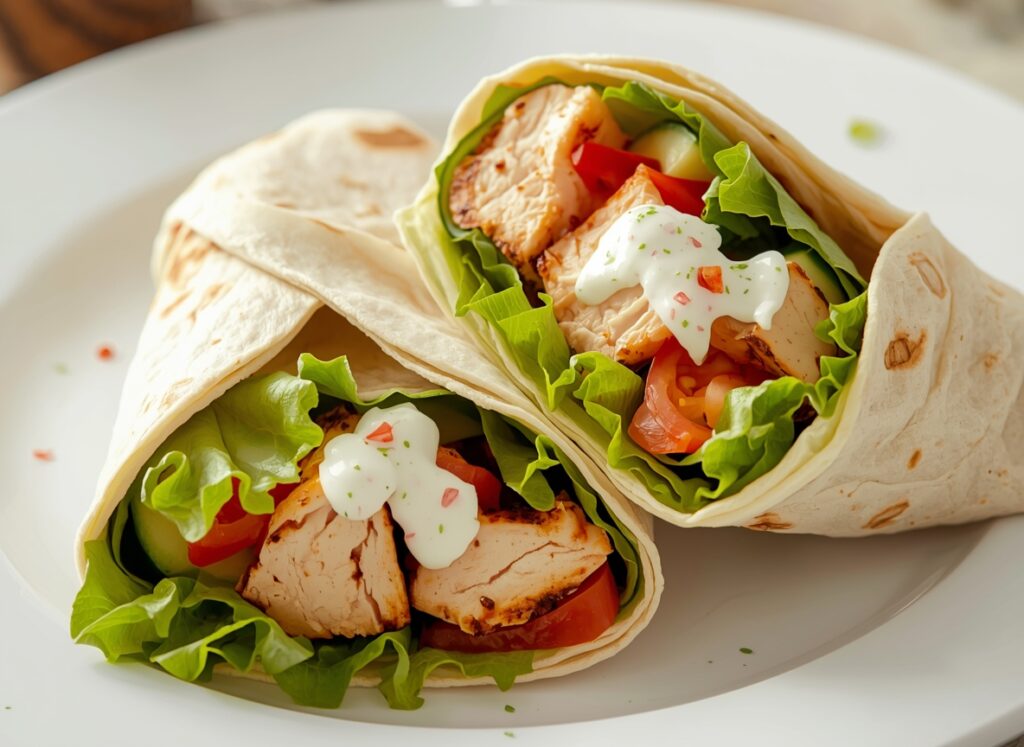
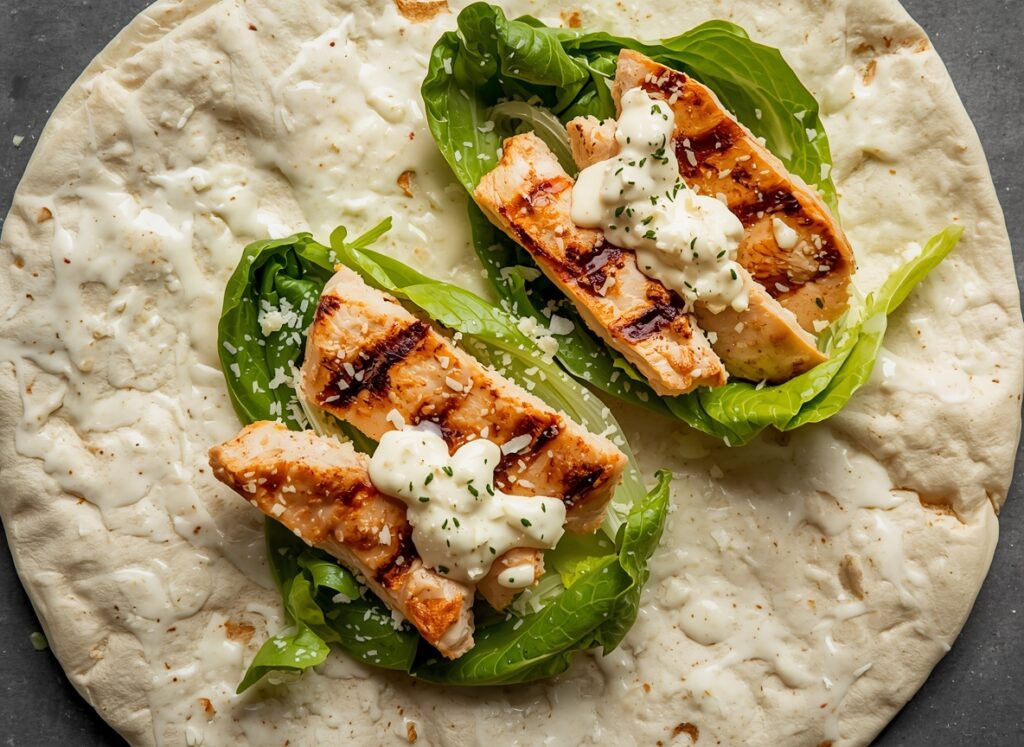
3. The Strategic Layering
Apply your spread (hummus, ranch, or garlic aioli) to the center of the tortilla, leaving at least two inches of space from the edges. Place a layer of lettuce over the sauce—this acts as a moisture barrier. Add the sliced grilled chicken on top of the lettuce, followed by your secondary vegetables.
4. The Fold
Fold the left and right sides of the tortilla toward the center (about 1-2 inches). While holding the sides, use your thumbs to lift the bottom edge over the fillings. Pull back slightly to tighten the wrap, then roll forward until sealed.
5. The Final Sear
Place the assembled wrap back onto the grill pan, seam-side down. Press firmly for 30 seconds. This “welds” the wrap shut and provides a toasted texture that enhances the overall Grilled Chicken Wrap Recipe.
Quality Problems and Corrections
Even with careful planning, certain issues can arise during the execution of a Grilled Chicken Wrap Recipe.
- The Wrap Unravels: This is usually due to overfilling or a dry tortilla. Correction: Reduce the amount of filling by 20% and ensure the tortilla is sufficiently steamed or warmed before folding.
- The Chicken is Dry: Likely a result of overcooking or slicing too thin before grilling. Correction: Grill the breast whole and slice it only after it has rested. Use an instant-read thermometer to pull the meat at exactly the right time.
- The Bottom is Soggy: This happens when wet ingredients (like tomatoes) are placed directly against the tortilla. Correction: Place tomatoes in the center of the chicken or greens, and ensure they are seeded and patted dry before assembly.
- Bland Flavor: Grilled chicken can lose its impact when surrounded by flour and lettuce. Correction: Increase the salt content in the marinade and ensure your sauce has a high acidity or spice level.
Frequently Asked Questions (FAQ)
Can I make a Grilled Chicken Wrap Recipe in advance? Yes, but you must keep the wet ingredients separate. If you intend to eat the wrap hours later, wrap it tightly in parchment paper rather than foil to allow for minor breathability, which prevents the tortilla from becoming gummy.
What is the best sauce for a grilled chicken wrap? This depends on the flavor profile. For a Mediterranean style, use Tzatziki or hummus. For a classic American style, a chipotle mayo or honey mustard provides a strong contrast to the smoky chicken.
Is a grilled chicken wrap healthy? Generally, yes. By focusing on a Grilled Chicken Wrap Recipe that emphasizes lean protein and fresh vegetables, you create a nutrient-dense meal. To reduce calories, use a whole-wheat wrap and swap mayo-based sauces for Greek yogurt-based dressings.
How do I stop the sauce from leaking out the bottom? The “Envelope Fold” is the solution. By folding the sides in before rolling, you create a closed pocket that traps the sauce inside. Additionally, using a thicker sauce (like a spread) rather than a thin dressing helps containment.
What temperature should the grill be? Aim for medium-high heat (approximately 375°F to 400°F). This is hot enough to sear the meat without burning the exterior before the interior is cooked.
Easy Chicken Adobo Recipe You Can Make at Home Tonight
Thin Sliced Chicken Breast Recipes – Quick, Healthy & Delicious
Rotisserie Chicken Recipes – Easy, Juicy & Flavorful
Stuffed Chicken Recipes – Easy, Delicious & Flavorful
Healthy Chicken Breast Recipes – Easy, Nutritious & Delicious
Easy Weeknight Chicken Carbonara recipe – Ready in 30 Minutes