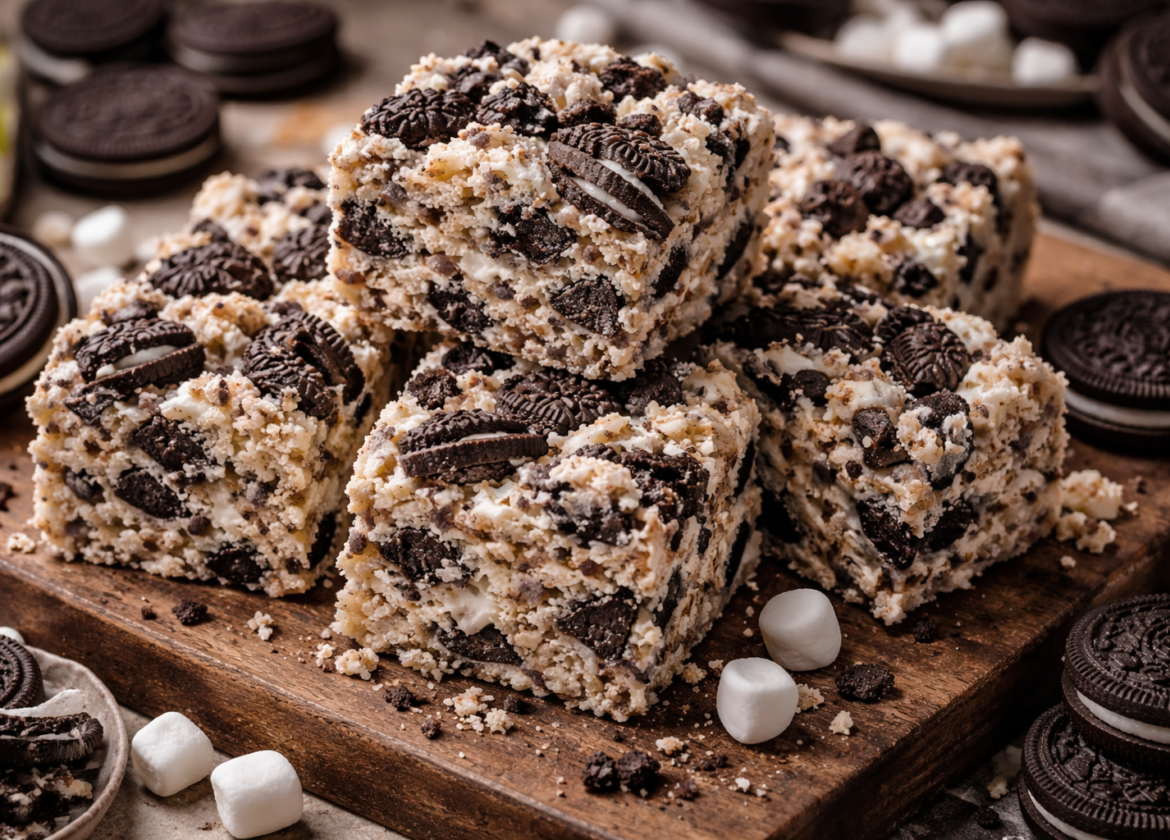
When you first consider an Oreo Rice Krispie Treats Recipe, it is easy to dismiss it as a simple “children’s snack.” However, anyone who has spent time in a kitchen knows that the simplest recipes are often the ones where technique matters most. This particular treat is a study in texture: you are taking the light, airy crunch of puffed rice, the dense, cocoa-heavy snap of chocolate sandwich cookies, and the sticky, elastic pull of melted marshmallows.
The reality of making these at home is that small variables—like the age of your marshmallows or the heat of your stove—will completely change the outcome. A successful batch isn’t just about mixing ingredients; it’s about managing the “set.” You want a treat that is soft enough to pull apart with a slight stretch, but firm enough to hold its shape when sliced. Achieving that balance requires a bit more than just following a box instruction; it requires a bit of intuition regarding how sugar behaves when melted and cooled.
What Actually Happens During Cooking
To master the Oreo Rice Krispie Treats Recipe, you have to understand the chemistry of the “binding agent.” Marshmallows are essentially a stabilized foam made of sugar, corn syrup, and gelatin. When you apply heat, you are breaking down that structure into a liquid state. If you apply too much heat for too long, the sugar begins to cook toward a “hard crack” stage. This is why some treats turn out rock-hard once they cool.
Another realistic factor is the interaction between the Oreo cream filling and the marshmallows. As you fold the crushed cookies into the warm mixture, the white cream filling begins to melt slightly, integrating with the marshmallow to create a richer, “cookies and cream” flavored binder. This is what sets this recipe apart from the traditional version. The cocoa from the cookie crumbs also slightly tempers the sweetness of the marshmallows, providing a much-needed depth of flavor that keeps the treat from being cloyingly sweet.
Ingredient Roles and Preparation Logic
Before you even turn on the stove, you need to think about how your ingredients are going to interact. Every component in an Oreo Rice Krispie Treats Recipe serves a structural and a flavor purpose.
The Marshmallows
Freshness is non-negotiable here. Old marshmallows that have become slightly stiff or “crusty” on the outside will not melt into a smooth, cohesive liquid. They will result in a lumpy, inconsistent texture. Bold Tip: Use mini marshmallows rather than the large ones; they have more surface area and melt much faster and more evenly.
The Butter
Butter isn’t just for flavor; it’s a lubricant. It prevents the marshmallows from sticking too aggressively to the pan and gives the finished treat a silky mouthfeel. Using salted butter is a professional secret here—it provides a sharp contrast to the high sugar content, making the chocolate flavor of the Oreos pop.
The Oreo Prep
How you crush your cookies matters. If you pulverize them into a fine dust, your treats will turn a muddy grey color. If the chunks are too large, the treats won’t hold together when you slice them. Aim for a mix: some fine crumbs to color the marshmallow “glue,” and plenty of pea-sized chunks for that signature crunch.
The Cereal
Standard crisped rice cereal is the canvas. Ensure it hasn’t been sitting in an open box for too long; stale cereal will ruin the “crispie” part of the Oreo Rice Krispie Treats Recipe.
Tools That Influence Cooking Accuracy
You don’t need a high-tech kitchen, but using the wrong pan or spatula can make this a very frustrating experience.
- A Large Non-Stick Pot: This is the most important tool. Marshmallows are incredibly sticky. Using a stainless steel pot without a non-stick coating usually results in a significant amount of “lost” product stuck to the sides.
- Silicone Spatula: Wooden spoons are porous and will grab onto the marshmallow. A flexible silicone spatula allows you to scrape the bottom of the pot effectively and “fold” the cereal without crushing it.
- 9×9 or 9×13 Inch Baking Pan: The size depends on how thick you want your treats. A 9×9 pan results in those thick, gourmet-style bakery squares.
- Parchment Paper: Do not rely on “greasing the pan” alone. Lining the pan with parchment paper that hangs over the edges allows you to lift the entire block of treats out for easy, clean slicing.
Structuring the Cooking Process
The workflow for an Oreo Rice Krispie Treats Recipe is fast. Once the marshmallows are melted, you have a very short window before the sugar begins to set.
- The Prep Stage (10 Minutes): Crushing the cookies and measuring out the cereal. Have your pan lined and ready.
- The Melting Stage (5 Minutes): This must be done over low heat. Patience here prevents a hard, brittle treat.
- The Mixing Stage (2 Minutes): A rapid but gentle folding motion.
- The Setting Stage (30–60 Minutes): This is the hardest part—waiting. If you cut them while they are still warm, they will collapse.
Writing a Natural Oreo Rice Krispie Treats Recipe Walkthrough
1. Preparation
Start by crushing about 15–20 Oreo cookies. I find it easiest to put them in a large zip-top bag and hit them with a rolling pin. Again, you want a variety of sizes. Line a 9-inch square pan with parchment paper and lightly butter the paper.
2. Melting the Base
In your large non-stick pot, melt 5 tablespoons of salted butter over low heat. Once melted, add one 10-ounce bag of fresh mini marshmallows. Bold Tip: Keep the heat low and slow. It might take longer, but melting the marshmallows gently ensures the treats stay soft for days. Stir constantly until only a few small lumps remain, then remove from the heat immediately.
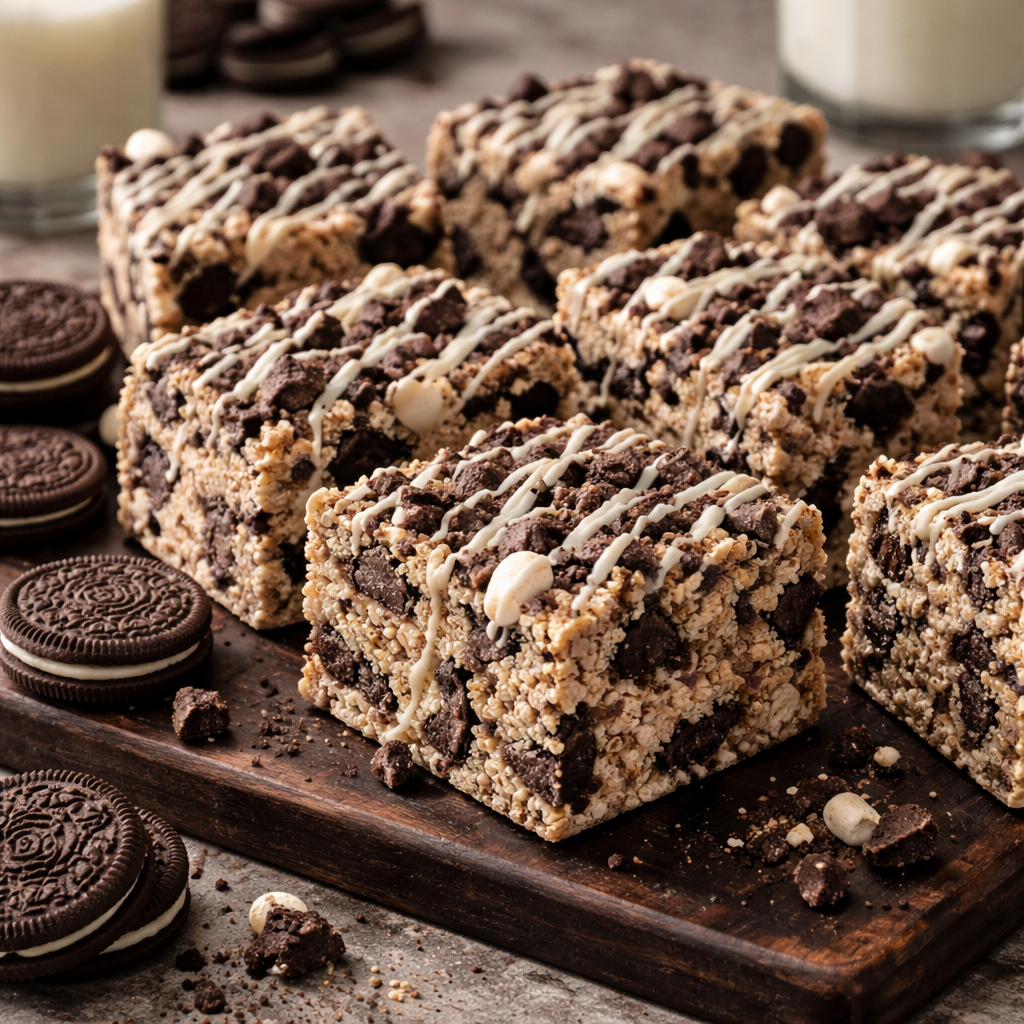
3. Combining
Pour 5 cups of Rice Krispie cereal into the pot. Add about three-quarters of your crushed Oreos. Use your silicone spatula to fold everything together. You want to see the white marshmallow turning slightly “grey” from the fine cookie dust—this is the sweet spot for flavor.
4. Pressing into the Pan
Transfer the mixture to your prepared pan. Now, here is the most important rule: Do not pack the treats down firmly. If you use too much pressure, you will crush the air out of the cereal and end up with a dense, hard brick. Use buttered fingers or a piece of buttered parchment paper to gently “nudge” the mixture into the corners.
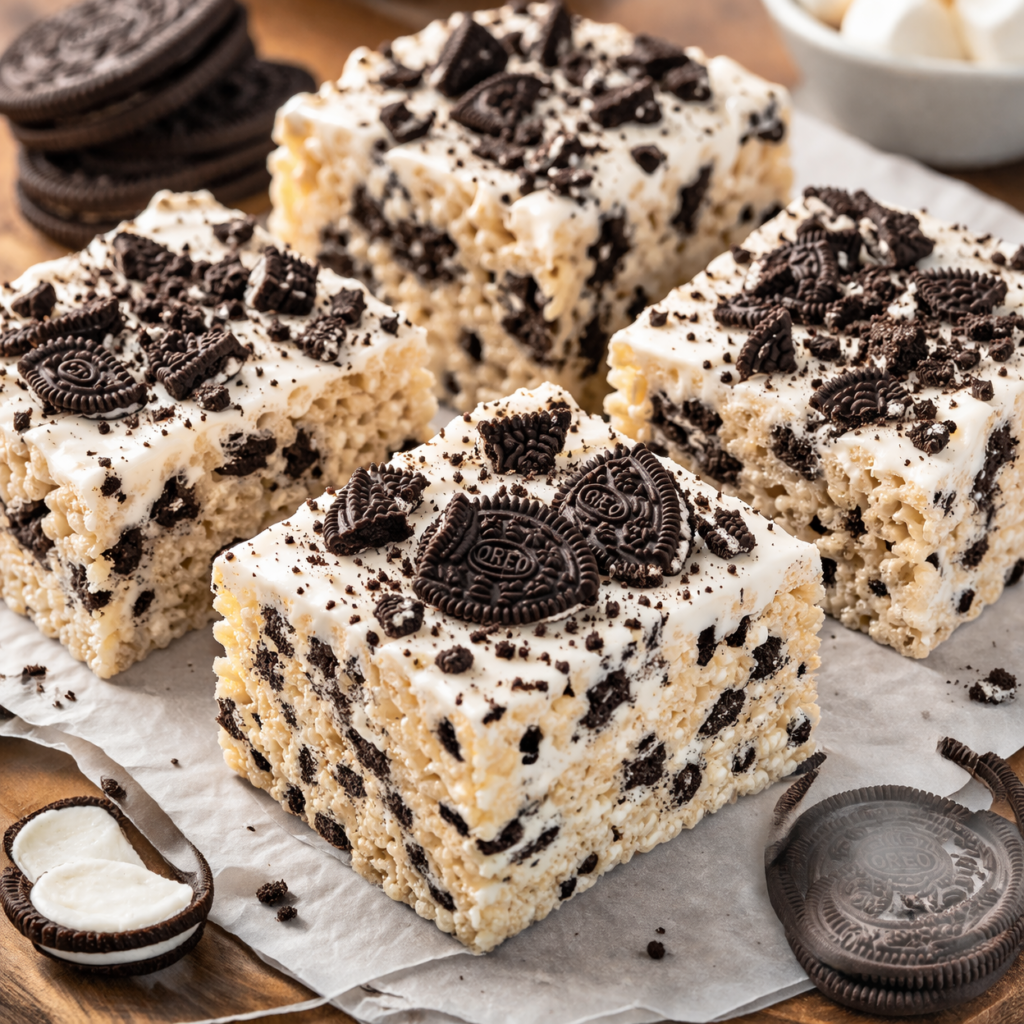
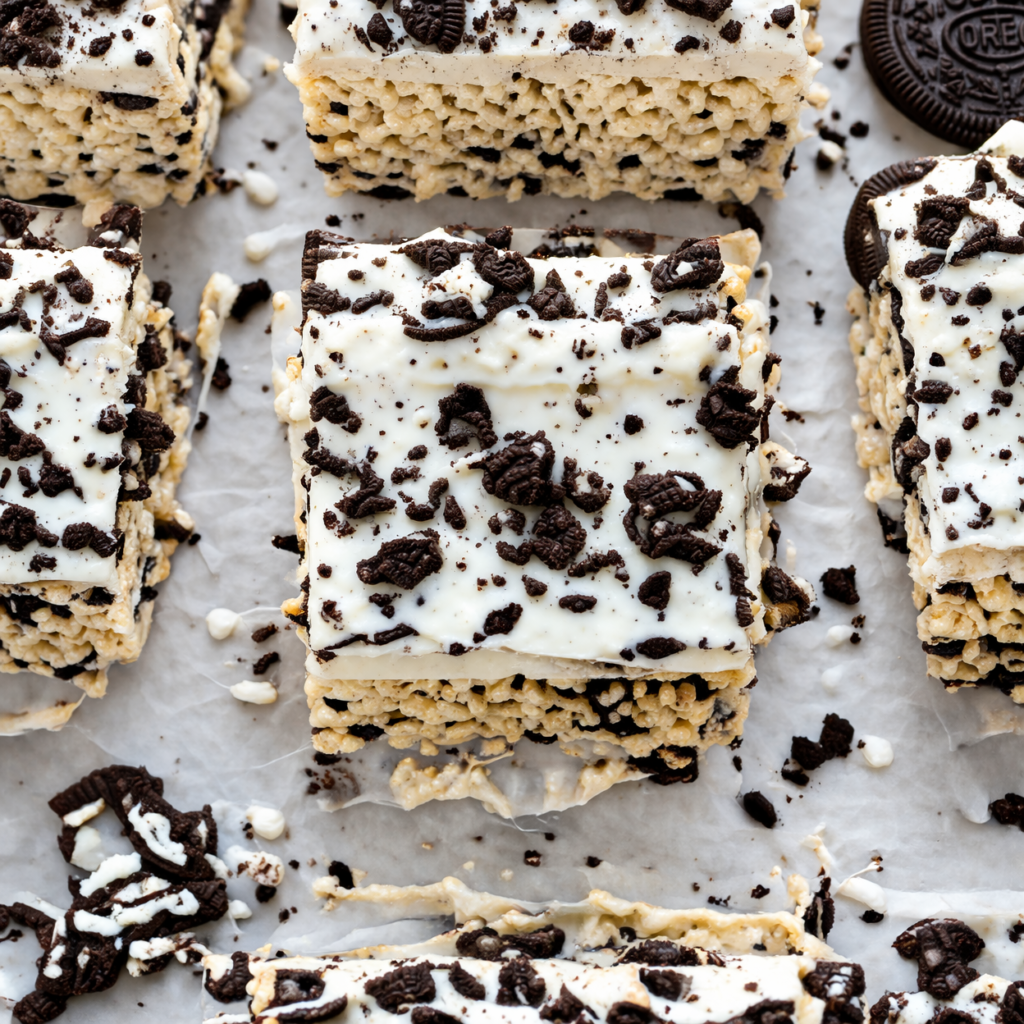
5. Finishing Touches
Sprinkle the remaining Oreo chunks over the top and press them in very lightly so they stick. This makes the treats look much more professional and indicates exactly what flavor is inside.
6. The Wait
Let the treats sit at room temperature for at least 45 minutes. Avoid the temptation to put them in the fridge to “speed things up”; the cold will make the butter and sugar too firm, losing that signature pull-apart texture.
Practical Issues Encountered During Cooking
Even a seasoned cook can run into trouble with an Oreo Rice Krispie Treats Recipe. Here is how to handle a batch that isn’t going as planned.
- The Mixture is Too Sticky to Handle: This usually happens if you try to press it into the pan too soon. If it’s sticking to your hands, rub a little bit of butter on your palms. It’s a natural barrier that works better than water.
- The Treats are Too Hard Once Cooled: This is almost always caused by high heat during the melting process or over-mixing. To save a hard batch, you can put a square in the microwave for 5–8 seconds just before eating to soften the sugar bonds.
- The Cookies are Getting Soggy: If you notice the Oreo chunks are losing their snap, it’s usually because the marshmallow mixture was too hot when you added them. Next time, let the melted marshmallows sit for 60 seconds before adding the cookies.
- The Treats Fall Apart When Cut: This means there wasn’t enough marshmallow to act as glue, or the cereal ratio was too high. Make sure you are using a full 10-ounce bag of marshmallows for every 5-6 cups of cereal.
FAQ Based on Common Reader Concerns
How long do Oreo Rice Krispie Treats stay fresh?
When stored in an airtight container at room temperature, they are best within the first 2 to 3 days. After that, the cereal begins to lose its crispness. Bold Tip: If you need to stack them in a container, place a sheet of parchment paper between the layers to keep them from fusing together.
Can I use different Oreo flavors?
Absolutely. This Oreo Rice Krispie Treats Recipe works exceptionally well with Golden Oreos for a “birthday cake” vibe, or Mint Oreos for a refreshing twist. The logic remains the same regardless of the flavor.
Is it okay to use marshmallow fluff?
While you can, I don’t recommend it for this specific recipe. Fluff doesn’t contain the same amount of gelatin as solid marshmallows, so the treats often end up being “soupy” and won’t hold their square shape when cut.
Why do my treats taste “burnt” even though they look fine?
Butter can scorch very quickly. If you have the heat up too high to melt the butter, it can take on a bitter, burnt flavor that carries through the whole batch. Always melt your butter slowly on the lowest setting.
Can I make these in the microwave?
You can, but you lose a lot of control. If you choose the microwave, heat the butter and marshmallows in 30-second intervals, stirring in between, and stop the moment they are puffed and mostly melted.
What is the best way to get clean slices?
Wait until the treats are fully set. Use a large, sharp chef’s knife and wipe it clean with a warm, damp cloth between every slice. This prevents the sticky marshmallow build-up from tearing the treats as you cut.
By focusing on the temperature of your marshmallows and the pressure you use to pack the pan, you can elevate this simple Oreo Rice Krispie Treats Recipe into something truly special. It’s a nostalgic treat that, when made with a bit of care, becomes a gourmet kitchen standard.
Quick & Tasty Haitian Black Rice Recipe
Charleston Red Rice recipe – Simple & Delicious
Mango Sticky Rice Recipe – Sweet, Creamy & Authentic
Delicious Crab and Rice Recipe – Easy & Flavorful
best way to Make Peanut Butter Rice Krispie Treats recipe in 20 Minutes
How to Make Puerto Rican Rice recipe Like a Pro – Quick & Delicious!