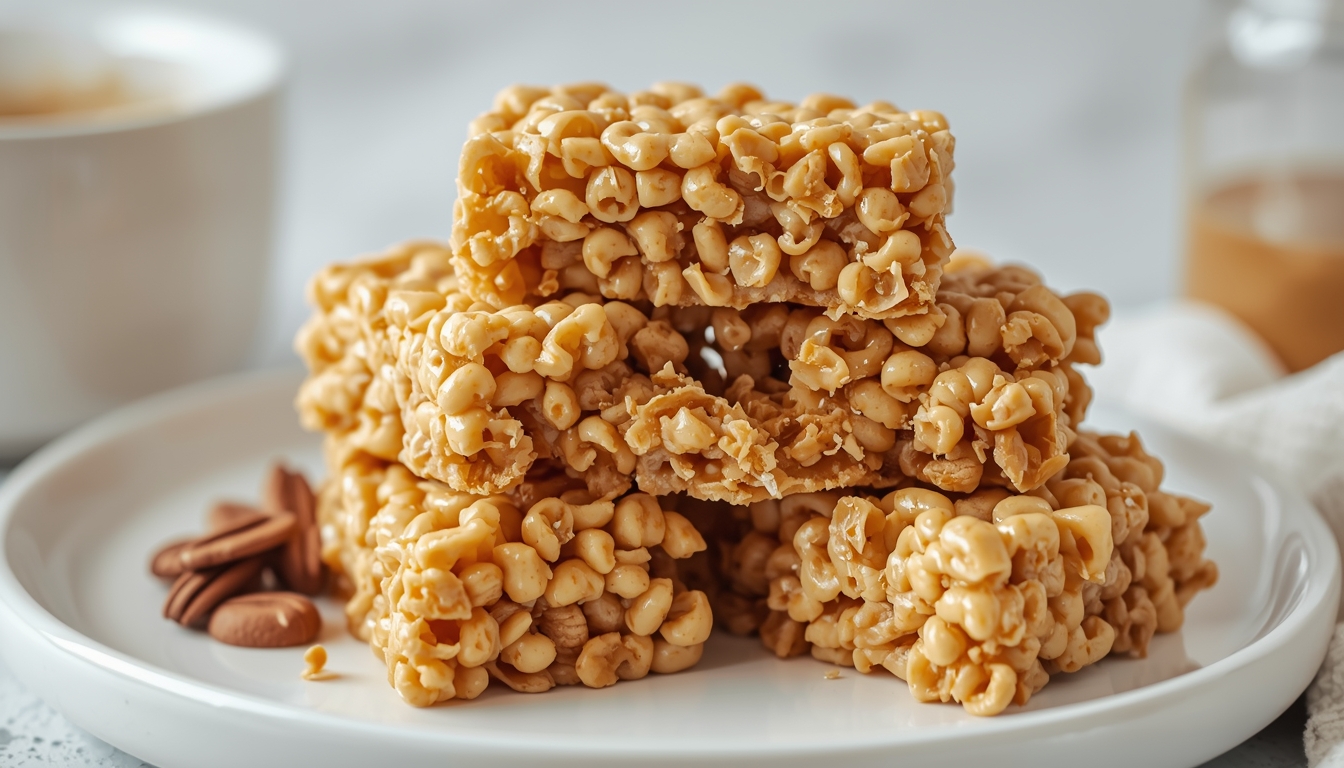
peanut butter rice krispie treats recipe Craving a sweet treat that hits all the right spots? Imagine sinking your teeth into chewy, crispy bites laced with rich peanut butter flavor, all whipped up in just 20 minutes. Peanut butter Rice Krispie treats offer that perfect mix of nostalgia and indulgence, making them the go-to fix for sudden dessert urges or party snacks. With a gooey center and crunchy edges, this no-bake wonder saves the day when time is short. You’ll love how simple it is to create these crowd-pleasers at home.Peanut Butter Rice Krispie Treats recipe
Ingredients and Equipment: Your 10-Minute Prep Checklist
Gather everything before you start the clock. This keeps your peanut butter Rice Krispie treats moving along smoothly. No last-minute hunts for missing items means you stay on track for that quick finish.

Prep takes about 10 minutes if you move fast. Check your pantry for fresh staples. This setup ensures your treats turn out just right every time.
Essential Ingredients for PB Crisp Perfection
Stock up on these basics for about 24 bars. Use 6 cups of Rice Krispies cereal—fresh ones keep the crunch alive. Grab 10 ounces of mini marshmallows; they melt faster than big ones, cutting down on time.
You’ll need 1/2 cup of unsalted butter for a smooth base. Choose 1 cup of creamy peanut butter for that velvety swirl, though crunchy works if you want extra texture. A pinch of salt brings out the flavors without overpowering the sweetness.
Opt for natural peanut butter if you like, but stir it well first. Fresh marshmallows make a big difference—they dissolve evenly for a soft, sticky hold. Skip the stale stuff; it leads to lumps and uneven bites.
Minimal Equipment for Maximum Speed
You don’t need a fancy kitchen for these quick peanut butter Rice Krispies. A medium saucepan heats everything just right. Grab a wooden spoon or silicone spatula for stirring without scratching.
Line a 9×13-inch baking pan with parchment paper or foil. This trick lets you lift the treats out easily after they set. Butter the paper lightly to prevent sticking.
Keep a sharp knife nearby for cutting later. That’s it—no mixer or oven required. This simple gear list means less cleanup and more time to enjoy your speedy dessert.
The Rapid-Fire Melting Process: Achieving the Perfect Gooey Base
The melt stage sets up the whole treat’s texture. Get this right, and your peanut butter Rice Krispie treats will be soft and stretchy. Rush it, and you might end up with tough bits.
Heat control is key here. Low flames prevent burns and keep things gooey. Follow these steps to nail the base in under five minutes.
Melting Butter and Marshmallows: Low and Slow for Smoothness
Start by cubing the butter and dropping it into your saucepan over low heat. Let it melt fully, which takes about two minutes. Swirl the pan gently to even it out.
Add the mini marshmallows next. Stir them in right away so they start softening. Keep the heat low and mix constantly—about three minutes total until smooth.
Watch for that glossy shine; it means they’re ready. If bits cling to the spoon, they’re not melted enough. Continuous stirring stops scorching, which can ruin the silky feel you want.
This method works every time for homemade Rice Krispie treats with peanut butter. Patience pays off with a base that coats the cereal perfectly.
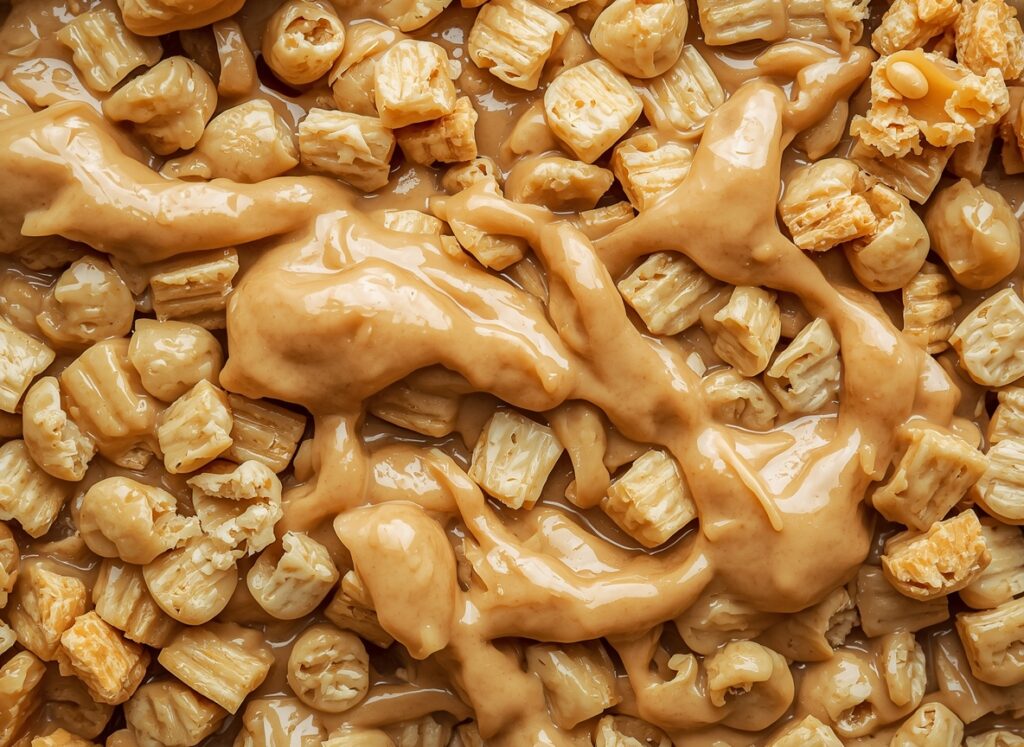
Integrating the Peanut Butter Swirl
Once marshmallows melt, pull the pan off the heat. Stir in the peanut butter quickly—it blends best when the mix is warm. Go for one full cup to get that bold nutty taste.
Mix until you see a uniform light brown hue. For a fun marbled look, swirl it in less. The peanut butter cools things down a tad, so work fast before it sets too soon.
Taste a tiny bit if you dare; adjust salt if needed. This step adds creaminess that ties the whole treat together. Your quick peanut butter Rice Krispies now smell amazing and promise great flavor.
The Final Mix and Setting: Pressing for the Perfect Density
Now comes the fun part—bringing it all together. The mix and press decide if your treats are light or dense. Aim for that sweet spot where crisp meets chewy.
Gentle handling keeps the cereal intact. Press too hard, and they turn rock-like. Let’s get this density just right for easy eating.
Folding in the Cereal: Coating Without Crushing
Dump the 6 cups of Rice Krispies into the warm peanut butter mix. Use a folding motion with your spatula—lift from the bottom and turn over. Do this for about one minute until every piece gets coated.
The warmth helps it stick without sogginess. Stop when you see no dry spots left. Aggressive stirring crushes the puffs, so keep it light.
This technique preserves the snap you love in peanut butter Rice Krispie treats. Timing matters—the mix should still steam a bit for best adhesion. Now your batter is ready to shape.
The Quick-Set Press: Achieving Even Thickness
Scoop the mix into your lined 9×13 pan. Spread it out with the spatula, aiming for about one inch thick. Press down gently but firmly across the top.
Butter the spatula first to avoid sticking. Or cover with wax paper and push evenly. This evens the layer for uniform bars.
Skip heavy pressing; it squeezes out air and makes them dense. After a minute, your pan should hold a neat rectangle. Let it sit while you clean up—efficiency at its best.
Cooling and Cutting: The Final 5 Minutes to Success
Cooling wraps up the 20-minute timer, but you can speed it along. These last steps ensure your treats look pro and taste fresh. Patience here means no crumbly edges.
Fully set bars cut cleanly and hold their shape. Rush the cool, and they fall apart. Use these tips to finish strong.
Speed Cooling Techniques
Let the pan cool on the counter for five minutes first. For faster results, pop it in the fridge for three minutes. Don’t go longer, or the edges might harden too much.
The freezer works in a pinch—two minutes max. Check often to avoid icy spots. These methods get your peanut butter Rice Krispie treats firm without waiting forever.
Room temp cooling is fine if you’re not in a hurry. Just 10 minutes total does the trick for most. Your treats will be ready to slice soon.
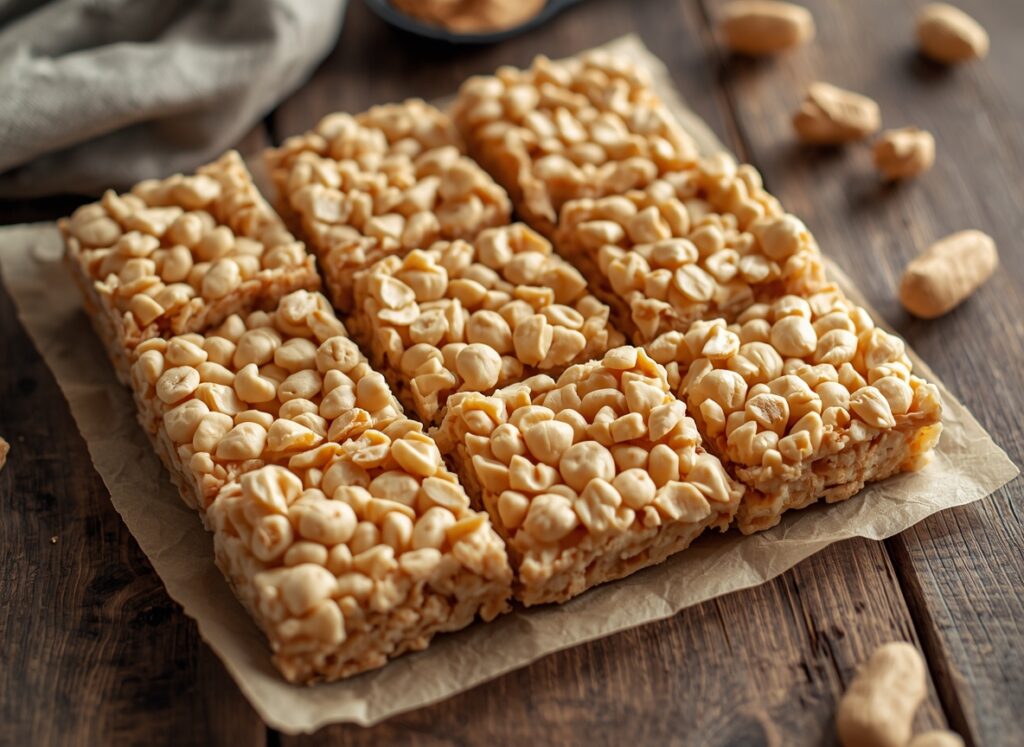
Slicing Cleanly for Presentation
Run a sharp knife under hot water, then dry it. This oils the blade for smooth cuts. Slice into 24 squares or bars as you like.
Wipe the knife after each cut to keep lines neat. Press straight down—don’t saw back and forth. This gives clean edges that wow at parties.
Store leftovers in an airtight container; they last up to three days. For gifting, wrap pieces in parchment. Now enjoy your perfect, speedy creation.

FAQ – Peanut Butter Rice Krispie Treats Recipe
1. Can I make these Rice Krispie treats without peanut butter?
Yes! You can substitute almond butter, sunflower seed butter, or even Nutella for a different flavor.
2. Do I need marshmallows for this recipe?
Yes, marshmallows are essential to make the treats sticky and hold together. Mini marshmallows work best for quick melting.
3. Can I make this recipe gluten-free?
Absolutely! Just use certified gluten-free Rice Krispies cereal to keep it safe for gluten-sensitive diets.
4. How should I store Peanut Butter Rice Krispie Treats?
Store them in an airtight container at room temperature for up to 3–4 days, or in the fridge for up to a week.
5. Can I make them ahead of time for a party?
Yes! They hold up well and are perfect for making a few hours ahead. Just cut them into squares before serving.
6. Can I add extras like chocolate chips or sprinkles?
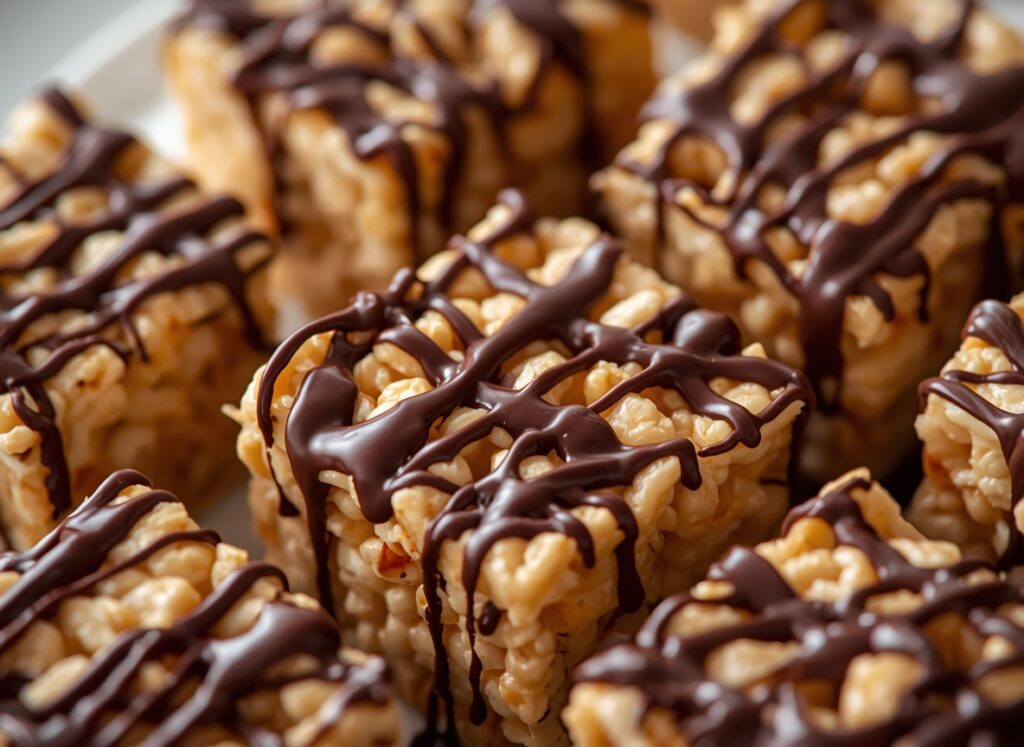
Definitely! Mix in chocolate chips, mini candies, or sprinkles while the mixture is still warm for extra fun and flavor.
Benihana Fried Rice Recipe – Easy, Flavorful & Authentic
Mango Sticky Rice Recipe – Sweet, Creamy & Authentic
Spanish Yellow Rice Recipe – Vibrant & Delicious
Conclusion: Enjoy Your Speed-Demon Dessert
Peanut butter Rice Krispie treats in 20 minutes? You’ve got the recipe for success. This easy no-bake treat blends crisp cereal with nutty goodness and gooey marshmallow magic.
Key takeaways include low-heat melting to avoid scorching and gentle folding to keep things crunchy. Press evenly for the right density, and cool smartly for clean slices. These steps make all the difference.
Whip up a batch today and satisfy those cravings fast. Share with friends or keep them all to yourself. What’s your favorite twist on this classic? Try it now and taste the joy.