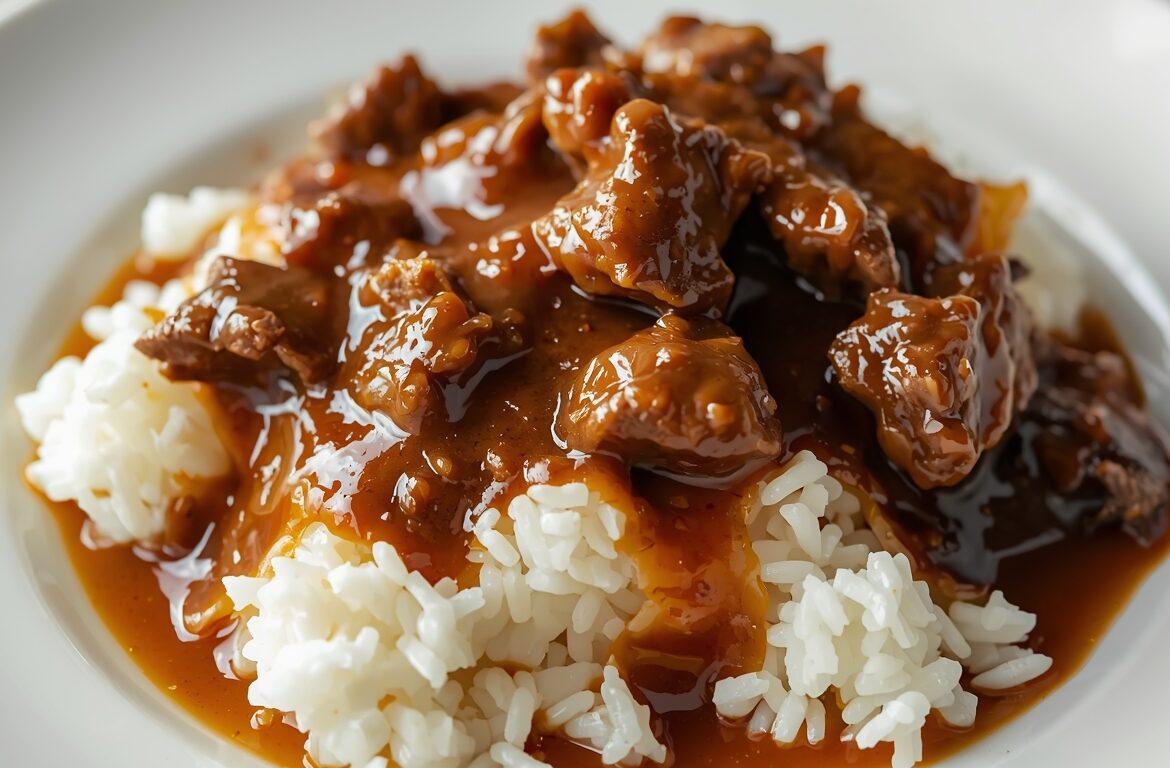
In the pantheon of comfort foods, few dishes evoke the same sense of home and heritage as a perfectly executed Rice and Gravy Recipe. While it may appear simple on the surface, this dish is a masterclass in flavor extraction and patience. Unlike quick-fix meals, a traditional homemade rice and gravy relies on the slow caramelization of proteins and aromatics to create a deep, mahogany sauce that store-bought packets simply cannot replicate.
What sets this particular method apart is the focus on the “fond”—the caramelized browned bits at the bottom of the pot. By mastering the art of the sear and the subsequent deglaze, you transform humble ingredients into a luxurious, velvet-textured meal. It is a soul-warming staple that transcends regional boundaries, offering a satisfying density that stays with you long after the meal is over.
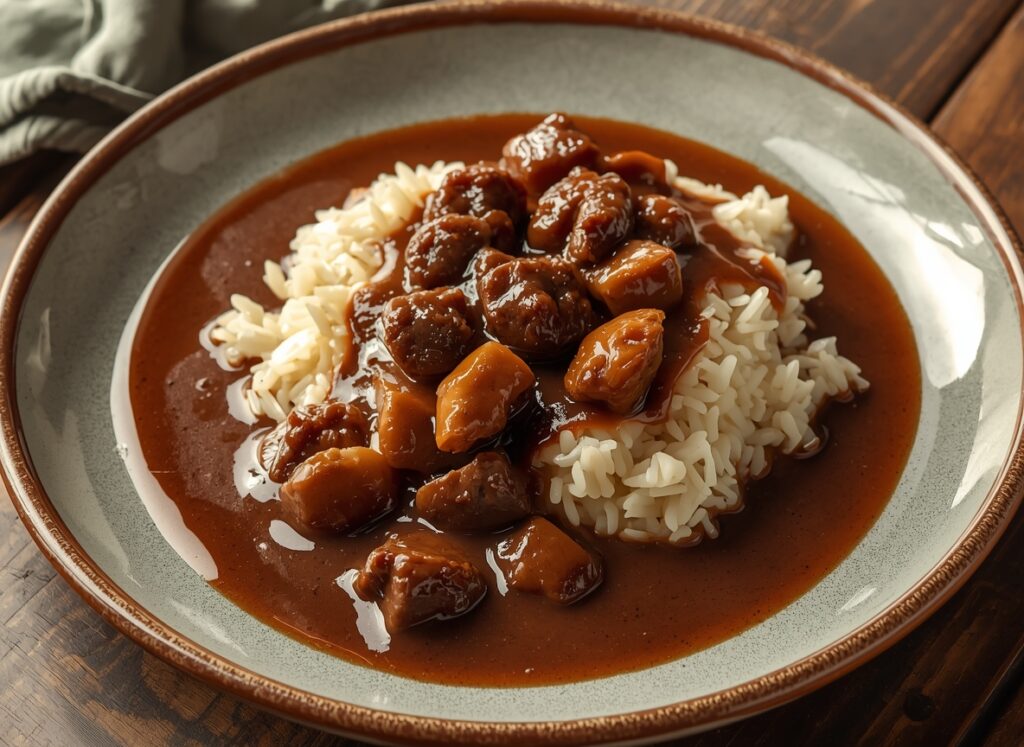
Recipe Overview & Flavor Profile
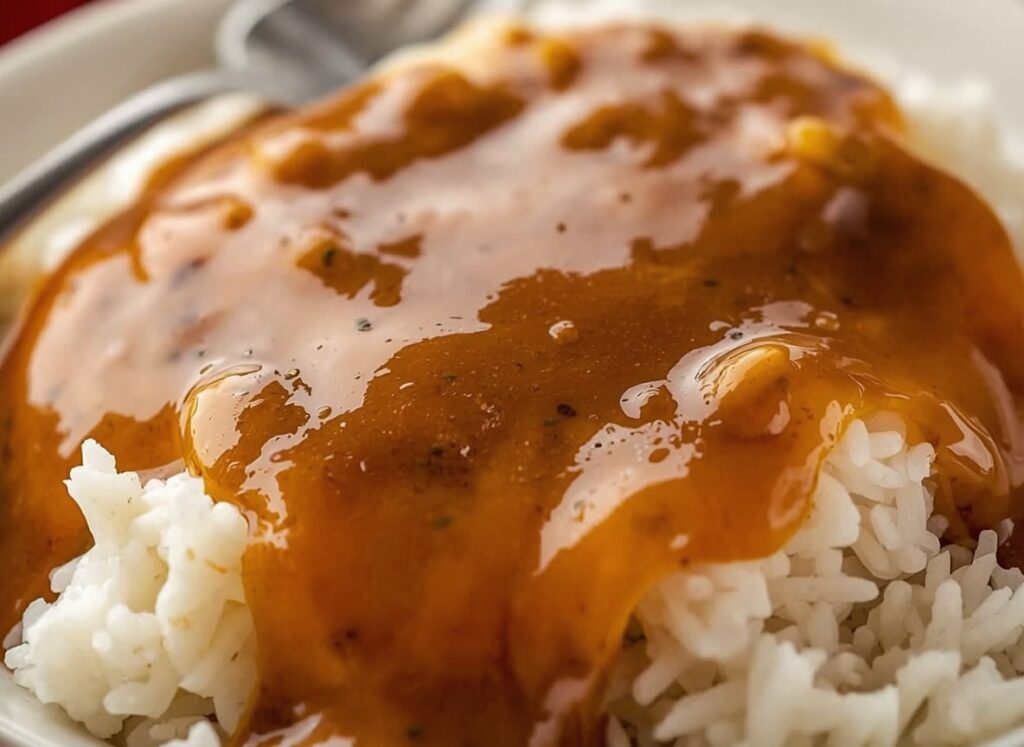
The flavor profile of this Rice and Gravy Recipe is centered on savory umami and earthy undertones. The base is typically a beef or pork “roast” that provides a rich, fatty foundation, while the “Holy Trinity” of aromatics—onions, bell peppers, and celery—adds a subtle sweetness and vegetal depth. The gravy itself is thick, glossy, and intensely savory, designed specifically to be absorbed by fluffy, long-grain white rice.
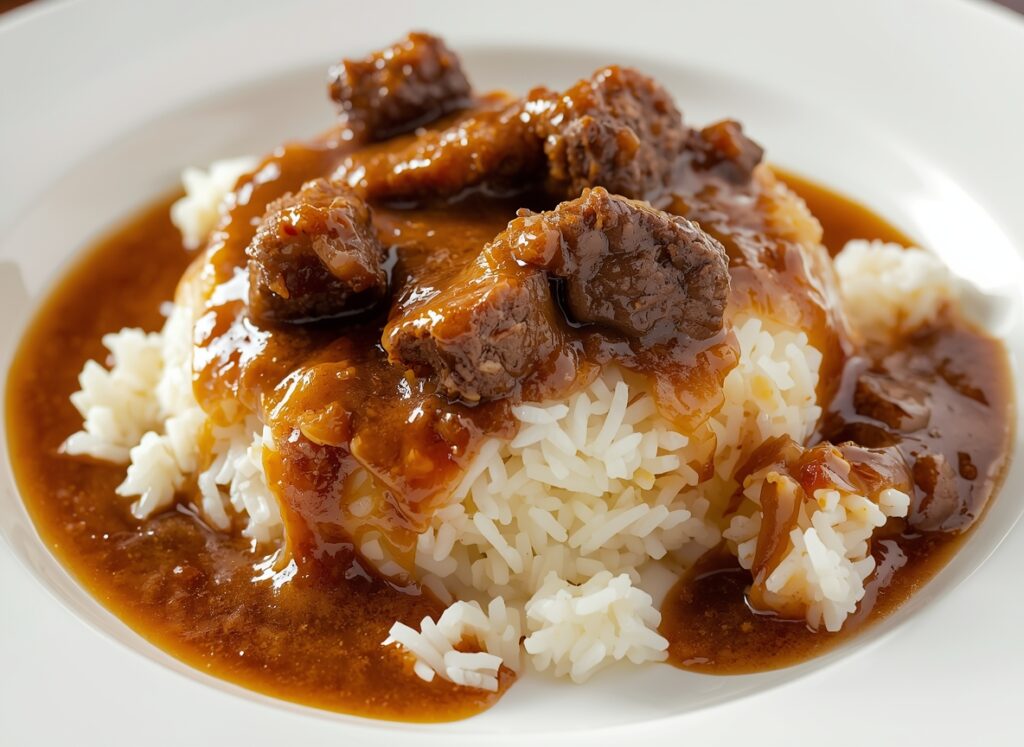
In terms of texture, the goal is a stark contrast: tender, fork-shredded meat nestled in a heavy, pourable gravy, served over distinct, individual grains of rice. This dish isn’t about the sharpness of spices but rather the harmony of slow-cooked meat juices and a well-developed roux or reduction. It is the ultimate “low and slow” culinary experience.
Essential Ingredients You’ll Need
To achieve a restaurant-quality easy rice and gravy recipe, you must start with the right building blocks:
- The Meat: A well-marbled cut like beef chuck roast, pork shoulder, or even bone-in chicken thighs. The fat and connective tissue are vital for a thick, natural gravy.
- Rice: Long-grain white jasmine or basmati rice is preferred for its ability to remain fluffy and separate rather than clumping.
- Aromatics: Yellow onions (lots of them), green bell peppers, and celery. The onions, in particular, provide the natural sugars needed for browning.
- Liquid Gold: Beef or chicken stock. Using high-quality stock instead of water ensures the gravy has immediate depth.
- Fat and Flour: For the roux, you’ll need butter or oil and all-purpose flour. This provides the thickening power and a nutty toasted flavor.
- Seasoning: Kosher salt, cracked black pepper, and a dash of Worcestershire sauce or kitchen bouquet for color and tang.
Smart Ingredient Swaps
Flexibility is a hallmark of any great homemade rice and gravy. If you are looking to adapt the dish, consider these swaps:
- Gluten-Free: Replace the all-purpose flour with a 1:1 gluten-free baking blend or use a cornstarch slurry at the very end to thicken the juices.
- The Base: If you don’t have time for a full roast, you can use high-quality ground beef or sliced smoked sausage. The cooking time will be significantly reduced, though the flavor will be less complex.
- Rice Alternatives: For a healthier twist, served the gravy over cauliflower rice or quinoa. However, note that these grains won’t absorb the gravy quite like traditional white rice.
- Vegetarian Twist: Use thick-cut Portobello mushrooms and vegetable stock. Mushrooms provide a similar umami “meatiness” when seared deeply.
Tools Every Home Cook Needs
- Dutch Oven or Heavy Cast-Iron Pot: These are essential for even heat distribution and maintaining the steady simmer required to tenderize the meat.
- A Sharp Chef’s Knife: For finely dicing the aromatics so they “melt” into the gravy.
- Wooden Spoon: Best for scraping the fond off the bottom of the pot during the deglazing phase.
- Rice Cooker or Tight-Lidding Saucepan: To ensure the rice is steamed to perfection without burning.
Prep Time vs Cooking Time Explained
- Prep Time: 20 minutes (trimming meat and dicing vegetables).
- Sear Time: 15 minutes (browning the meat in batches).
- Simmer Time: 2 to 3 hours (for a beef roast) or 45 minutes (for chicken).
- Rice Cooking: 20 minutes.
- Total Time: Approximately 2.5 to 3.5 hours.
Step-by-Step Rice and Gravy Recipe Method
1. Sear the Protein
Season your meat generously with salt and pepper. Heat oil in your Dutch oven over medium-high heat. Sear the meat on all sides until a deep, dark brown crust forms. Remove the meat and set aside. Do not wash the pot.
2. Sauté the Aromatics
Lower the heat to medium. Add your onions, peppers, and celery to the residual fat. Cook for 8–10 minutes, stirring frequently, until the onions are translucent and start to pick up the brown bits (fond) from the meat.
3. Build the Gravy Base
Sprinkle flour over the vegetables and stir for 2–3 minutes to cook out the raw flour taste. Slowly whisk in your stock, scraping the bottom of the pot vigorously. The liquid should begin to thicken slightly.
4. The Long Simmer
Return the seared meat to the pot. Ensure it is at least half-submerged in the liquid. Cover with a tight-fitting lid and reduce the heat to low. Let it simmer until the meat is fork-tender.
5. Perfect the Rice
While the meat is finishing, cook your rice. Use a 2:1 water-to-rice ratio. Once cooked, fluff with a fork and keep covered until the gravy is ready.
6. Adjust and Shred
Remove the meat from the pot and shred or slice it. If the gravy is too thin, simmer uncovered for 10 minutes to reduce. If it’s too thick, add a splash of stock. Taste for salt and pepper.
Pro Cooking Secrets for Better Taste
The biggest secret to a world-class Rice and Gravy Recipe is the “darkness” of the onions. In many Southern kitchens, this is known as “smothering.” You want the onions to cook down until they are almost a jam-like consistency. This provides the natural brown color of the gravy without needing artificial browning agents.
Another tip is to use “liquid gold”—the fat that renders out of the meat. Instead of draining it all, use it to sauté your vegetables. This ensures the flavor of the meat is infused into every single drop of the gravy.
Health Benefits of Rice and Gravy Recipe
While often viewed as an indulgence, this dish provides significant nutritional value. Slow-cooked meat is an excellent source of bioavailable protein and essential minerals like iron and zinc. If you use bone-in cuts, the simmering process releases collagen and amino acids that are beneficial for joint health and digestion. By incorporating a high volume of onions and peppers, you are also adding fiber and Vitamin C to the meal.
Calories & Macro Breakdown
(Per serving, based on beef chuck roast and white rice)
| Nutrient | Amount |
| Calories | 520 kcal |
| Protein | 34g |
| Total Fat | 18g |
| Total Carbs | 55g |
| Fiber | 3g |
Best Ways to Serve Rice and Gravy Recipe
To truly honor this easy rice and gravy recipe, the presentation should be simple.
- The Scoop: Place a generous mound of rice in a shallow bowl. Create a “well” in the center with your spoon and pour the gravy and meat directly into it.
- Side Pairings: This dish is heavy, so it pairs perfectly with something acidic or crisp. A side of vinegar-based coleslaw, steamed green beans, or pickled beets provides the necessary contrast.
- The Bread: A piece of buttery cornbread or a soft dinner roll is essential for mopping up the last bits of gravy from the plate.
When Is the Best Time to Make This Dish?
This is the ultimate Sunday Dinner dish. Because it requires a few hours of simmering, it is best made when you are at home relaxing. It’s also an incredible “game day” meal, as it can be kept warm in a slow cooker for hours without losing its integrity. Many families also find it to be the perfect “rainy day” meal, as the aroma of the simmering gravy fills the entire house with comfort.
Storage & Food Safety Tips
- Refrigeration: This homemade rice and gravy actually tastes better the next day as the flavors continue to marry. Store in an airtight container for up to 4 days.
- Freezing: The gravy and meat freeze exceptionally well for up to 3 months. However, we recommend freezing the rice separately or making fresh rice when you are ready to eat, as frozen rice can sometimes become grainy.
How to Reheat Without Drying It Out
Rice is notorious for drying out in the microwave. To reheat perfectly:
- Place the rice and gravy in a microwave-safe bowl.
- Add a small splash of water or broth (about 1 tablespoon).
- Cover tightly with a damp paper towel or a lid.
- Heat on medium power, stirring halfway through. The steam trapped inside will re-hydrate the rice grains while the gravy thins back out to its original silkiness.
Frequently Asked Questions
Q: Can I make this in an Instant Pot?
A: Yes! Sear the meat on the sauté setting, add the aromatics and liquid, and cook on high pressure for 45–60 minutes for a roast. Let the pressure release naturally.
Q: Why is my gravy lumpy?
A: This happens if the flour is added to liquid that is already boiling. Always stir the flour into the fat/vegetables first to create a paste, then add liquid slowly while whisking.
Q: What is the best rice to liquid ratio?
A: For most long-grain white rice, use 2 cups of liquid for every 1 cup of rice. For a firmer grain, reduce the liquid to 1.75 cups.
Q: Can I use chicken instead of beef?
A: Absolutely. Homemade rice and gravy with chicken is a classic. Use bone-in, skin-on thighs for the best flavor and a silky gravy.
Quick Cuban Rice Recipe Perfect for Dinner
The Best Shrimp with Rice Recipes for Family Dinners
Easy Spinach Rice Recipe – Healthy & Flavorful
Easy French Onion Rice Recipe – Rich & Savory
The Best Pineapple Rice Recipe for Quick Weeknight Meals